Tile Behind Toilet: The #1 Mistake That Risks Hidden Damage
The bathroom remodel is underway. The walls are prepped, the tiles are chosen, and then comes the question that can derail the entire project: should you tile behind the toilet or not? It seems like a minor detail, a way to save a few dollars and a bit of time.
This single choice, however, separates a professional, long-lasting installation from a ticking time bomb of hidden water damage and cleaning nightmares. Skipping this step is one of the most common and costly mistakes in a bathroom renovation.
Understanding the consequences of this decision is critical. It impacts not just the final look but the health of your home’s structure and your peace of mind for years to come.
You'll Learn About
The Core of the Issue: Tiling Before vs. Tiling After
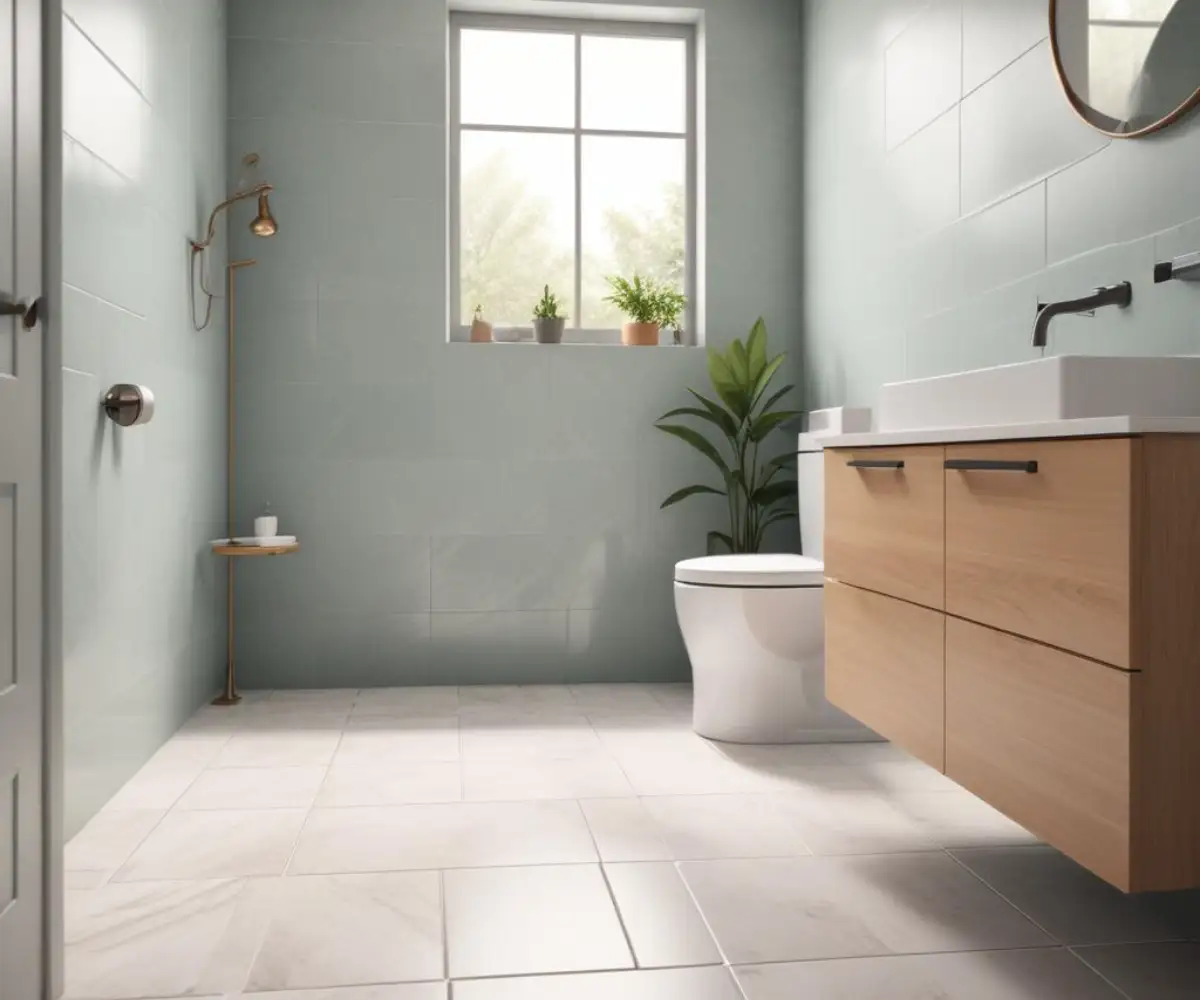
There are two primary approaches to this task. The first, and professionally recommended, method is to tile the entire wall surface before the toilet is installed. This creates a continuous, unbroken surface from floor to ceiling.
The second method is to install the toilet first and then tile around its base. While this approach might seem faster and cheaper initially, it introduces significant long-term risks that far outweigh the perceived benefits.
Why Tiling Behind the Toilet is the Professional Standard
Opting to tile the entire wall behind the toilet is about more than just looks; it’s about creating a superior, waterproof shield for your walls. This method ensures a seamless barrier that protects the underlying structure from the bathroom’s most significant threat: moisture.
Superior water protection is the single most important reason to tile behind the toilet. Bathrooms are high-moisture environments. Condensation from the tank, accidental splashes, and even minor, unnoticed leaks from the supply line can introduce water onto the wall. Without a continuous tile and grout barrier, this moisture will inevitably find its way into the drywall or backer board, leading to rot, mold, and structural decay.
Furthermore, this approach offers unmatched hygiene. The small, awkward gap left when you tile around a toilet becomes a hard-to-reach trap for dust, hair, and grime. A fully tiled wall allows for simple, effective cleaning, leaving no place for bacteria to hide.
Future-Proofing Your Bathroom Design
Tiling behind the toilet also provides crucial long-term flexibility. Toilet models and designs change over time. If you tile around the specific footprint of your current toilet, you are effectively “locked in” to that exact shape and size.
Should you need or want to replace the toilet in the future, finding a new model with an identical base footprint can be nearly impossible. This could force you into a complicated and expensive partial tiling job just to cover the exposed, untiled wall. A fully tiled wall means you can swap out toilets of any shape or size with zero issues.
This logic extends to other fixtures as well. Just as deciding to tile under a vanity creates a more professional and waterproof floor, tiling the wall behind the toilet completes the room’s protective shell.
The Hidden Dangers of Tiling Around a Toilet
The primary motivation for tiling around an existing toilet is to save money on materials and labor. It avoids the cost and effort of removing and reinstalling the toilet. However, these short-term savings often lead to catastrophic long-term expenses.
The untiled gap behind the toilet is a direct entry point for water. Over time, this slow, persistent moisture exposure can compromise the wall’s integrity, leading to costly repairs that dwarf the initial savings. The cost to fix widespread water damage will always be higher than the cost of a few extra tiles.
This is not a place to experiment with quick fixes. While some might wonder if a product like Flex Seal could work in a shower or behind a toilet, it is not a substitute for a proper, continuous tiled surface and will not provide the necessary long-term protection.
Decision Matrix: Tiling Behind vs. Tiling Around the Toilet
To make the choice clear, this table breaks down the key factors for each method. It highlights the stark differences in long-term value and protection, showing why the initial cost savings of tiling around are often an illusion.
| Feature | Tiling Behind Toilet (Pro Method) | Tiling Around Toilet (DIY Shortcut) |
|---|---|---|
| Waterproofing | Excellent. Creates a continuous, seamless moisture barrier. | Poor. Leaves a vulnerable, unsealed gap for water intrusion. |
| Aesthetics | Clean, professional, and high-end finish. | Unfinished look. The gap is often visible from the side. |
| Hygiene | Excellent. Easy to clean with no hidden gaps for grime. | Poor. Creates a hard-to-clean trap for dust and bacteria. |
| Future Flexibility | High. Any future toilet model will fit without issue. | Very Low. “Toilet-locked” to the exact footprint of the current model. |
| Initial Cost | Higher (more tile, labor for toilet removal/reinstallation). | Lower (less tile, no toilet removal). |
| Long-Term Value | High. Prevents costly water damage and adds to home value. | Very Low. High risk of expensive repairs that negate savings. |
The Step-by-Step Guide to Tiling Behind a Toilet
For a truly professional and durable result, tiling behind the toilet is the only option. Following the correct steps is crucial for a successful installation.
Step 1: Preparation is Non-Negotiable
The first and most critical step is to remove the toilet. Shut off the water supply, flush the toilet to empty the tank and bowl, and then disconnect the supply line. Unscrew the bolts at the base and carefully lift the toilet off the wax ring and set it aside.
With the toilet removed, you have clear access to the wall. Ensure the surface is clean, dry, and flat. This is also the ideal time to apply a waterproofing membrane to the backer board for an extra layer of protection.
Step 2: Layout and Tile Installation
Plan your tile layout carefully. Start by finding the center line of the wall and snapping chalk lines to guide your installation. Mix your thin-set mortar according to the manufacturer’s instructions to a peanut butter-like consistency.
Apply the thin-set to the wall with a notched trowel, working in small sections. Firmly press each tile into the mortar with a slight twisting motion to ensure a strong bond. Use tile spacers to maintain consistent grout lines.
Step 3: Making the Cut Around the Water Supply
You will need to cut a tile to fit around the water supply line coming out of the wall. Use a tile nipper or a diamond hole saw attached to a drill to carefully create a clean opening for the pipe.
Precision here is key to maintaining the waterproof seal. The hole should be just large enough for the pipe and its escutcheon plate to cover it completely.
Step 4: Grouting and Sealing for a Watertight Finish
After the thin-set has fully cured (typically 24-48 hours), you can remove the spacers and begin grouting. Force the grout into the joints using a grout float, then wipe away the excess with a damp sponge.
Once the grout has cured, apply a quality grout sealer. This final step makes the grout resistant to water and stains, completing the waterproof barrier and making it much easier to clean in the long run.
The True Cost: Short-Term Savings vs. Long-Term Disaster
The real financial calculation isn’t about the cost of a box of tiles. It’s about risk management. The cost of tiling around a toilet might save you a few hundred dollars today. However, the cost of repairing a rotted subfloor and moldy wall could run into the thousands.
This becomes especially critical if you ever need to adjust the toilet’s position. Even a small change requires significant work. The cost to relocate a toilet involves much more than just the fixture itself; it involves replumbing the drain and supply lines, work that is complicated by an improperly tiled wall.
Think of it as an investment in your home’s health. The extra effort and expense to do the job correctly from the start provides a massive return by preventing future failures.
Final Verdict: An Uncompromising Choice
The debate over whether to tile behind a toilet should not be a debate at all. It is a fundamental standard of quality construction. Tiling the entire wall surface is the only way to ensure a fully waterproof, hygienic, and future-proof bathroom.
Skipping this step introduces unacceptable risks of water damage, mold growth, and cleaning difficulties. It locks you into a single toilet design and ultimately devalues the quality of your renovation.
For a durable, professional, and truly finished bathroom, the choice is clear: always remove the toilet and tile the entire wall. It’s the one decision you will never regret.