Thin Pavers Over Concrete: The Ultimate Guide to a Flawless Patio?
That old concrete patio, driveway, or walkway has seen better days. What was once a smooth, functional surface is now an eyesore of cracks, stains, and spalling. You know it detracts from your home’s curb appeal, but the thought of enduring the noise, mess, and high cost of a full demolition is overwhelming.
This common problem leads many homeowners to a seemingly perfect solution: laying thin pavers directly over the existing concrete. It promises a dramatic transformation without the headache of a total tear-out. But is this popular overlay method a durable, long-term fix or a future disaster waiting to happen? This comprehensive guide will review every angle of installing thin pavers over concrete, ensuring you make an informed decision.
You'll Learn About
What Exactly Are Thin Pavers and Why the Hype?
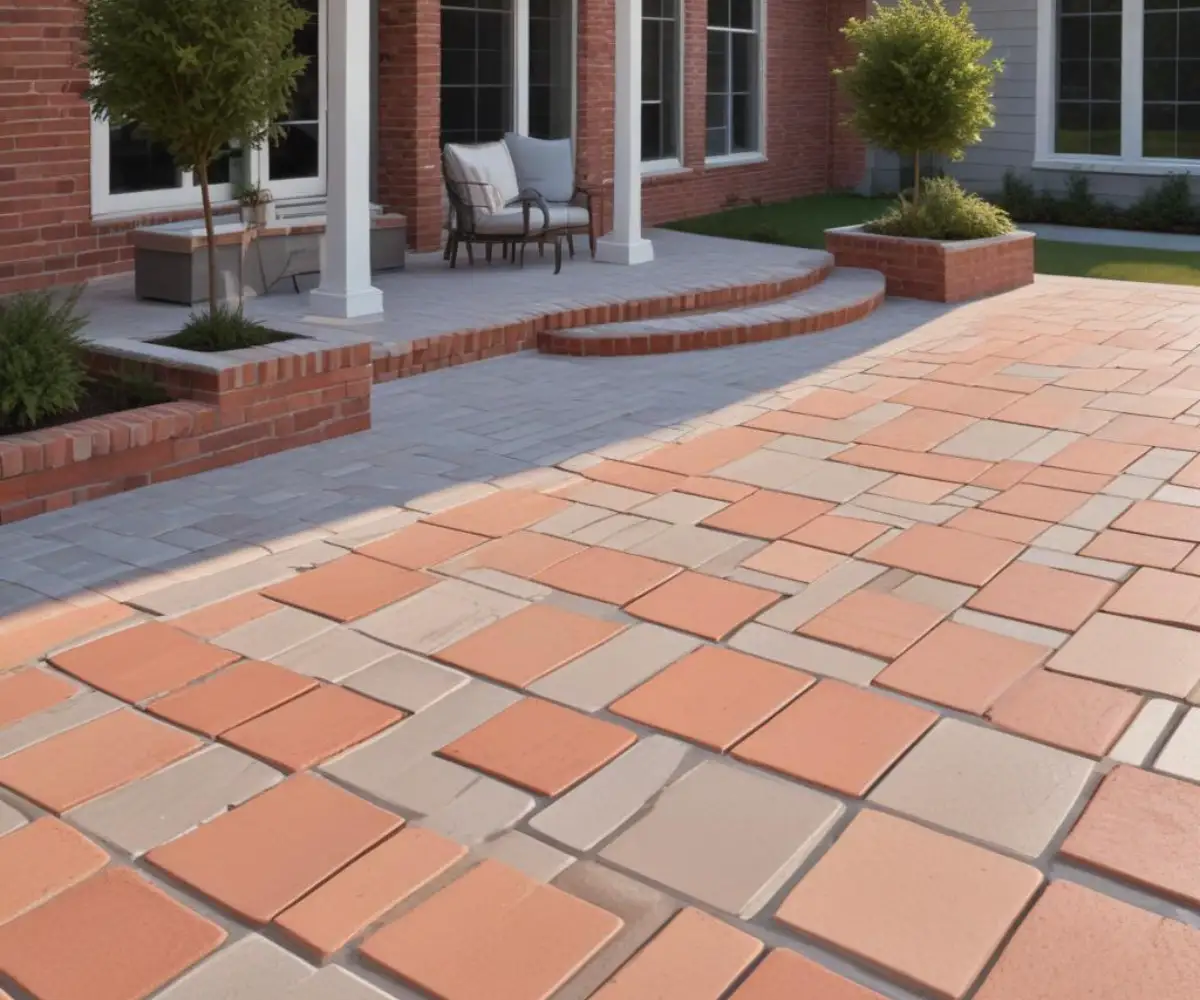
Thin pavers, often called overlay pavers, are specifically manufactured to be a lightweight and cost-effective solution for resurfacing existing hardscapes. Typically ranging from 1 to 1 1/4 inches in thickness, they are designed to be installed directly over stable concrete slabs. Their popularity stems from several key advantages that appeal to budget-conscious homeowners seeking a significant aesthetic upgrade.
The primary benefit is the dramatic cost savings. By eliminating the need for demolition, you sidestep significant labor and disposal fees. Furthermore, the installation process is much faster and less messy, allowing for a complete transformation in a fraction of the time. Thin pavers also come in a vast array of colors, shapes, and textures, mimicking high-end materials like natural stone and brick for a luxurious finish. This versatility allows you to completely reinvent your outdoor space to match your personal style.
The Brutal Truth: When You SHOULD NOT Use Thin Pavers Over Concrete
Before you get swept away by the “before and after” photos, it is crucial to understand that this method is not a universal solution. The success of a paver overlay depends entirely on the condition of the existing concrete slab. Covering up a fundamentally flawed base will only lead to failure and wasted money.
You must not proceed with an overlay if your concrete exhibits any of the following deal-breakers. Major structural cracks, heaving, or significant sinking are red flags; the movement and instability in the slab will transfer directly to the pavers above, causing them to shift, crack, and become a tripping hazard. Likewise, if the concrete is crumbling or spalling, it will not provide a stable surface for the pavers to adhere to. Finally, poor drainage is a critical issue; if water currently pools on your concrete, covering it will only trap that moisture, leading to potential freeze-thaw damage and deterioration.
Thin Paver Overlay vs. Full Demolition: A Head-to-Head Comparison
Understanding the trade-offs between an overlay and a full replacement is key to choosing the right path for your project. While an overlay offers immediate savings, a full demolition and new installation provide unmatched longevity and the opportunity to correct underlying issues. This table breaks down the essential differences to help you weigh the pros and cons.
| Feature | Thin Paver Overlay | Full Concrete Replacement |
|---|---|---|
| Initial Cost | Significantly lower due to no demolition costs. | Higher due to labor for demolition, disposal, and new base preparation. |
| Installation Time | Much faster; can often be completed in a weekend. | Lengthy process involving demolition, excavation, base prep, and curing time. |
| DIY-Friendliness | High; a manageable project for a skilled DIYer. | Low; typically requires professional contractors and heavy equipment. |
| Aesthetic Appeal | Excellent; huge variety of paver styles and colors available. | Good, but can be more limited unless you opt for expensive stamped designs. |
| Long-Term Durability | Good, but entirely dependent on the stability of the underlying concrete slab. | Excellent; a new, properly installed base provides maximum longevity. |
| Repairability | Easy; individual pavers can be replaced if one becomes damaged. | Difficult and expensive; cracks are hard to patch seamlessly. |
Your Step-by-Step Guide to a Bulletproof Installation
If you’ve determined your concrete slab is a suitable candidate, following a meticulous installation process is non-negotiable for a lasting result. Cutting corners on preparation will compromise the entire project. Each step is designed to ensure stability, proper adhesion, and effective drainage.
Step 1: The All-Important Surface Prep
Start by thoroughly cleaning the concrete surface with a pressure washer to remove all dirt, grime, and loose debris. If you have minor hairline cracks, this is the time to fill them with a quality concrete crack filler. The goal is to create a clean, sound surface for the next layers.
Step 2: Establishing the Bedding Layer
There are two primary methods for setting the pavers. The most common for DIY projects is the sand-set method, where a 1-inch layer of coarse concrete sand is spread and screeded to create a level setting bed. Alternatively, pavers can be set using a thin-set mortar or a specialized landscape block adhesive for a more permanent bond, which is often preferred for thinner pavers.
Step 3: Laying the Pavers and Edge Restraints
Begin laying pavers from a corner or a straight edge, working your way across the surface. Use string lines to maintain straight patterns and tap the pavers into place with a rubber mallet. It is absolutely essential to install rigid paver edging around any open perimeters to prevent the pavers from shifting over time.
Step 4: The Final Lock-In with Polymeric Sand
Once all pavers are set, you will fill the joints. Polymeric sand is the superior choice for this step. It’s a fine sand mixed with a binding agent that, when activated with water, hardens to lock the pavers together. This helps prevent weed growth and insect infestation while creating a durable, interconnected surface. Simply sweep the sand into the joints, remove any excess from the paver surfaces, and lightly mist with a hose to activate the polymers.
The Secret Nobody Talks About: The Critical Role of Drainage
The number one killer of paver overlays is trapped moisture. Concrete is non-permeable, so any water that gets through the paver joints has nowhere to go. This is especially problematic in climates with freeze-thaw cycles, as trapped water can freeze, expand, and push the pavers upward, a phenomenon known as “frost heave.”
Ensuring your concrete slab is properly sloped to shed water away from your home’s foundation is the first line of defense. If the slope is inadequate, some professionals will drill small drainage holes through the concrete slab in low spots before laying the sand bed. For more serious water issues, integrating a dedicated drainage system might be necessary. Exploring advanced solutions like the HydroBlox drainage solution can offer peace of mind by actively channeling water away from the installation.
Real Homeowner Reviews: The Good, The Bad, and The Ugly
Online forums and community discussions are filled with firsthand accounts of paver overlay projects. The overwhelming consensus is that success stories are born from careful preparation, while failures are almost always the result of cutting corners or trying to cover an unsuitable base. Many homeowners rave about the stunning visual transformation and cost savings.
However, cautionary tales are just as common. Reports of pavers “popping up” after the first winter are frequent, directly pointing to moisture issues and frost heave. Others complain about shifting or sinking pavers, which can often be traced back to an unstable concrete base that continued to crack or settle after the overlay was installed. The most unfortunate stories involve homeowners who had to pay for a complete tear-out of both the new pavers and the old concrete, doubling their project cost.
Frequently Asked Questions About Thin Paver Overlays
Can you drive on thin pavers installed over concrete?
Generally, no. Most thin pavers are designed for pedestrian traffic like patios and walkways. They lack the thickness and load-bearing capacity to withstand the weight of vehicles. For driveways, a full demolition and installation of standard-thickness pavers is the recommended approach.
How much height will a thin paver overlay add?
You can expect an overlay to add between 1.5 to 2.5 inches to the final height, depending on the thickness of the paver and the depth of the sand bed. This is a critical consideration for areas near door thresholds, where the added height could cause clearance issues.
Can you install pavers over a painted or sealed concrete surface?
It is not recommended. For a proper bond, whether with a sand bed or adhesive, the pavers need to be on a porous, untreated concrete surface. Paint or sealers should be removed by grinding or sandblasting before you begin the installation process.
How long will a properly installed paver overlay last?
If the underlying concrete slab is stable and all installation steps are followed correctly, a thin paver overlay can last for many years. The durability of the individual pavers is excellent, and because they are interlocked with polymeric sand, the surface is strong and resilient. The lifespan of the project is ultimately tied to the lifespan of its foundation.
The Final Verdict: Are Thin Pavers Over Concrete Right for You?
Installing thin pavers over an existing concrete slab can be a fantastic, cost-effective way to achieve a high-end look and dramatically improve your outdoor living space. It offers a viable DIY path to a professional-looking finish, saving you time and money. However, this project comes with a significant caveat: it is only as good as the foundation it’s built on.
This solution is ideal for homeowners with a structurally sound, stable, and well-drained concrete slab that is simply cosmetically flawed. If your concrete has major cracks, is uneven, or has drainage problems, an overlay will be a temporary fix at best and a costly mistake at worst. A thorough and honest assessment of your existing concrete is the most important step in this entire process. If you have any doubts, consulting with a professional hardscape contractor is a worthwhile investment.