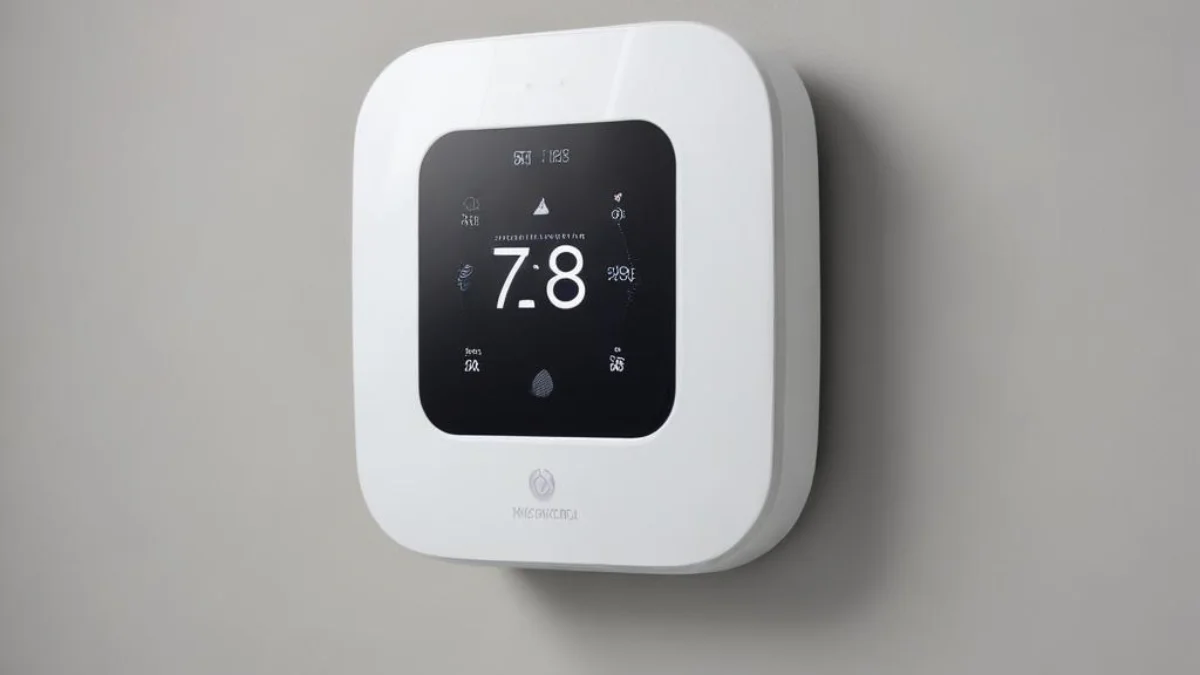
Thermostat Niche: The Secret to Hiding Your Ugly Thermostat
That plastic box on your wall is a silent hero. It manages your home’s comfort day in and day out, but let’s be honest: thermostats are rarely an attractive feature. For anyone who has invested time and effort into creating a clean, minimalist, or historically accurate interior, a bulky thermostat can feel like a glaring design flaw.
This common frustration leaves many wondering how to conceal this essential device without compromising its function. The fear is that hiding it will lead to inaccurate temperature readings, causing the HVAC system to work inefficiently and drive up energy bills. Fortunately, there is a sophisticated and effective solution that marries form and function perfectly.
You'll Learn About
What is a Thermostat Niche? The Ultimate Design Solution
A thermostat niche, also known as a recessed thermostat box, is a purpose-built cavity in the wall designed to house your thermostat. By setting the device back into the wall, it sits flush with the surface or is slightly recessed, creating a seamless and integrated appearance. This clever design trick transforms a functional object into a deliberate architectural detail.
Instead of protruding from the wall, the thermostat becomes a subtle, intentional part of the home’s design. This approach is favored by architects and interior designers aiming for uninterrupted lines and a clean aesthetic. It’s a small change that makes a significant visual impact, elevating the entire space from standard to custom-designed.
Beyond Aesthetics: The Functional Benefits You Didn’t Expect
While the primary motivation for creating a thermostat niche is often visual, a well-designed recess offers practical advantages. It provides a degree of protection for the thermostat, shielding it from accidental bumps in high-traffic areas like hallways. This can prevent damage to the device and avoid unintended temperature adjustments.
Furthermore, a niche can centralize your smart home controls. The space can be designed to include small, recessed shelves for a smart speaker or a charging station for your phone, creating a discreet “command center” for your home’s technology. This consolidates devices and reduces visual clutter on countertops and tables.
The Critical Mistake: How a Bad Niche Can Wreck Your HVAC
Creating a thermostat niche is more than just cutting a hole in the wall. The single most critical factor is ensuring unobstructed airflow. A poorly designed niche can trap a pocket of stagnant air around the thermostat, completely isolating it from the room’s actual ambient temperature.
This trapped air can be warmer or cooler than the rest of the room. If the air in the niche is warmer, the thermostat will prematurely shut off the heat or run the AC longer than needed. This leads to uncomfortable rooms and shockingly high energy bills, all while putting unnecessary strain on your entire heating and cooling system, from the furnace to the AC unit.
Understanding Airflow and Temperature Sensing
Thermostats work by sampling the air temperature around them. To get an accurate reading, air from the room must circulate freely over the thermostat’s sensors. When a thermostat is recessed, the design of the niche must encourage this natural air exchange, not prevent it.
A deep, narrow niche is a recipe for disaster, as it creates dead air space. The ideal niche is shallow and wide enough to allow room air to move in and out without obstruction. Proper design ensures the thermostat operates as intended, maintaining both comfort and efficiency for your home’s complex HVAC system, a topic further explored in various boiler reviews which emphasize system efficiency.
How to Design and Build the Perfect Thermostat Niche
Building a thermostat niche is a manageable DIY project that requires careful planning and basic carpentry skills. Following these steps will ensure a professional result that is both beautiful and functional.
Step 1: Choosing the Ideal Location (And Where to Avoid)
The location of your thermostat is paramount. It should be on an interior wall, away from direct sunlight, drafts from windows or doors, and heat sources like lamps or kitchen appliances. Placing it near an air vent is also a common mistake that causes “ghost readings.”
The thermostat should be mounted approximately 5 feet from the floor to get a good average reading of the room’s temperature. Choose a central location like a living room or main hallway where you spend the most time, as this will best represent the home’s overall climate.
Step 2: Planning Dimensions and Ventilation
Before cutting, plan the niche’s dimensions carefully. It should be wide enough to allow at least a few inches of space on all sides of the thermostat for airflow. The depth is critical; aim for a shallow recess that doesn’t completely enclose the device. A depth of 1 to 2 inches is often sufficient.
Consider the structure of your wall. Most interior walls are built with 2×4 studs, giving you about 3.5 inches of depth to work with. Ensure your design does not interfere with any wiring or plumbing inside the wall cavity. Using durable building materials, even for interior projects, contributes to the longevity of your home, a principle that applies whether you’re working with standard drywall or more robust options like asphalt-impregnated plywood in structural applications.
Step 3: Framing and Construction (DIY Guide)
First, turn off the power to your thermostat at the circuit breaker. Carefully remove the thermostat from the wall. Use a stud finder to locate the studs and plan your niche opening between them. Cut a clean opening in the drywall using a utility knife or drywall saw.
Inside the wall cavity, build a simple box frame using 1×2 or 2×2 lumber to support the back and sides of the niche. This provides a solid surface for finishing. Run the thermostat wires through a small hole in the back of your new frame before securing the frame to the wall studs.
Step 4: Finishing Touches (Plaster, Paint, and Style)
With the frame in place, finish the inside of the niche with a small piece of drywall or a thin backer board. Use drywall tape and joint compound to seamlessly blend the edges of the niche with the surrounding wall. Feather the compound out for a smooth, professional finish.
After sanding and priming, paint the niche to match your wall color for a subtle, blended look. Alternatively, you can use a contrasting color, tile, or thin wood veneer to turn the niche into a unique design accent. Remount your thermostat, restore the power, and enjoy your new, clean wall.
Smart Thermostat Niche Ideas for a Modern Home
The modern home is increasingly about seamless integration of technology. Just as a well-designed kitchen might feature 2 dishwashers for ultimate convenience, a smart thermostat niche can elevate your home’s tech experience. Consider designing a wider niche to create a small “smart home hub.”
You can include a recessed wireless charger for your smartphone or a small cutout for a smart speaker. This approach consolidates your most-used devices into one clean, organized, and centrally located station, reducing clutter and enhancing the high-tech feel of your home without sacrificing design.
Thermostat Niche Do’s and Don’ts (The Ultimate Checklist)
A successful thermostat niche project hinges on getting the details right. This table provides a quick reference guide to ensure your niche is both functional and stylish.
| Aspect | Do This | Don’t Do This |
|---|---|---|
| Location | Place on an interior wall in a central, frequently used area. | Install near windows, doors, vents, direct sunlight, or heat sources. |
| Depth | Keep the niche shallow (1-2 inches) to promote airflow. | Create a deep, boxy niche that traps air around the thermostat. |
| Width | Allow several inches of open space around all sides of the device. | Fit the niche tightly around the thermostat, restricting air movement. |
| Ventilation | Ensure the design allows for natural air circulation. | Cover the niche opening with a door or unventilated decorative cover. |
| Height | Mount at a standard height of about 60 inches (5 feet) from the floor. | Place it too high or too low, which can lead to inaccurate readings. |
Frequently Asked Questions About Recessed Thermostats
Even with a clear plan, questions can arise. Here are answers to some of the most common inquiries about creating a thermostat niche.
Will a niche affect my thermostat’s accuracy?
A well-designed niche will not affect accuracy. The key is ensuring ample airflow. If the niche is too deep or enclosed, it will trap air and cause inaccurate readings, leading to inefficient HVAC performance and higher energy costs.
Smart thermostats with remote sensors offer a great solution, as the main unit can be recessed while sensors placed in other rooms provide the primary temperature data, ensuring perfect accuracy regardless of the niche design.
Can I put a cover or door on my thermostat niche?
It is strongly discouraged to put a solid cover or door over a thermostat. This will completely block airflow and guarantee inaccurate readings. If you wish to conceal it further, use a cover with significant ventilation, such as a perforated metal screen or a slatted wood design that allows air to pass through freely.
Some creative solutions involve hanging a canvas artwork on hinges over the niche, which allows the art to swing away for access while leaving a gap for air. However, a completely open niche remains the most reliable option for functionality.
What’s the best material for a thermostat niche?
The most common and effective approach is to finish the niche with the same material as your wall, typically drywall and paint. This creates the most seamless, integrated look. For a decorative accent, you can use materials like thin wood paneling, tile, or smooth plaster.
Avoid materials that retain heat, such as dark metal or stone in a sunny spot, as this could influence the local air temperature around the thermostat. The goal is for the niche to be as thermally neutral as possible.
Is a Thermostat Niche Worth the Effort?
For those who value clean design and an uncluttered living space, a thermostat niche is absolutely worth the effort. It’s a high-impact, low-cost DIY project that elevates the look and feel of a room, turning a functional necessity into a sophisticated design feature.
By following the core principles of proper location and adequate airflow, you can successfully hide your thermostat without sacrificing comfort or efficiency. The result is a seamless wall and a perfectly controlled climate—the best of both worlds.