Temporary Gas Line Cap: Your Ultimate Guide to Avoid Disaster
You’re in the middle of a kitchen renovation or replacing an old appliance, and suddenly you’re faced with an open gas pipe. This is not a situation to take lightly; an uncapped gas line is a serious hazard in your home. It’s a direct source for a potential gas leak, which can lead to fires, explosions, or serious health issues.
Safely managing this situation is non-negotiable, and that’s where a temporary gas line cap becomes your most critical tool. This guide will walk you through everything you need to know to handle this problem safely and effectively, ensuring your home and family are protected.
You'll Learn About
Why You Absolutely Cannot Ignore an Open Gas Line
An open gas line is an immediate and severe danger. Natural gas is highly flammable, and even a small leak can fill a room with an explosive mixture of gas and air. The slightest spark from a light switch, an appliance, or even static electricity could trigger a devastating explosion.
Beyond the risk of fire, natural gas exposure can cause serious health problems, including dizziness, headaches, and nausea. If you ever smell the characteristic “rotten egg” odor of gas, it’s a critical warning sign. Should this happen, you might be dealing with a dangerous leak similar to situations where a GE gas dryer smells like gas; you must evacuate the area immediately and call your utility company or 911 from a safe distance.
Understanding the Telltale Signs of a Gas Leak
Knowing how to recognize a gas leak is a vital skill for any homeowner. The most obvious sign is the distinct smell of sulfur or rotten eggs, which is an odorant added to natural gas to make it detectable. However, there are other, more subtle signs to be aware of.
Listen for a hissing or whistling sound near a gas line or appliance. Look for visual cues like blowing dust, bubbles in standing water, or dead or dying vegetation in a specific area outside your home. Unexplained increases in your gas bill can also indicate a slow, persistent leak somewhere in your system.
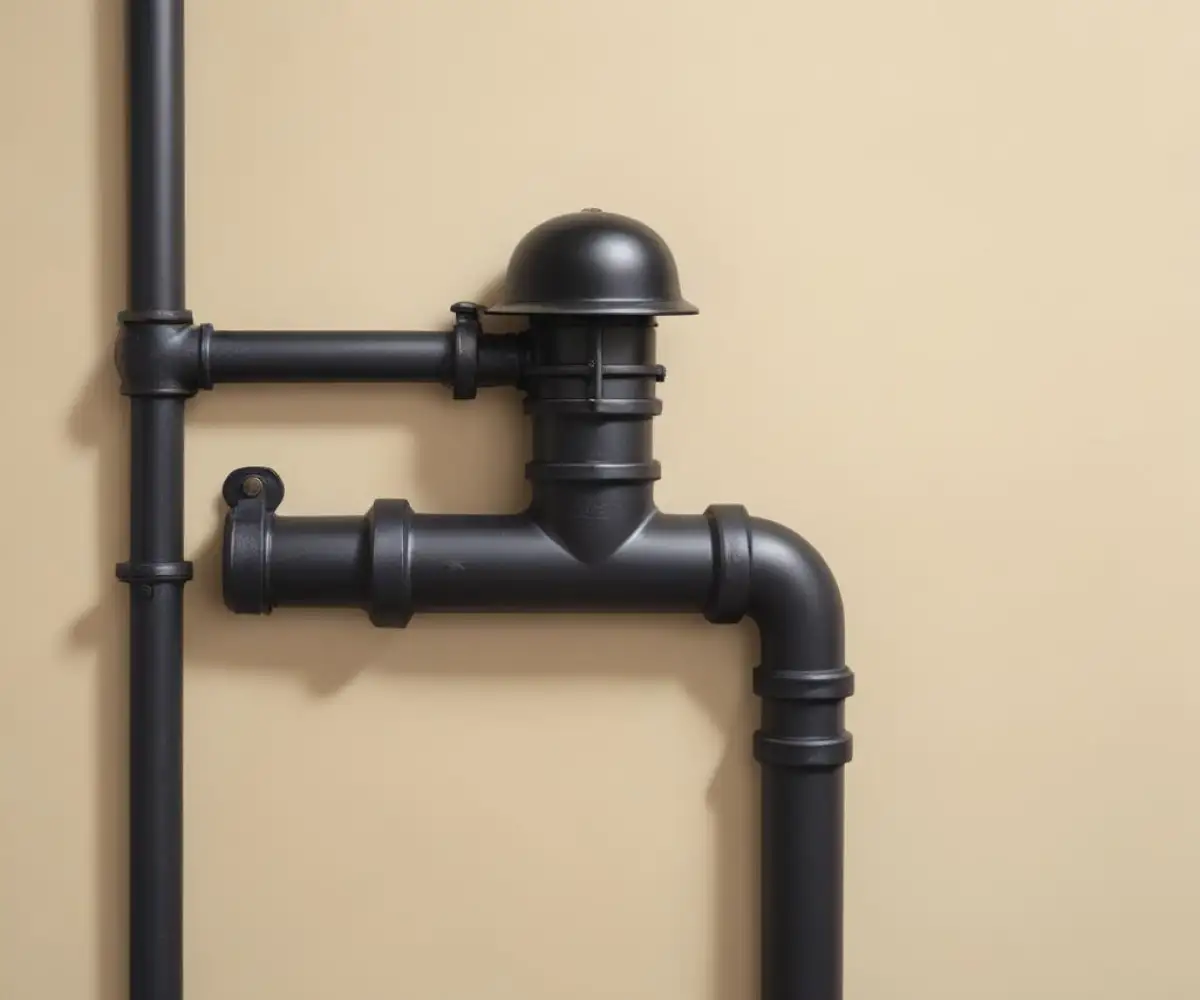
Understanding Your Tools: The Right Cap for the Job
When it comes to sealing a gas line, you have two primary options: a cap or a plug. A gas cap is a female-threaded fitting that screws onto the outside of a male-threaded pipe end. Conversely, a gas plug is a male-threaded fitting that screws into the inside of a female-threaded fitting.
It’s crucial to use the correct fitting for your specific pipe. The material is just as important; gas fittings are typically made of black iron or brass. Never use galvanized pipe or fittings for gas lines, as the zinc coating can flake off and clog regulators and valves. Always match the cap material to the pipe material—a black iron cap for a black iron pipe, and a brass cap for a brass pipe.
Comparing Gas Line Caps and Plugs
To ensure you’re using the right component for the job, it’s important to understand the fundamental differences between the various fittings available. This table breaks down the most common types of caps and plugs used for gas lines.
| Fitting Type | Threading | Common Material | Primary Use |
|---|---|---|---|
| Pipe Cap | Female (Threads on inside) | Black Malleable Iron | To seal the end of an exposed, male-threaded gas pipe. |
| Pipe Plug | Male (Threads on outside) | Black Malleable Iron / Brass | To seal a female-threaded opening, such as in a valve or fitting. |
| Flare Cap | Female (Swivel nut) | Brass | To seal the end of a male flare fitting, common on flexible appliance connectors. |
| Flare Plug | Male (Flared end) | Brass | To seal an open female flare fitting. |
The Step-by-Step Guide to Safely Installing a Temporary Gas Cap
Installing a temporary gas cap is a task that requires absolute attention to detail and safety. While it can be a DIY project for those with experience, the rule is simple: when in doubt, call a professional. If you choose to proceed, follow these steps meticulously to ensure a safe and secure seal.
Step 1: Safety First – Shut Off the Gas!
This is the most critical step. Before you do anything else, you must shut off the gas supply to the line you are working on. First, locate the shut-off valve for the specific appliance, which is usually found on the pipe within a few feet of the appliance connection. Turn the valve handle so it is perpendicular to the pipe.
For maximum safety, it is also highly recommended to shut off the main gas supply at your meter. The main valve is typically located on the pipe coming into the meter from the street. Use a crescent wrench to turn this valve a quarter turn so it is perpendicular to the pipe.
Step 2: Gather Your Arsenal of Tools
Having the right tools on hand will make the job smoother and safer. You will need two pipe wrenches or adjustable crescent wrenches, a wire brush, gas-rated thread sealant (either yellow Teflon tape or pipe dope), and a gas leak detection solution. You can make your own leak detector by mixing a 50/50 solution of dish soap and water in a spray bottle.
Step 3: Removing the Old Appliance or Fitting
With the gas safely turned off, you can now disconnect the appliance. Use the double-wrench technique to avoid putting stress on the gas pipes in your wall. Place one wrench on the main gas pipe to hold it steady, and use the second wrench to loosen the nut on the flexible appliance connector, turning it counter-clockwise.
Step 4: Clean and Prepare the Pipe Threads
Once the old fitting is removed, inspect the threads on the end of the pipe. They must be clean and free of old sealant, dirt, or rust to ensure a proper seal. Use a wire brush to thoroughly clean the male threads until they are bare metal.
Step 5: Applying Thread Sealant Correctly
Properly applying thread sealant is key to a leak-proof connection. If you are using yellow, gas-rated Teflon tape, wrap it clockwise around the male threads 3-5 times. Wrapping it clockwise ensures the tape doesn’t unravel as you tighten the cap.
If you are using pipe dope (pipe joint compound), apply an even layer to the male threads, making sure to cover all the threads but avoiding getting excess inside the pipe.
Step 6: Tightening the Cap
Start by threading the cap onto the pipe by hand until it is finger-tight. Then, use your pipe wrenches to finish the job. Again, use the double-wrench technique: one wrench to hold the pipe steady and the other to tighten the cap clockwise. The cap should be very snug, but do not overtighten, as this can crack the cap or damage the threads, leading to a leak.
Step 7: The Moment of Truth – Checking for Leaks
This final check is non-negotiable. Go back to your main gas meter and slowly turn the gas supply back on. Then, turn on the individual appliance valve. Spray your soap and water solution generously on the newly capped connection, covering the entire area where the cap meets the pipe.
Watch closely for several minutes. If you see any bubbles forming, you have a gas leak. You must immediately turn off the gas supply, remove the cap, clean the threads, reapply sealant, and tighten the cap again. Repeat this process until your test shows no bubbles.
DIY vs. Calling a Pro: A Crucial Decision
Working with gas lines carries inherent risks, and many jurisdictions require licensed professionals to perform any work on gas piping. While a simple temporary cap might seem like a straightforward DIY task, the consequences of a mistake can be catastrophic. A professional plumber or licensed gas fitter has the experience, specialized tools, and knowledge of local codes to do the job safely and correctly.
If you have any hesitation or lack experience with pipe fitting, calling a professional is always the safest choice. The cost of hiring a pro is minimal compared to the potential cost of property damage or injury from a gas leak or fire. If you are replacing an old gas appliance, you may also want to explore the cost to convert a gas stove to electric as part of a larger renovation project.
Common Scenarios for Needing a Temporary Gas Cap
There are several common situations where a homeowner might need to temporarily cap a gas line. The most frequent is during a kitchen or laundry room renovation when appliances are being moved or replaced. You might also need a cap if you are removing a gas fireplace or disconnecting an outdoor gas grill for the season.
In cases involving outdoor gas lines, it’s also a good time to consider how to safely manage the pipe’s appearance and safety, which might include looking into a gas pipe cover for outside aesthetics and safety. No matter the scenario, the need for a secure, leak-free seal remains paramount.
Frequently Asked Questions (FAQs)
Navigating gas line safety can bring up a lot of questions. Here are answers to some of the most common queries about temporary gas line caps.
Can I use a temporary cap for a long-term solution?
Absolutely not. A temporary cap is designed for short-term use only, such as during a renovation. If a gas line is being taken out of service permanently, it should be properly terminated and sealed by a licensed professional, often further back in the piping system.
What is the difference between a cap and a plug?
A cap is a female-threaded fitting that screws over the end of a male-threaded pipe. A plug is a male-threaded fitting that screws into a female-threaded opening. You must use the correct one for your specific connection.
Can I reuse an old gas cap or fitting?
It is strongly recommended to always use a new cap for a new installation. Old fittings can have worn threads or hairline cracks that are difficult to see, which could prevent a secure seal. Given the low cost of a new cap, it is never worth the risk.