Swamp Cooler Vent Filter Filthy? Unlock Colder, Cleaner Air Now
You feel it before you see it. The air from your swamp cooler vents feels weaker, and it carries a subtle, musty odor that wasn’t there before. The cooling relief you rely on during hot months is diminishing, replaced by dusty, stale air that might even be making your allergies worse.
This frustrating decline in performance isn’t a sign that your entire evaporative cooler is failing. The culprit is often a small, neglected component working silently behind your vents: the swamp cooler vent filter.
Ignoring this final-stage filter is a common mistake that leads to poor air quality, reduced efficiency, and unnecessary strain on your cooling system. Understanding its role is the first step toward restoring the clean, cold airflow your home deserves.
You'll Learn About
The Hidden Dangers Lurking in Your Vents
A swamp cooler’s main pads do a great job of filtering larger debris before the air is cooled. However, finer particles, pollen, and even microscopic mold spores can travel through the ductwork. The vent filter is the last line of defense, designed to trap these contaminants before they enter your living space.
When this filter becomes clogged, it transforms from a protective barrier into a source of problems. The consequences extend far beyond a simple reduction in airflow, impacting your health, wallet, and comfort.
Your Health is on the Line: The Air Quality Problem
A saturated vent filter can no longer trap airborne particles effectively. Instead, it can become a breeding ground for mold and bacteria, which thrive in the cool, moist environment. The blower motor then forces air through this contaminated mess, distributing allergens, dust mites, pet dander, and mold spores directly into the rooms you and your family occupy.
This can trigger a host of health issues, from persistent allergy symptoms and asthma attacks to headaches and respiratory irritation. You might notice more sneezing, coughing, and a general feeling of stuffiness, all because the air itself is unclean. Protecting indoor air quality starts where the air enters your room.
The Sneaky Efficiency Killer
Think of trying to breathe through a thick cloth. A clogged filter forces your swamp cooler’s blower motor to work significantly harder to push air through the blockage. This strain leads to a direct increase in energy consumption as the system fights against itself.
Your electricity bills may creep up without you realizing the cause. The immediate effect you will notice is a weaker, less satisfying breeze from the vents, leaving rooms warmer and more uncomfortable even when the cooler is running on high.
That Unmistakable Musty Odor
One of the most common complaints from swamp cooler owners is a persistent musty or “dirty sock” smell. This odor is often caused by organic debris and moisture trapped in a dirty vent filter. As bacteria and mold proliferate on the filter medium, they release smelly volatile organic compounds (VOCs) that get circulated with the cooled air.
No amount of air freshener can solve this problem at its source. The only solution is to address the contaminated filter directly, removing the source of the foul odor and restoring freshness to your home’s air.
Your Comprehensive Guide to Vent Filter Mastery
Regaining control over your home’s air quality and cooling efficiency is straightforward. By identifying, cleaning, and knowing when to replace your vent filters, you can solve the problem at its source. This process is simple enough for any homeowner to tackle.
First, Locate and Identify Your Vent Filters
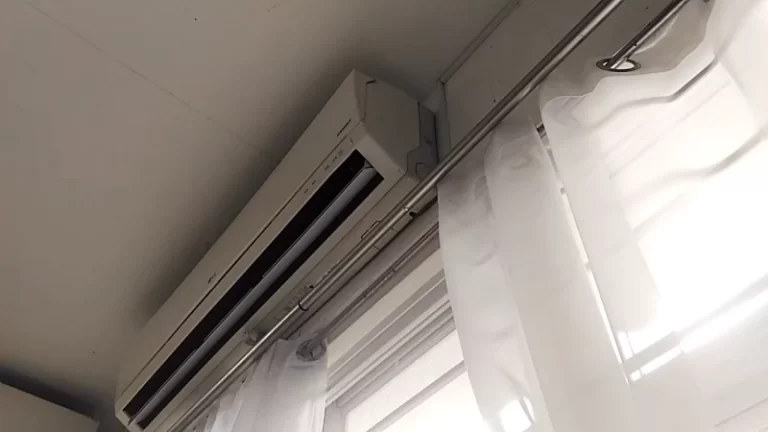
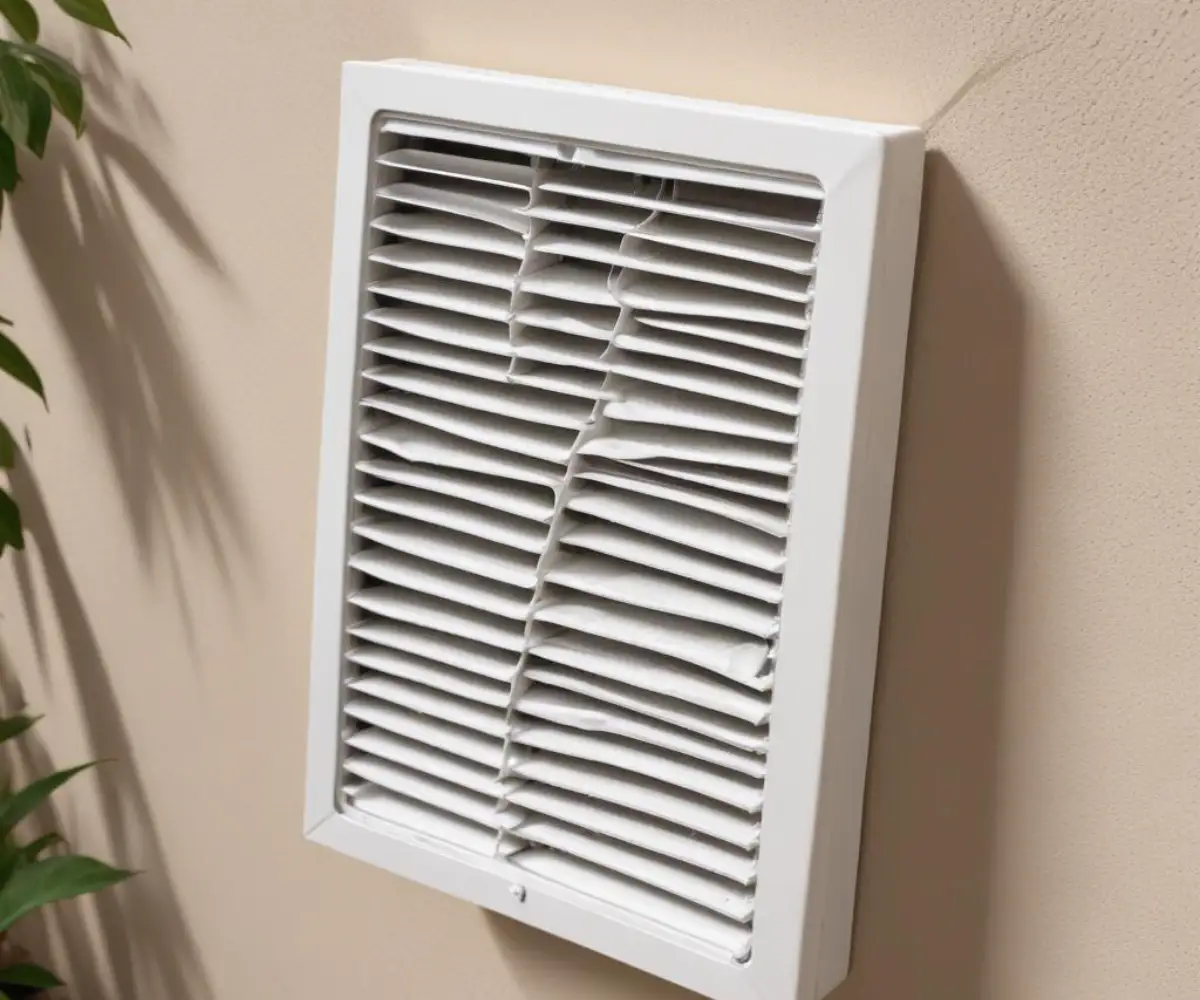
Swamp cooler vent filters are located directly behind the registers or grilles where the cool air enters a room. These can be on the ceiling, high on a wall, or occasionally on the floor. Most vent covers are held in place by screws or simple clips that can be easily opened.
Once you open the vent, you will see the filter. It might be a simple mesh screen, a fibrous pad, or a more complex pleated filter. Note its size and type, as this will be crucial for cleaning or purchasing a replacement. There are several common types, each with unique properties.
Understanding the differences between filter types can help you choose the best option for your home’s specific needs, balancing filtration effectiveness with airflow and maintenance requirements. Some are designed for basic dust capture, while others can trap microscopic allergens and odors.
The Definitive Vent Filter Comparison
Choosing the right filter is a critical step. Different materials offer varying levels of filtration, airflow, and maintenance needs. This table breaks down the most common options to help you make an informed decision for your home.
| Filter Type | Primary Material | Best For | Maintenance | Key Feature |
|---|---|---|---|---|
| Fiberglass / Synthetic | Spun glass or synthetic fibers | Basic dust and lint capture; maximizing airflow. | Disposable; replace every 30-90 days. | Most affordable and allows for highest airflow. |
| Washable/Reusable | Foam or electrostatic mesh | Cost-conscious users in low-dust environments. | Wash with water monthly; must dry completely. | Eco-friendly and economical over the long term. |
| Pleated Electrostatic | Cotton or paper blend paper | Homes with pets, children, or allergy sufferers. | Disposable; replace every 60-90 days. | Captures smaller particles like pollen and dander. |
| Carbon-Activated | Pleated filter infused with carbon | Removing odors from pets, cooking, or smoke. | Disposable; replace every 60-90 days. | Excellent at neutralizing smells, not just trapping particles. |
The Cleaning and Replacement Ritual
Regular maintenance is non-negotiable for a healthy cooling system. Whether you clean or replace your filter depends on its type, but the initial steps are the same. This simple routine will ensure your system runs optimally.
Step 1: Prioritize Safety. Before you do anything, locate the circuit breaker for your swamp cooler and turn it off. This prevents the unit from accidentally turning on while you are working on the vents.
Step 2: Access the Filter. Carefully remove the vent cover. Most can be unclipped or unscrewed. The filter should be sitting just inside. Gently remove it, being careful not to spill the trapped dust and debris into the room.
Step 3: Inspect for Damage. Look closely at the filter. Is it torn, warped, or showing signs of persistent mold or mildew? If you have a disposable filter that is dark grey or black with dirt, its lifespan is over. Any visible damage means it’s time for a replacement, regardless of type.
Step 4: The Cleaning Process (For Reusable Filters). If you have a washable filter in good condition, take it outside. Use the brush attachment on your vacuum to remove all the loose dust. Then, wash it gently with a mild detergent and lukewarm water. Rinse it thoroughly and, most importantly, allow it to dry completely before reinstalling. A damp filter is a magnet for mold.
Step 5: Installation. Place the clean, dry filter or the new replacement filter back into the housing behind the vent. Secure the vent cover back in place, and then you can restore power at the circuit breaker.
Elevate Your Air: Advanced Tactics for Superior Cooling
Basic maintenance is essential, but you can achieve an even higher level of air quality and efficiency. By thinking beyond a simple replacement, you can customize your home’s air filtration and address underlying issues that many people overlook.
These strategies focus on optimizing the entire system, not just one component, for truly exceptional results.
Upgrade Your Filtration Game with MERV Ratings
Not all filters are created equal. The Minimum Efficiency Reporting Value, or MERV rating, tells you how effective a filter is at trapping particles of different sizes. A standard fiberglass filter might be a MERV 1-4, while a high-quality pleated filter can be MERV 8 or higher, capturing much smaller contaminants like pollen and mold spores.
For homes with allergy sufferers or pets, upgrading to a filter with a MERV rating between 6 and 8 can make a dramatic difference in indoor air quality. However, be aware that a very high MERV rating (11+) can restrict airflow too much for some swamp cooler systems, so finding a balance is key. A mid-range MERV filter is often the sweet spot for residential evaporative coolers.
The Unseen Enemy: Poor Vent Sealing
A high-quality vent filter can be completely undermined if the vent register itself is not properly sealed to the ceiling or wall. Gaps between the duct boot and the drywall allow unfiltered air from your attic or wall cavities to be pulled into the room, bypassing the filter entirely.
This dusty, unconditioned air mixes with your clean, cooled air, degrading its quality. To check for this, feel around the edges of your vent while the cooler is running. If you feel air being drawn in, you have a leak. Sealing these gaps with caulk or metal foil tape is a simple fix that ensures all the air entering your room has passed through the filter first.
Strategic Home Maintenance for Cleaner Air
The battle for clean air starts outside your home. The less dust, pollen, and debris around your property, the less work your swamp cooler has to do. A holistic approach to home maintenance can significantly reduce the contaminant load on your entire system. For instance, ensuring your roof and drainage are clear is a crucial first step. You can read reviews of gutter protection systems to see how keeping debris out of your gutters can reduce ambient dust and organic material that might otherwise get sucked into your cooler.
Inside, managing heat gain is just as important for efficiency. Sunlight streaming through windows forces your cooler to work harder. Considering effective ways for how to cover a window from inside can drastically lower the ambient temperature, allowing your swamp cooler to perform more effectively with less strain. Even your interior design choices matter; while aesthetically bold, an option like ultra-black wall paint can absorb significant heat, influencing the cooling load in a room.
By regularly cleaning or replacing your swamp cooler vent filters and adopting these advanced strategies, you are not just maintaining a machine. You are actively curating a healthier, more comfortable, and more efficient home environment.