Sump Pump Only Works When I Shake It? Here’s the Fix!
That sudden panic when you hear water in the basement but the sump pump is silent is a homeowner’s nightmare. You rush downstairs, give the pump a little shake or a tap, and it reluctantly roars to life. While you may have averted disaster this time, this is a critical warning sign that your primary defense against flooding is about to fail.
Ignoring a sump pump that only works when you shake it is like ignoring the check engine light in your car—eventually, you’re going to be stranded. Fortunately, this is often a problem you can diagnose and fix yourself with a little bit of investigation and some basic tools.
In this guide, we’ll walk you through the common culprits behind a stubborn sump pump and provide a step-by-step plan to get it running reliably again. We’ll cover everything from the most likely suspect—the float switch—to more complex motor issues, ensuring you know what to look for and when it’s time to call in a professional.
You'll Learn About
Why Your Sump Pump Needs a “Wake-Up Shake” to Start
When a sump pump fails to activate on its own but starts when nudged, the problem almost always lies with a component that is physically stuck or failing to make an electrical connection. The “shake” provides just enough force to overcome the obstruction or jolt a faulty part into working temporarily. Let’s break down the most common reasons for this dangerous unreliability.
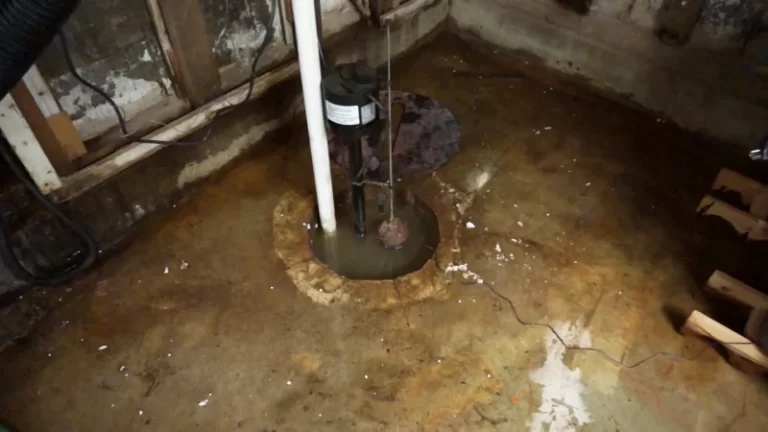
The #1 Culprit: A Stuck or Obstructed Float Switch
The float switch is the trigger for your sump pump. As water fills the sump pit, the float rises, and once it reaches a certain level, it activates the switch, turning the pump on. If this switch can’t move freely, the pump will never get the signal to start.
There are two main types of float switches, and both can get stuck. A tethered float switch dangles in the pit and can easily get tangled on the pump itself, the discharge pipe, or even the basin walls. A vertical float switch slides up and down a rod and can get jammed by debris or grime, preventing it from rising with the water level. Shaking the pump often dislodges the stuck float, allowing it to complete the circuit.
Debris and Sludge: The Silent Sump Pit Killers
Your sump pit is the lowest point in your basement, and it naturally collects more than just water. Dirt, gravel, grime, and sometimes even small objects can wash into the pit. This sludge and debris can build up over time, creating a thick muck at the bottom.
This debris can physically block the float switch from moving or even clog the pump’s intake screen. When the intake is blocked, the motor may struggle to pull in water, and in some cases, it might not start at all until the vibration from a shake dislodges the blockage slightly.
A Failing Motor or Starting Capacitor
Like any motor, a sump pump motor can wear out over time. One of the first signs of failure can be difficulty starting. The motor might hum, indicating it’s receiving power but doesn’t have the torque to begin spinning. This is often due to a worn-out starting capacitor.
The capacitor provides a jolt of energy to get the motor spinning. When it fails, the motor can’t overcome its initial inertia. Shaking the unit can sometimes be just enough to move the internal components into a position where the motor can catch and start spinning. A humming sound without action is a major red flag for motor trouble.
The Check Valve Isn’t Checking Out
The check valve is a one-way gate on your discharge pipe that prevents water from flowing back into the pit after the pump shuts off. If this valve gets stuck in a partially closed position, it can create back pressure that makes it harder for the pump to start. While less common, a jolt to the system can sometimes be enough to knock the valve fully open, allowing the pump to function.
If you find the pump runs but struggles to empty the pit, and you constantly hear water running back, your check valve might be the issue. Sometimes, you may wonder why you hear water running in your sump pump, and a faulty check valve is often the primary reason.
Your Step-by-Step Guide to Fixing a Stubborn Sump Pump
Now that you know the potential causes, it’s time to get your hands dirty. Follow these steps methodically to diagnose and solve the problem. Remember, safety is paramount when working with water and electricity.
Safety First! Disconnect the Power
Before you even think about reaching into the sump pit, you must completely disconnect the sump pump from its power source. Unplug it directly from the wall outlet. If the pump is hardwired, you must turn off the corresponding breaker in your home’s electrical panel. Never work on a sump pump that is connected to power.
Step 1: Inspect and Clean the Float Switch
Since the float switch is the most common issue, start here. Carefully lift the pump out of the pit and place it on a bucket or some old towels. Locate the float switch—it will be either the tethered ball or the vertical float on a rod.
Manually lift the float switch. You should hear a distinct “click” as it activates the switch inside. If it doesn’t move smoothly or you don’t hear a click, it’s likely jammed or broken. Clean any grime or debris off the float and its guide rod. For tethered floats, ensure the cord isn’t wrapped around the pump body.
Step 2: Thoroughly Clean the Sump Pit
While the pump is out, take the opportunity to clean the sump pit itself. Use a wet/dry vacuum or a bucket to remove all the remaining water and sludge from the bottom of the basin. Scrape the sides and bottom to remove any caked-on grime that could interfere with the float’s operation.
A clean pit is essential for reliable pump operation. This single step can prevent a host of future problems and is one of the most important parts of sump pump maintenance.
Step 3: Check the Impeller and Intake Screen
With the pump out of the pit, turn it over and inspect the bottom. You will see an intake screen designed to filter out larger debris. This screen can become clogged with leaves, mud, and other gunk, effectively starving the pump of water.
Clean the screen thoroughly. If possible, look past the screen to the impeller (the small, fan-like device that propels the water). Ensure it’s clear of any stringy debris or small stones that could be jamming it.
| Troubleshooting Step | Tools Needed | Estimated Time | Primary Goal |
|---|---|---|---|
| Disconnect Power | None | 1 minute | Ensure personal safety before starting work. |
| Inspect Float Switch | Gloves, bucket, rags | 15-20 minutes | Confirm the switch moves freely and activates the pump. |
| Clean Sump Pit | Wet/dry vacuum, bucket, scraper | 30-45 minutes | Remove all debris that could obstruct the float or pump intake. |
| Clear Intake & Impeller | Gloves, screwdriver (optional) | 10 minutes | Ensure water can freely enter the pump. |
| Examine Check Valve | Wrenches or pliers (if removing) | 15-30 minutes | Verify water can exit but not return to the pit. |
| Test Pump Operation | Bucket of water | 5 minutes | Confirm the issue is resolved before a real storm hits. |
Step 4: Examine the Check Valve
Locate the check valve on the PVC discharge pipe, usually a foot or two above the pump. Most modern check valves have clear housings or rubber couplings that allow for inspection. Ensure the flap inside can move freely.
If you can’t see inside, you may need to disconnect the pipe to check it. This is also a good time to make sure the valve was installed in the correct orientation—there is usually an arrow indicating the direction of water flow, which should be pointing away from the pump.
Step 5: Test the Motor and Capacitor (Advanced)
After cleaning and reassembling everything, it’s time to test. With the pump still unplugged, place it back in the pit and reconnect the discharge pipe. Plug the pump back in. Slowly fill the sump pit with a bucket of water or a hose.
Watch the float switch as the water rises. The pump should turn on by itself well before the water reaches the top of the pit. If it still just hums and refuses to start without a shake, the problem is very likely a failing motor or a bad starting capacitor. At this point, you should consider replacing the pump or calling a professional for service.
Preventive Maintenance: How to Stop Shaking Your Sump Pump for Good
The key to a reliable sump pump isn’t just fixing it when it breaks; it’s preventing it from breaking in the first place. A simple maintenance routine can save you thousands of dollars in potential flood damage and give you priceless peace of mind.
Regular Cleaning Schedule
At least once a year (or twice if your pit collects a lot of sediment), you should perform the cleaning routine outlined above. Disconnect the pump, pull it out, and thoroughly clean both the pump and the pit. This is the single most effective thing you can do to ensure longevity and reliability.
Test Your Pump Frequently
Don’t wait for a torrential downpour to discover your pump has failed. Every few months, test the pump by pouring a few buckets of water into the pit to make sure it cycles on and off correctly. This simple test only takes a few minutes and can alert you to a problem long before it becomes an emergency.
Proper maintenance of all your home’s systems is crucial for avoiding unexpected breakdowns. Just as you’d investigate why there’s heat downstairs but not upstairs to prevent a freezing night, regular sump pump checks prevent a flooded basement.
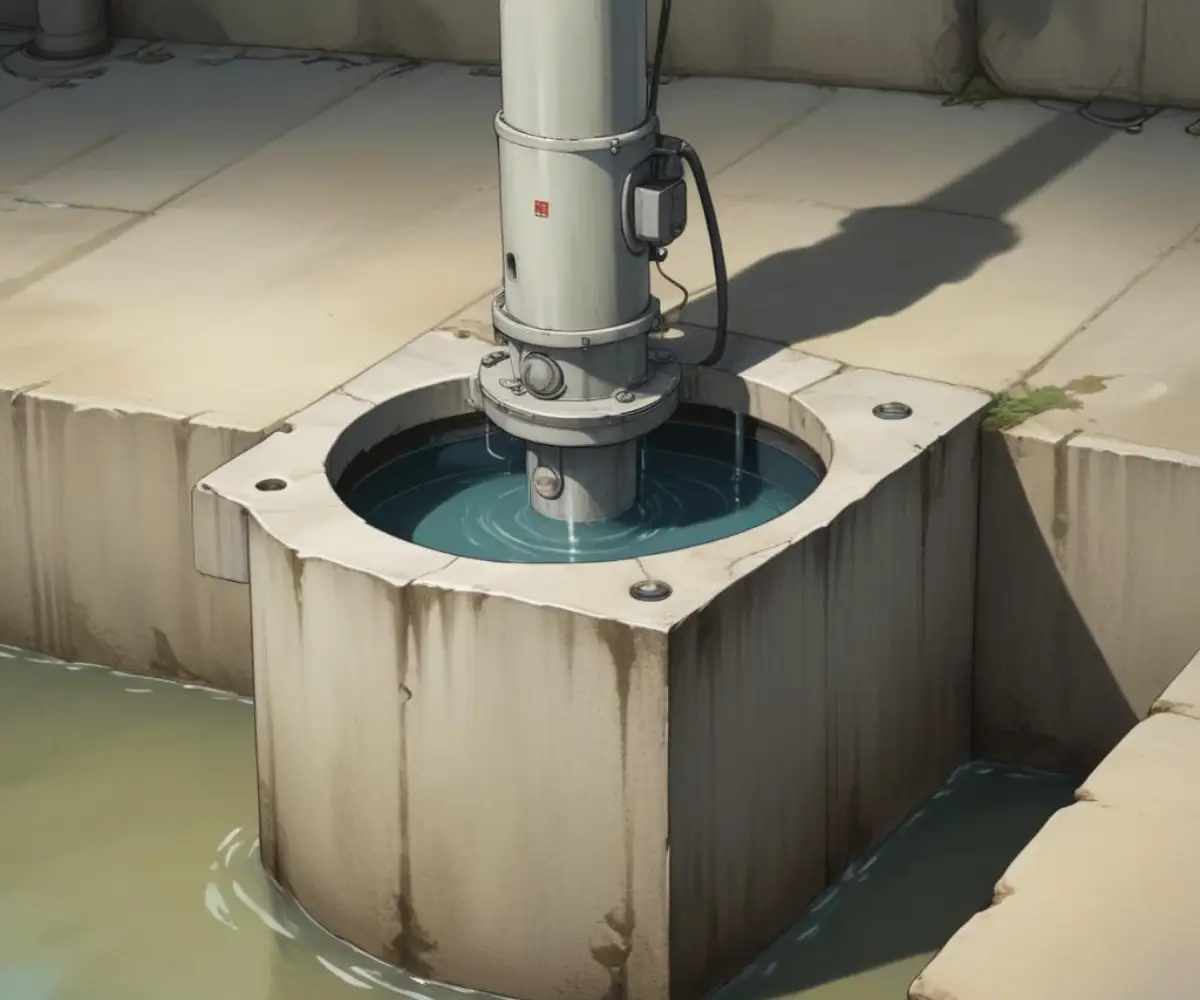
Consider a Sump Pump Cover
An open sump pit is an invitation for dirt, debris, toys, and pests to fall in and cause a jam. A durable, airtight sump pit cover not only keeps debris out but also prevents radon gas from entering your home and quiets the noise of the pump. It’s a simple upgrade that solves multiple problems at once.
When to Call a Professional Plumber
While many sump pump issues are DIY-friendly, there are times when it’s best to call in a licensed plumber. If you’ve cleaned the pit and the float switch and the pump still only hums or requires a shake, it’s a sign of an internal electrical or motor problem.
Repairing a motor or capacitor is often not cost-effective compared to the price of a new pump, and it requires specialized knowledge. A professional can quickly diagnose the issue, recommend the right replacement pump for your needs, and ensure it’s installed correctly according to local plumbing codes.
Having the right tools for any job, from plumbing to woodworking, makes all the difference. Investing in reliable equipment, rather than searching for the best knock off DeWalt batteries, ensures you have the power you need when you need it most.
Your sump pump is a vital piece of equipment protecting your home’s foundation and your belongings. That “shake to start” is its cry for help. By taking the time to inspect, clean, and maintain it, you can ensure it will be ready to work when you need it most, no shaking required.