Sub Floor Inspection: Uncover the Hidden Dangers Under Your Feet
That faint, musty smell in the hallway. The almost imperceptible bounce in the kitchen floor. The creak on the stairs that seems to get a little louder each year. These are common household quirks, easily ignored in the hustle of daily life. But what if they aren’t quirks at all? What if they are whispers from the unseen world beneath your feet, warning of costly and dangerous problems hiding in your subfloor?
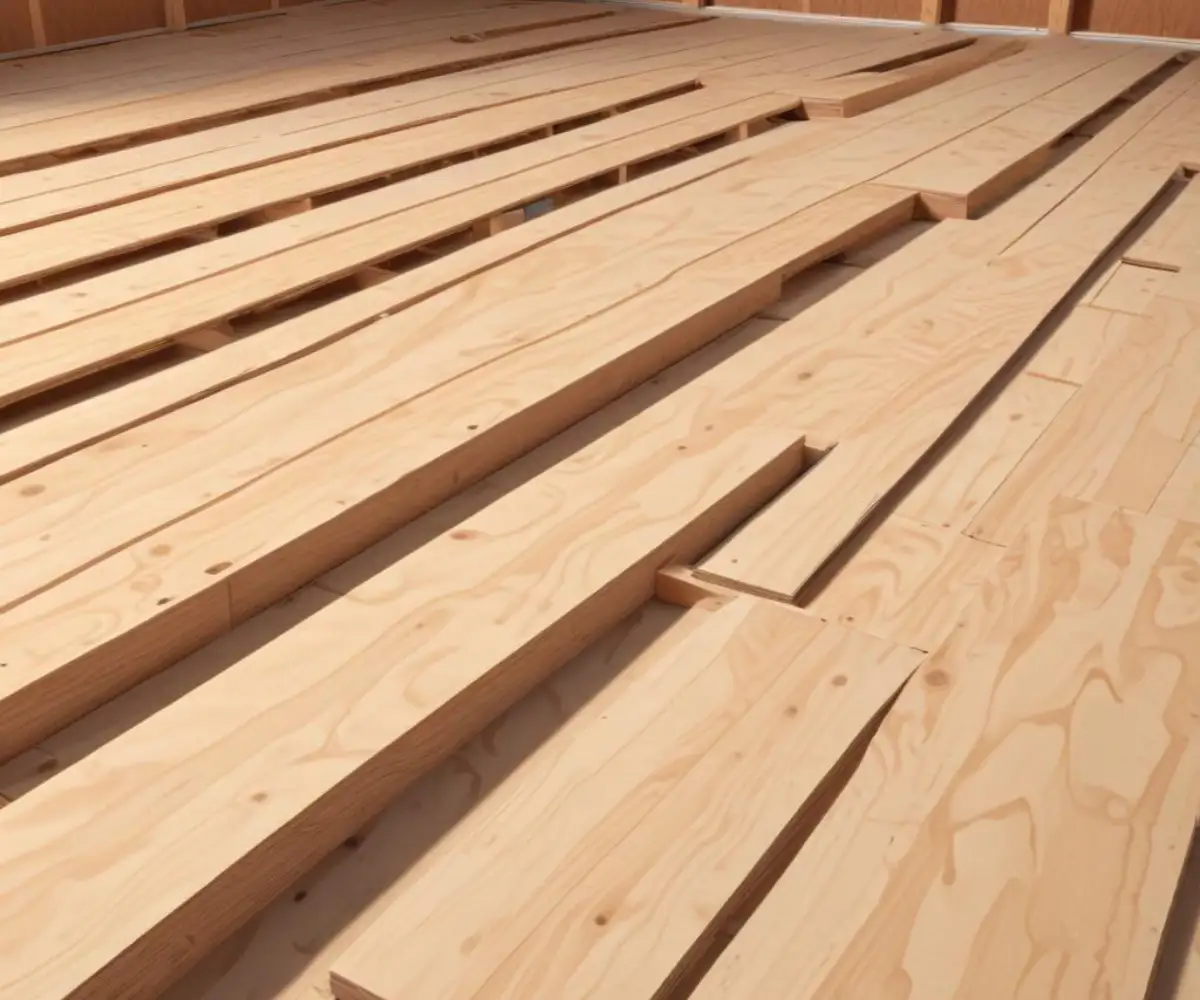
The subfloor is the unsung hero of your home’s structure. It is the flat, solid surface that lies directly on top of the floor joists, providing the foundational strength for your tile, hardwood, or carpet. When it’s healthy, you never think about it. But when it fails, it can compromise the safety, stability, and value of your entire home. A thorough sub floor inspection is the only way to catch these issues before they escalate into a structural nightmare.
You'll Learn About
Why You Can’t Afford to Ignore Your Subfloor
A compromised subfloor is more than just an inconvenience; it’s a critical threat to your home. It can lead to sagging floors, damaged finishes, and in severe cases, structural instability. Issues like persistent moisture can also create the perfect breeding ground for mold and mildew, which can have serious implications for your family’s health and the air quality inside your home.
A sub floor inspection should be a priority in several key situations. If you are buying or selling a home, a detailed subfloor assessment is non-negotiable. For homeowners planning a major remodel, especially one involving new flooring, inspecting the subfloor first is essential for a successful project. Finally, any red flags—such as signs of water damage, new or worsening floor squeaks, or pest activity—demand an immediate and thorough investigation.
The Telltale Signs of Subfloor Distress
Problems within the subfloor rarely stay hidden forever. They often manifest in subtle ways that are easy to dismiss. Being vigilant for these early warning signs can save you thousands in repairs down the line. A floor that feels spongy, soft, or bouncy when you walk across it is a classic indicator of weakened or rotted subfloor panels.
Loud or persistent squeaking can signal that the subfloor sheathing has come loose from the floor joists. You might also notice visible changes, like gaps appearing between your flooring and the baseboards, or flooring that looks uneven or warped. One of the most common sources of this kind of slow, hidden damage is a small leak from an appliance; for example, a dishwasher leaking into the subfloor can go undetected for months, causing extensive rot before it’s ever noticed.
The Ultimate Sub Floor Inspection Toolkit: What You’ll Need
Performing a preliminary sub floor inspection doesn’t require an arsenal of expensive equipment. With a few basic tools, you can conduct a surprisingly effective assessment of your subfloor’s condition, especially if you have access to a crawlspace or basement. This initial check can help you determine if it’s time to call in a professional.
Your essential toolkit should include a high-powered flashlight for spotting stains and pest evidence in dark corners. A long-handled screwdriver or awl is crucial for probing wooden joists and sheathing for soft spots, which indicate rot. A moisture meter is an invaluable tool for detecting hidden dampness that isn’t visible to the naked eye. Finally, always prioritize safety with gloves, a dust mask, and safety glasses.
A Step-by-Step Guide to Inspecting Your Subfloor
A comprehensive sub floor inspection should be approached from two angles: from below (in the crawlspace or basement) and from above (inside your living spaces). This dual approach ensures you get the most complete picture of your subfloor’s health. The view from underneath is often the most revealing, as it exposes the home’s structural bones.
The View from Below: Crawlspace and Basement Inspection
If your home has a crawlspace or an unfinished basement, this is the best place to start. Safely enter the space and begin your visual inspection with a powerful flashlight. Methodically scan the underside of the subfloor sheathing (the plywood or OSB panels) and the supporting floor joists. Look for dark water stains, which can indicate past or present leaks. Pay special attention to areas under bathrooms, kitchens, and laundry rooms.
Be on the lookout for any signs of mold or mildew, which can appear as white, black, or greenish fuzzy patches. Use your screwdriver to firmly probe the wood, especially around plumbing penetrations and along the perimeter of the foundation. Healthy wood should be firm and solid; if the screwdriver sinks in easily, you’ve found rot. Also, inspect for signs of termites or other wood-destroying insects, such as mud tubes on the foundation walls, hollow-sounding wood, or fine sawdust-like frass.

The Top-Down Approach: Inspecting from Inside the Home
Not every home has easy access from below. Even if it does, an inspection from inside the house is still critical for identifying problems. Walk slowly through each room, paying close attention to how the floor feels underfoot. Test for any areas that feel unusually soft, spongy, or bouncy, as this points to decay in the sheathing.
Listen for excessive squeaks and creaks, which can indicate that the subfloor is no longer securely fastened to the joists. Look for visual cues like cracked tiles, separating hardwood seams, or bubbling vinyl flooring, as these are often symptoms of an unstable or moisture-damaged subfloor. A musty, damp odor that won’t go away, particularly in closets or near walls, is a major red flag for hidden mold growth beneath the floor.
Red Flags: Decoding Common Subfloor Problems
During your inspection, you will likely encounter various signs and symptoms. Understanding what they mean is key to assessing the severity of the situation. Some issues are minor and can be addressed with simple repairs, while others are serious red flags that point to significant structural or moisture problems requiring professional intervention. Older homes, in particular, may present unique challenges; a diagonal plank subfloor, for instance, can hide underlying joist issues differently than modern plywood sheathing.
The quality of previous work can also be a major factor. Poorly executed renovations often lead to future subfloor failures. For example, improper tiling jobs are a frequent cause of moisture intrusion. The risks associated with unqualified installers highlight why vetting contractors is so crucial; hiring cheap Craigslist tile work can lead to disastrous subfloor rot down the line.
| Problem | Visual Cues | Common Causes | Severity Level |
|---|---|---|---|
| Moisture Damage | Dark stains, discoloration, visible mold or mildew, peeling paint on floors above. | Plumbing leaks, appliance failures, poor ventilation, high humidity, exterior drainage issues. | Medium to High |
| Wood Rot (Decay) | Soft, spongy wood that crumbles when probed, fungal growth. | Prolonged exposure to moisture, turning wood fibers into a weak, unstable material. | High |
| Pest Infestation | Mud tubes, hollowed-out wood, frass (pest droppings), discarded wings. | Termites, carpenter ants, powderpost beetles seeking wood for food or shelter. | High |
| Structural Sagging | Noticeable dip or bounce in the floor, sagging joists, gaps at walls. | Undersized or over-spanned joists, cut or notched joists for utilities, foundation settlement. | High |
| Squeaky Floors | Loud creaking or groaning sounds when walking on the floor. | Subfloor panels have loosened from joists, improper fasteners, wood shrinkage. | Low to Medium |
| Poor Previous Repairs | Mismatched patching materials, inadequate support for patches, improper fasteners. | Unprofessional work, quick fixes that don’t address the root cause of the problem. | Medium |
The Great Debate: DIY vs. Hiring a Professional Inspector
After conducting your initial assessment, you need to decide whether to proceed with DIY repairs or call in a professional. This decision depends heavily on the scope of the problems you’ve uncovered and your own skill level. Making the wrong choice can lead to incomplete repairs, continued damage, and even safety risks.
When a DIY Inspection Makes Sense
A DIY approach is perfectly suitable for routine annual check-ups aimed at catching problems early. If you’re comfortable navigating your crawlspace and know the basic signs of trouble, a yearly self-inspection is a proactive maintenance step. It’s also appropriate for identifying the source of a minor issue, such as locating the leak that’s causing a small stain, or tightening a few loose boards to quell a squeak.
When to Immediately Call a Professional
There are several scenarios where hiring a certified professional is essential. Anytime you are buying or selling a property, a professional home inspector or structural engineer should evaluate the subfloor. Their unbiased, expert report provides critical information for the transaction. If you discover signs of widespread mold, extensive rot, or significant structural sagging, do not attempt to fix it yourself.
These issues require specialized knowledge and equipment to diagnose and repair safely. A professional inspector brings years of experience and advanced tools, such as thermal imaging cameras and moisture meters, to accurately assess the extent of the damage. They can provide a detailed report outlining the necessary repairs, helping you understand the full scope and cost of the project before any work begins.
The Aftermath: You’ve Found a Problem. Now What?
Discovering a subfloor issue can be stressful, but with a clear plan, you can address it effectively. The right solution will depend entirely on the specific problem you’ve found. The primary rule of any subfloor repair is to always fix the source of the problem first before repairing the damage itself. Simply replacing a rotted piece of plywood without stopping the leak that caused it is a guarantee that the problem will return.
Tackling Moisture and Mold
If you’ve found moisture or mold, the first step is to identify and eliminate the water source. This could mean fixing a leaky pipe, sealing a foundation crack, or improving crawlspace ventilation. Once the source is controlled, the affected area must be dried out completely using fans and dehumidifiers. For mold, small, contained areas can sometimes be cleaned and treated by a homeowner, but widespread mold requires professional remediation to ensure it is safely and completely removed.
Repairing Damaged Sheathing and Joists
For small, localized areas of rot in the subfloor sheathing, you may be able to cut out the damaged section and replace it with a new piece of plywood or OSB of the same thickness. This patch must be adequately supported with blocking installed between the joists. However, if the damage is extensive or affects the floor joists themselves, this is not a DIY job. A professional will need to assess whether a joist can be reinforced by “sistering” a new joist alongside it or if it requires complete replacement to restore the floor’s structural integrity.
Proactive Subfloor Maintenance: A Strategy for Long-Term Health
The best way to deal with subfloor problems is to prevent them from ever starting. Proactive maintenance is a simple, effective strategy to protect your home’s foundation and avoid costly repairs. It revolves around controlling moisture, which is the root cause of the vast majority of subfloor issues.
Start by ensuring your home’s exterior drainage is working properly. Gutters should be clean, and downspouts should direct water far away from the foundation. The ground around your home should be graded to slope away from the walls. Inside, regularly inspect for any plumbing leaks under sinks and around toilets and appliances. In your crawlspace or basement, consider installing a vapor barrier over any exposed earth to prevent ground moisture from evaporating into the space. Maintaining controlled humidity levels is one of the most powerful tools for preserving the health of your subfloor.
Your Home’s Foundation Deserves Attention
Your subfloor works silently and tirelessly to support everything within your home. Ignoring the subtle signs of trouble is a gamble that can lead to overwhelming and expensive structural failures. By understanding how to perform a basic sub floor inspection and knowing when to call for professional help, you can take control of your home’s health. Be proactive, stay vigilant, and give the foundation beneath your feet the attention it deserves. Your home’s safety and your peace of mind depend on it.


