Stairs With Quarter Round: Your #1 Guide to a Flawless Finish
When it comes to finishing touches in home improvement, small details can make all the difference. A staircase, often one of the most noticeable features in a home, can sometimes reveal gaps that detract from its overall appeal.
While it may seem like a minor flaw, addressing these gaps with the right approach can elevate the look of your staircase significantly. One of the best solutions is the use of quarter round trim—simple, accessible, and effective.
However, like any project, the key to success lies in the execution. With a few professional tips, you can achieve a seamless, high-quality finish that will enhance both the appearance and longevity of your staircase. Let’s walk through how to get it right.
You'll Learn About
The Hidden Problem Lurking on Your Staircase
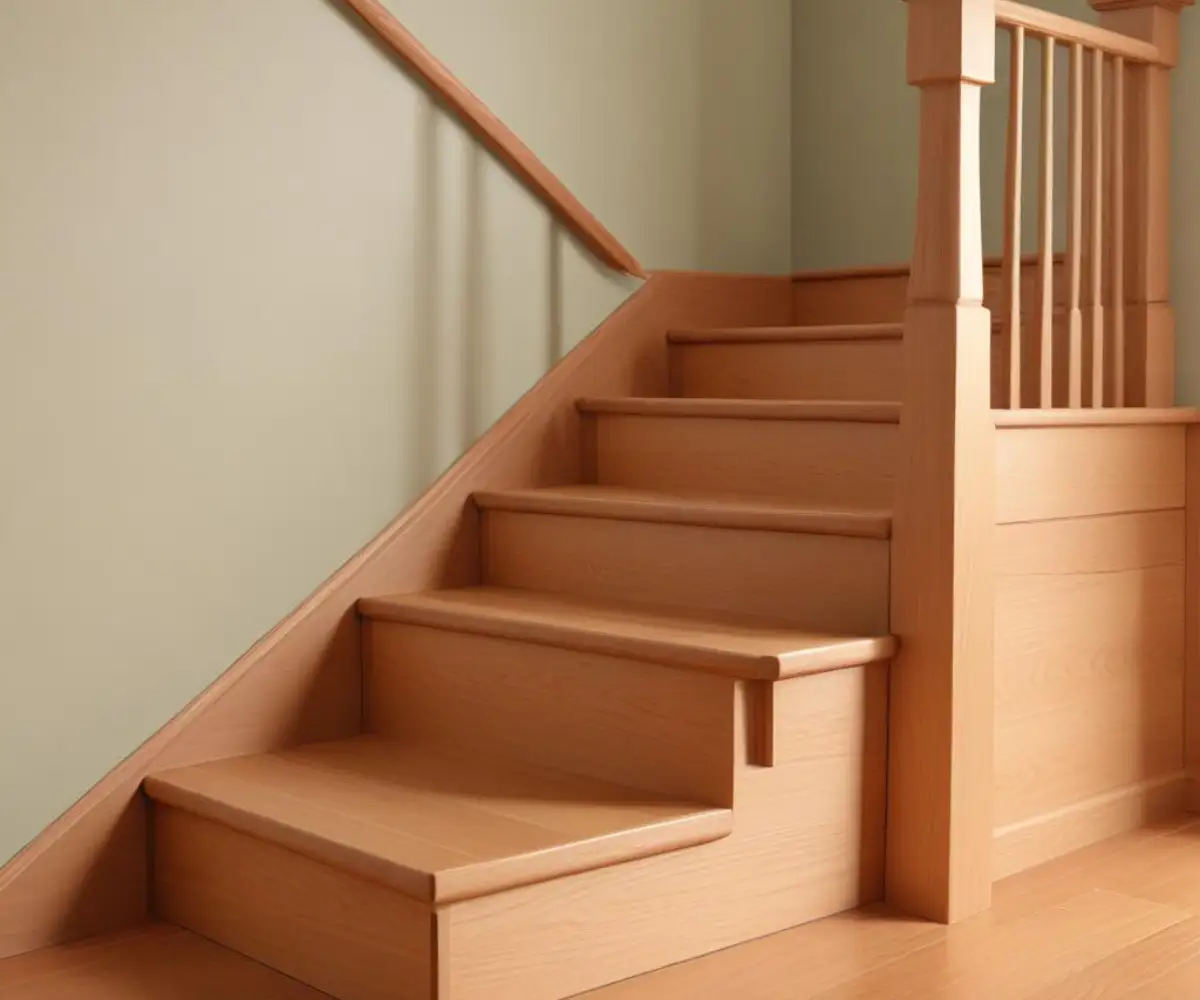
You’ve just installed beautiful new hardwood on your stairs, or maybe you’ve noticed it in the home you’ve lived in for years. It’s that nagging, unsightly gap between the stair tread and the stringer, the board that runs along the side of the staircase. This gap can look unfinished, unprofessional, and quickly become a collection point for dust and dirt.
This is a frustratingly common issue in many homes. The immediate, go-to solution for many is to grab a piece of quarter round molding. While it can be the perfect fix, using it incorrectly is one of the biggest mistakes homeowners make, turning a simple solution into a visual eyesore.
Understanding Why Annoying Stair Gaps Appear
Before fixing the problem, it’s crucial to understand its origins. These gaps aren’t necessarily a sign of poor construction. They often appear due to the natural behavior of building materials and the home itself.
Wood is a dynamic material that expands and contracts with changes in humidity and temperature. Your stair treads, risers, and stringers are constantly undergoing this subtle movement. Over time, this can create small but noticeable gaps. Additionally, all houses settle over time, which can shift the framing and create these imperfections. In some cases, persistent settling can be related to moisture issues around the foundation, a topic that deserves its own investigation if you see signs of water where brick meets foundation.
Quarter Round on Stairs: The Good, The Bad, and The Tacky
Is quarter round a brilliant solution or a cheap-looking cover-up? The honest answer is that it can be either. The final result depends entirely on the situation and the quality of the installation.
When Quarter Round is the Perfect Solution
Quarter round molding truly shines when used to cover small, relatively uniform gaps, typically those less than 3/4 of an inch wide. It’s a cost-effective and readily available material that most DIYers can learn to install with basic tools. When chosen and installed correctly, it provides a clean, professional transition that looks intentional and polished.
Common Installation Blunders to Avoid
This is where many projects go wrong. A common mistake is choosing the wrong size; a massive piece of quarter round on a tiny gap looks bulky and out of place. Another frequent error is making imprecise cuts, especially at the corners, resulting in a sloppy appearance. The most debated issue, however, is the color and finish.
Should the quarter round match the wooden stair tread, or should it match the typically white-painted stringer and riser? Matching the tread creates a continuous flow of the wood grain, while matching the stringer makes the trim visually blend into the background. There is no single right answer, but a poor choice can disrupt the entire aesthetic of your staircase.
Is Quarter Round on Stairs an Outdated Look?
Some designers argue that quarter round can look dated or like an afterthought. This reputation comes from years of it being used improperly as a quick fix. However, when it is thoughtfully integrated into the design—with precise cuts, a proper finish, and in the right context—it remains a classic and effective trim choice that completes the look of a staircase.
The Definitive Guide: Installing Quarter Round on Stairs Like a Pro
Transforming your gappy staircase into a seamless work of art is achievable. Follow these steps for an installation that rivals a professional’s work.
Step 1: Choosing the Right Material and Finish
Your first decision is the material. Solid wood, like oak or maple, is ideal if you want to stain it to match your treads. For painted applications, MDF (Medium-Density Fiberboard) is a cost-effective, smooth option. PVC is a durable, waterproof choice, though less common for interior stairs.
The choice of material goes beyond looks; it affects the entire project’s integrity. Using subpar materials can lead to issues later on, a principle that applies to all home projects. Just as you wouldn’t settle for the wrong materials in structural work, such as knowing the applications for 5/8 thick lumber, you shouldn’t compromise on your finish trim. As for the finish, decide if you will match the tread or the stringer and purchase your stain or paint accordingly.
Step 2: Essential Tools and Preparation
Gathering the right tools is half the battle. You will need a miter saw for accurate angle cuts, a tape measure, a finish nail gun with 1.5-inch brad nails, wood glue, and your choice of paint or stain. Before you begin, thoroughly clean the stairs, removing all dust and debris from the areas where the trim will be installed.
Step 3: Measuring and Cutting with Precision
Measure the length of the tread where it meets the stringer. Transfer this measurement to your piece of quarter round for a straight cut. The most crucial part of the job, however, is finishing the end of the trim that hangs over the nose of the stair tread.
Many amateurs simply make a straight cut here, leaving an exposed, unattractive end grain. The professional technique is to create a “return.” This involves cutting the end of your main piece at a 45-degree angle, then cutting a tiny, separate piece with an opposing 45-degree angle to cap it off, creating a clean, finished corner. It’s a small detail that makes a world of difference.
Step 4: The Secure-Fit Installation Method
This step contains the single most important piece of advice for this project. Apply a thin bead of wood glue to the back of the quarter round. When you place it, you must nail the quarter round into the stringer (the side skirt board), NOT down into the stair tread.
Nailing into the stringer allows the stair tread to expand and contract naturally with seasonal changes. If you nail it into the tread, this movement will eventually cause the quarter round or the caulk line to crack and separate. Use a finish nailer for clean results and to avoid splitting the wood.
Step 5: Finishing Touches That Make All the Difference
Once the trim is nailed in place, the details complete the job. Fill every nail hole with a small amount of wood putty that matches your finish. If you’ve chosen to paint the quarter round, apply a thin bead of paintable caulk along the top edge where it meets the stringer. This creates a truly seamless, built-in look. Finally, perform any necessary touch-ups on your paint or stain.
Quarter Round Alternatives: When to Choose a Different Trim
Quarter round is not a one-size-fits-all solution. For very large, uneven gaps or for a different aesthetic, you should consider other types of molding. Understanding the costs and complexities of different finishes is key, whether you do it yourself or look into professional installation costs for a larger flooring project.
| Trim Type | Best For | Aesthetic | DIY Difficulty |
|---|---|---|---|
| Quarter Round | Small, uniform gaps (under 3/4″) | Classic, simple, clean | Easy |
| Shoe Molding | Similar to quarter round, but with a less bulky look | Slightly more decorative and elegant | Easy |
| Cove Molding | Adding a decorative, curved transition | Traditional, formal | Moderate |
| Scribe Molding | Uneven or wavy stringers/walls | Functional, minimalist | Moderate |
| No Trim (Scribed Tread) | High-end, seamless appearance | Modern, custom, minimalist | Very Difficult (Pro-Level) |
Shoe Molding: A More Elegant Profile
Shoe molding is often confused with quarter round, but it has a slightly flatter, more squared-off profile. This subtle difference can make it appear more delicate and less obtrusive. It’s an excellent choice if you find quarter round to be too bulky for your taste.
Cove Molding: For a Traditional, Curved Look
Unlike the convex curve of quarter round, cove molding has a concave profile. This inward curve provides a more decorative and traditional look. It’s a great option for homes with more classic architectural details.
Scribe Molding: The Pro’s Secret for Uneven Surfaces
Scribe molding is a very thin and slightly flexible piece of trim. Its primary purpose is to be “scribed” to an irregular surface. If your stringer is old, wavy, or uneven, scribe molding can flex to match its contour, creating a tight fit where more rigid moldings would show gaps.
No Trim: The Scribe-Fit Technique
For the ultimate clean and modern look, the best solution is no trim at all. This is achieved by a professional carpentry technique called scribing. Instead of adding trim to cover the gap, the stair tread itself is carefully cut to perfectly match every curve and imperfection of the stringer. This is a time-consuming and highly skilled task, but it yields an impeccable, seamless result.
FAQs: Your Top Questions About Stair Trim Answered
Should quarter round be glued, nailed, or both?
For the most durable and long-lasting installation, you should use both. A bead of wood glue provides a continuous bond, while the finish nails hold the trim securely in place as the glue dries.
How do you handle quarter round on carpeted stairs?
Typically, you do not install quarter round along the edge of carpeted stairs. The trim is meant for hard surfaces. If you have a landing that transitions from wood to carpet, the quarter round would terminate where the wood flooring ends.
What size quarter round is best for stairs?
The most common size is 3/4 inch. This is usually large enough to cover typical gaps and provide a substantial nailing surface without looking overly bulky. However, you can use a smaller 1/2 inch profile for smaller gaps or a more delicate look.
Conclusion: Elevating Your Staircase from Unfinished to Unforgettable
Those small gaps along your staircase may seem like a minor flaw, but addressing them correctly makes a major impact. Using quarter round is an excellent and accessible solution, but only when the installation is approached with precision and knowledge. It’s the difference between a project that looks like a cheap patch and one that looks like a professional, custom finish.
By remembering the most critical pro tips—creating a finished return on the ends and, most importantly, nailing the trim into the stringer instead of the tread—you can avoid common failures. This ensures your staircase not only looks flawless today but also remains stable and crack-free for years to come.