Staining White Oak Dark? Avoid This #1 Mistake for a Perfect Finish
You have beautiful white oak, a vision of a rich, luxurious dark finish, and the ambition to make it happen. You imagine a deep espresso, a sophisticated ebony, or a warm jacobean color transforming your floors or furniture into a statement piece.
But a deep-seated fear holds you back. You’ve seen the horror stories: blotchy, uneven finishes, a strange greenish or blackish tint that looks nothing like the sample, or a muddy appearance that completely hides the beautiful grain you love.
The truth is, staining white oak dark is one of the most challenging finishing projects. Its unique cellular structure and high tannin content make it notoriously unforgiving. This guide provides the definitive roadmap to bypass the common pitfalls and achieve a stunning, professional-quality dark finish that exudes elegance.
You'll Learn About
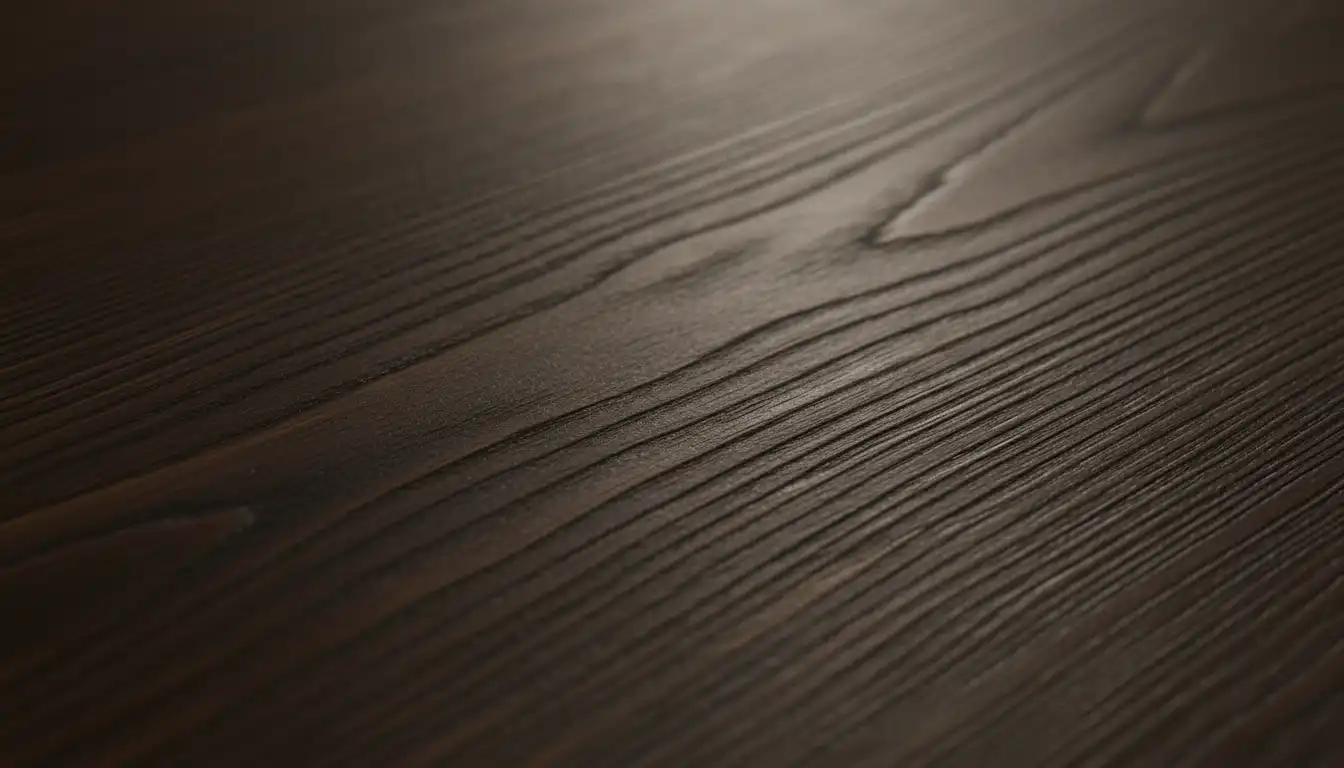
Why Staining White Oak Dark Is Deceptively Difficult
Achieving a flawless dark stain on white oak requires understanding the wood itself. Unlike other woods, white oak has specific properties that can sabotage your efforts if you are not prepared. Two key factors are at the root of most failed projects: tannins and grain structure.
The Tannin Menace: Unlocking the Root of Discoloration
White oak is naturally rich in tannins, which are acidic compounds that protect the tree in nature. While these tannins give white oak its renowned durability and rot resistance, they can wreak havoc when applying a finish. Tannins can react chemically with components in certain stains and topcoats.
This reaction, often called “tannin pull,” can cause ugly, dark discoloration that looks like black ink spots. It can also give the entire project a sickly green or gray cast, a far cry from the rich brown you envisioned. This is the most common and frustrating problem homeowners face.
Taming the Grain: How White Oak’s Pores Affect Stain
White oak has large, open pores that create its beautiful and distinct grain pattern. However, these pores absorb stain at a different rate than the surrounding, denser wood. This disparity is what leads to a blotchy, uneven appearance.
If the wood isn’t prepared correctly, the stain will sink deeply into the open pores, making them very dark, while the rest of the wood remains much lighter. The result is a high-contrast, almost polka-dotted look rather than a uniformly rich color. The key is to control how the stain is absorbed across the entire surface.
The Pro-Grade Prep Work That Guarantees Success
Superb results are not born from the staining process itself, but from the meticulous preparation that precedes it. Rushing or skipping these steps is the single biggest mistake you can make. Proper prep work is 90% of the job.
Sanding Is Not Just Sanding: The Grit Progression Secret
Sanding does more than just smooth the wood; it opens the wood’s pores to accept the stain evenly. A precise sanding sequence is non-negotiable. Start with a medium grit like 80 to level the surface and remove any existing finish or mill marks.
Follow this with 100-grit, and then finish with 120-grit. It is critical to avoid sanding to too fine a grit. Sanding with 180-grit or higher will begin to polish and close the wood’s pores, preventing the dark stain pigments from penetrating effectively and leading to a weak, washed-out color.
The Unskippable Step: Mastering Water Popping
For a truly deep and uniform dark color, professionals use a technique called “water popping.” After the final sanding, you wipe the entire surface with a damp cloth. This process raises the wood grain, essentially opening up the pores to their maximum capacity.
Once the wood is completely dry (which can take a few hours), the opened pores will be ready to drink in the dark stain much more deeply and evenly. This single step makes the most significant difference between an amateur and a professional-looking dark finish, dramatically reducing blotchiness.
Testing, Testing: Your Project’s Most Important Insurance
Never assume the color on the can will be the color on your project. The final look depends on your specific wood, your sanding process, and your application technique. Always test your entire finishing schedule on a scrap piece of the same white oak.
This means applying the pre-stain conditioner (if using), the stain, and your chosen topcoat. Let it dry completely to see the true final color and sheen. This small step can save you from a catastrophic mistake on your actual floor or furniture.
Choosing Your Weapon: The Best Stains for a Deep, Dark Finish
Not all stains are created equal, especially when it comes to taming white oak. The type of stain you choose will significantly impact the ease of application and the quality of the final result. While a weathered oak stain on red oak presents its own challenges, white oak demands a specific approach for dark tones.
Oil-Based vs. Gel Stains: The Showdown
For achieving a deep, dark color on white oak, oil-based penetrating stains and gel stains are the top two contenders. Oil-based stains penetrate into the wood, offering rich color, but require careful application to avoid blotching. They have a longer open time, giving you more time to work.
Gel stains, on the other hand, are thick and sit more on the surface of the wood. This makes them exceptionally effective at preventing blotchiness, as they don’t penetrate the large pores as aggressively. For beginners, a high-quality gel stain is often the most foolproof option for a uniform dark finish.
The Secret to True Black: Ebonizing with Reactive Stains
For a true, deep ebony finish that becomes part of the wood itself, consider a reactive stain. This involves creating a simple solution of iron acetate (made by dissolving fine steel wool in white vinegar). When this solution is wiped onto the wood, it reacts chemically with the tannins.
The result is not a pigment sitting on the wood, but a chemical change that turns the wood a deep, permanent black. This method creates the most authentic and durable ebony look, as the color is integral to the wood fibers and cannot be scratched off like a topical stain.
| Stain Type | Best For | Application Notes | Potential Issues |
|---|---|---|---|
| Oil-Based Penetrating Stain | Experienced users seeking deep color penetration. | Apply thin coats, wipe excess thoroughly. Works best after water popping. | High risk of blotching if wood is not prepped perfectly. |
| Gel Stain | Beginners and blotch-prone woods. Achieving a uniform surface color. | Apply like a paint, then wipe off excess to the desired color. Less penetration. | Can sometimes obscure the grain if applied too thickly. |
| Water-Based Stain | Fast-drying projects and low odor requirements. | Dries very quickly, requiring a fast and disciplined application to avoid lap marks. | Can raise the grain more aggressively than oil-based stains. |
| Reactive Stain (Ebonizing) | Achieving a true, permanent black finish that is in the wood. | Simple wipe-on application. Color develops via chemical reaction. | Final color can vary based on the wood’s specific tannin content. Requires testing. |
The Flawless Application Technique for a Streak-Free Finish
Your technique during the staining process is just as important as the prep work. Hasty or incorrect application can undo all your careful efforts, leading to a streaky, unprofessional result.
Applying the Stain: The “Less Is More” Doctrine
Whether using a rag or a brush, the key is to apply a relatively thin, even coat of stain. Work in manageable sections, following the direction of the wood grain. Do not let the stain pool or sit on the surface for too long.
The real magic happens when you wipe it off. Use a clean, lint-free cloth to wipe away all the excess stain. The goal is to leave the pigment that has penetrated the wood, not a thick film sitting on top. A common mistake is leaving too much stain on the surface, which results in a sticky, uneven finish that will never cure properly.
The Final Armor: Selecting the Perfect Topcoat
The stain provides the color, but the topcoat provides the protection and the final sheen. The right topcoat is crucial for durability and for preserving the beautiful dark color you worked so hard to achieve.
Why Your Topcoat Choice Is Critical Over Dark Stains
Your choice of protective clear coat will influence the final look. While a product like Bona ClassicSeal on white oak is excellent for a natural, non-yellowing finish, it’s designed for lighter looks. For dark stains, you must consider how the topcoat itself might alter the color.
Oil-based polyurethanes are very durable but tend to “amber” or yellow over time. While this can add warmth to a medium stain, it can muddy and distort a very dark espresso or gray finish. For dark or black stains, a water-based polyurethane is the best choice to maintain color purity. It dries crystal clear and will not yellow over time, ensuring your dark stain stays true to its original color for years to come.
By understanding the unique nature of white oak and following a disciplined process of preparation, testing, and application, you can overcome the challenges. You can achieve that stunning, rich, and uniform dark finish that will make your white oak project a true masterpiece of craftsmanship.