Stained Douglas Fir Beams: The Secret to a Perfect Finish
Douglas fir beams offer a stunning combination of rustic charm and structural integrity, making them a centerpiece in any home. However, achieving that perfect, rich color without obscuring the beautiful grain can be a significant challenge. Many homeowners attempt this project only to be met with a frustratingly blotchy and uneven result.
This unevenness stems from the unique composition of Douglas fir itself. The wood has varying densities between its earlywood and latewood grain, causing it to absorb stain inconsistently. The result is a finish that looks unprofessional and fails to do justice to the wood’s natural beauty.
You'll Learn About
Why Douglas Fir is a Premier Choice for Beams
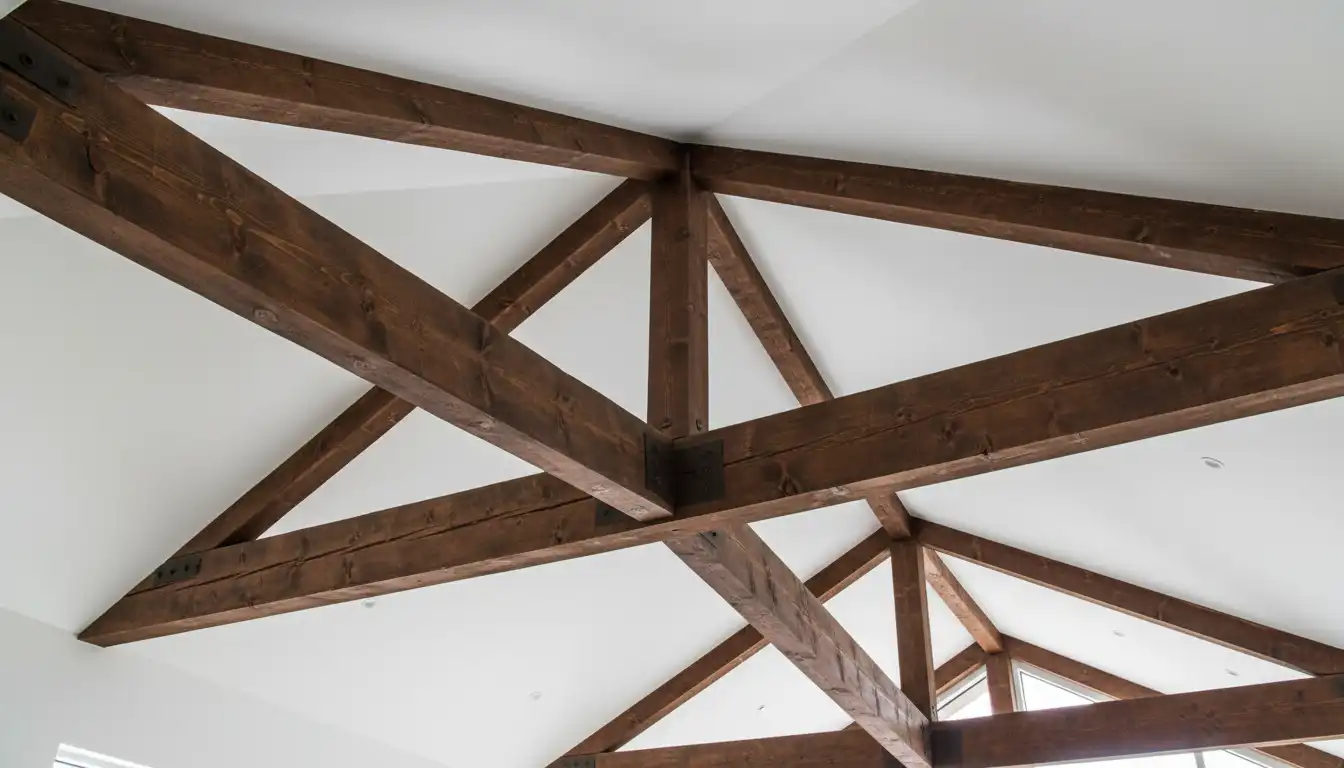
Before diving into the solution, it’s important to understand why Douglas fir is so popular. It is renowned for its exceptional strength-to-weight ratio, making it a reliable choice for structural elements. Beyond its strength, the wood boasts a warm, reddish-brown hue and a striking, straight grain pattern that adds character to any space.
The core challenge, however, remains its tendency to stain unevenly. This “blotching” occurs when the more porous parts of the wood soak up more stain than the denser parts, creating dark, unsightly patches. The key to success is not a special skill, but a special process designed specifically for woods like Douglas fir.
Choosing the Ideal Stain for Your Douglas Fir Project
Selecting the right type of stain is the first critical decision you’ll make. The choice between oil-based, water-based, and gel stains will dramatically impact both the process and the final outcome. Understanding their unique properties is essential for a flawless finish.
Oil-Based, Water-Based, or Gel Stain?
Oil-based stains penetrate deep into the wood, providing a rich, deep color that beautifully highlights the grain. They offer a longer working time, which can be advantageous when staining large beams. However, they have a strong odor and require mineral spirits for cleanup.
Water-based stains are a low-odor, fast-drying alternative that cleans up easily with soap and water. While convenient, they can sometimes raise the wood’s grain, requiring an extra sanding step. Their rapid drying time can also make them challenging to apply evenly on large surfaces without creating lap marks.
Gel stains are often the hero for blotch-prone woods like Douglas fir. Unlike liquid stains that penetrate, gel stains have a thick, pudding-like consistency that sits on top of the wood. This allows for much more control and a significantly more even finish, as it doesn’t get absorbed as deeply or unevenly into the grain.
A Comparative Look at Stain Types
Making the right choice depends on your project goals and experience level. The table below breaks down the key differences to help guide your decision. Consider factors like ease of application, dry time, and the final look you want to achieve for your beams.
| Stain Type | Best For | Dry Time | Cleanup | Pros | Cons |
|---|---|---|---|---|---|
| Oil-Based | Achieving rich, deep color | 6-24 hours | Mineral Spirits | Deep penetration; enhances grain; long working time. | Strong odor; long dry time; blotchy on fir without conditioner. |
| Water-Based | Low odor and fast projects | 1-4 hours | Soap and Water | Low VOCs; quick drying; easy cleanup. | Can raise wood grain; may dry too fast for large areas. |
| Gel Stain | Blotch-prone woods like fir | 8-24 hours | Mineral Spirits | Prevents blotching; even coverage; great for vertical surfaces. | Hides some grain detail; longer dry time. |
Your Step-by-Step Guide to Perfectly Stained Douglas Fir Beams
Achieving a professional-quality finish on your Douglas fir beams is not about luck; it’s about following a meticulous, proven process. Each step is designed to overcome the wood’s natural tendency to blotch, ensuring a beautiful and even result. Do not skip any of these crucial stages.
Step 1: The Critical Importance of Sanding
Preparation is the foundation of a great finish. Begin by thoroughly sanding the entire surface of the beams. Start with 120-grit sandpaper to remove any mill glaze, dirt, or imperfections, then move to a finer 180-grit sandpaper to create a smooth, receptive surface. Always sand in the direction of the wood grain.
This step is non-negotiable. Proper sanding opens up the wood pores uniformly, which is the first line of defense against an uneven, blotchy appearance. Ensure all dust is removed with a vacuum and a tack cloth before proceeding.
Step 2: The Pro’s Secret Weapon – Pre-Stain Wood Conditioner
Applying a pre-stain wood conditioner is the most important step for staining Douglas fir. This product is specifically designed to treat softwoods before staining. It penetrates the wood and helps to even out its porosity, so the subsequent stain is absorbed at a more consistent rate.
Apply a liberal coat of conditioner with a brush or rag, and let it penetrate for the time recommended by the manufacturer, typically 15-30 minutes. Wipe away any excess before it dries completely. Skipping this step is the single biggest mistake you can make.
Step 3: Test Your Stain Color
Before you commit to staining your beams, always test your chosen stain color. Apply the conditioner and stain to a scrap piece of Douglas fir from your project or an inconspicuous area of a beam. This allows you to verify the color and ensure you are happy with the results before applying it to the entire surface.
This simple test prevents major regrets. The color on the can is rarely the exact color you’ll achieve, as the wood’s natural tones will influence the final shade. It’s much easier to adjust your plan now than to fix a color you dislike later.
Step 4: Applying the Stain with Precision
Now it’s time to apply the stain. Use a natural bristle brush, a lint-free rag, or a foam applicator. Work in manageable sections to maintain a wet edge and prevent lap marks. Apply the stain liberally, moving in the direction of the grain.
The goal is to get an even coat onto the surface. Avoid the temptation to apply it too thinly. A consistent application is key to a consistent color.
Step 5: Wiping Off the Excess
This step is just as important as the application. After letting the stain penetrate for the time recommended by the manufacturer (usually 5-15 minutes), use a clean, lint-free rag to wipe away all of the excess stain. Wipe with the grain, not against it.
Leaving excess stain on the surface will result in a tacky, uneven finish that never properly cures. The final color is determined by the stain that has been absorbed by the wood, not the stain sitting on top of it. Use as many clean rags as needed to remove all the excess.
Step 6: Protecting Your Work with a Top Coat
Once the stain has fully cured (check the manufacturer’s instructions, but this can take 24-48 hours), you must apply a protective top coat. A polyurethane or varnish will protect the wood from moisture, dust, and wear, while also enhancing the color and providing a finished sheen.
Apply at least two coats of your chosen finish, lightly sanding with 220-grit sandpaper between coats for the smoothest result. Choose a sheen—matte, satin, or semi-gloss—that complements your home’s decor.
Common Staining Pitfalls and How to Avoid Them
Even with the best instructions, mistakes can happen. Being aware of the most common errors can help you avoid them. From preparation shortcuts to application errors, a small misstep can compromise your entire project.
Mistake 1: Ignoring the Wood Conditioner
As mentioned, the number one error is skipping the pre-stain wood conditioner. Believing it’s an unnecessary expense or step will almost certainly lead to a blotchy finish on Douglas fir. Always treat this step as mandatory for a professional look.
This is one area of a home renovation where you don’t want to cut corners. Sometimes unexpected issues pop up, like discovering you have purple toilet water, but blotchy beams are an entirely preventable problem.
Mistake 2: Improper Sanding
Under-sanding fails to open the wood pores, while over-sanding with too fine a grit can polish the wood, sealing the pores and preventing stain from penetrating. Stick to the recommended grits (120 then 180) for the best balance of smoothness and absorbency.
Just as you would inspect materials when buying used granite countertops for flaws, you must properly prepare your wood surface for the best results.
Mistake 3: Applying Stain in Poor Conditions
Pay attention to the temperature and humidity. Staining in a cold, damp basement or a hot, overly humid garage can severely affect how the stain and top coat dry and cure. Most products perform best in temperatures between 65-75°F (18-24°C) with low to moderate humidity.
Working in the right conditions ensures the finish cures properly, providing a durable and beautiful result that will last for years, much like maintaining your outdoor equipment, such as an ariens st 524, for long-term reliability.
Advanced Finishing Techniques for a Custom Look
Once you’ve mastered the basics, you can explore more advanced techniques to give your Douglas fir beams a truly unique, custom appearance. These methods require a bit more practice but can create stunning, one-of-a-kind results that elevate your home’s design.
Creating a Faux Reclaimed or Weathered Finish
For a rustic, aged look, you can layer stains or apply a color wash. Start by applying a base coat of a light tan or brown stain. After it dries, apply a very thin wash of gray stain (stain thinned with mineral spirits) and wipe it off quickly, allowing it to settle into the grain and crevices.
This technique mimics the natural aging process of wood, creating a sense of history and character. It’s a fantastic way to make new beams look like they’ve been part of the home for a century.
Achieving a Modern Ebonized Finish
For a bold, contemporary look, consider ebonizing your beams. This process creates a deep, matte black finish that still allows the wood’s texture to show through. It’s achieved by creating a chemical reaction in the wood rather than just applying a black stain.
You create an iron acetate solution by soaking steel wool in white vinegar for a few days. When this solution is applied to Douglas fir (which contains tannins), it reacts and turns the wood a deep black. Always test this on scrap wood first, as results can vary, and seal with a matte top coat to complete the modern aesthetic.