Spraying Oil Based Stain: Unlock a Flawless Finish in Half the Time
The dream of a perfectly finished deck, fence, or piece of furniture can quickly turn into a nightmare. You spend hours meticulously brushing on an oil-based stain, only to be left with a streaky, blotchy mess filled with lap marks and drips. It’s a frustrating, time-consuming process that often yields disappointing results.
This struggle is the number one reason many people avoid oil-based stains, despite their superior durability and rich penetration. What if there was a way to get that professional-grade, glass-smooth finish without the headache? There is, and it’s the secret weapon of professionals: spraying the stain.
You'll Learn About
Why Spraying Oil-Based Stain Is a Game-Changer
Moving from a brush to a sprayer is not just about saving time; it’s about achieving a fundamentally better result. Brushes and rollers physically push stain around on the surface, which can lead to over-application in some areas and under-application in others, causing that dreaded uneven look.
A sprayer, however, atomizes the stain into a fine mist. This mist settles evenly on the wood, creating a thin, uniform coat that absorbs consistently into the grain. The result is a flawless, professional finish free of brush marks and imperfections.
Choosing Your Weapon: The Right Sprayer for Oil-Based Stain
The sprayer you choose will be your most important ally in this process. The two main contenders for spraying oil-based stains are High Volume, Low Pressure (HVLP) sprayers and Airless sprayers. Understanding their differences is key to selecting the right tool for your project.
HVLP (High Volume, Low Pressure) Sprayers: The Detail Masters
HVLP systems use a high volume of air at a low pressure to atomize the stain. This results in a very fine, controlled spray with minimal overspray, making them perfect for detailed projects like furniture, cabinetry, and railings. The trade-off is that they are a bit slower and almost always require you to thin the oil-based stain.
For projects demanding precision and a delicate touch, an HVLP is the superior choice. If you’re looking for the right equipment, exploring a dedicated oil based stain sprayer guide can provide specific model recommendations and features to look for.
Airless Sprayers: The Large-Project Workhorses
Airless sprayers work by pumping the stain at extremely high pressure through a small tip. This method is incredibly fast, allowing you to cover huge areas like decks, fences, and siding in a fraction of the time. They can also handle thicker materials, often requiring less thinning than an HVLP system.
The downside is that they produce more overspray, meaning you must be diligent with your masking. The high output also requires a steady, confident hand to prevent runs and drips. For large-scale projects where speed is a priority, an airless sprayer is unmatched.
| Feature | HVLP Sprayer | Airless Sprayer |
|---|---|---|
| Best For | Furniture, cabinets, railings, detailed work | Decks, fences, siding, large surfaces |
| Speed | Slower, more controlled | Extremely fast |
| Overspray | Minimal | Significant |
| Thinning Required | Almost always | Sometimes, but less often |
| Finish Quality | Excellent, very fine | Excellent, requires good technique |
The Critical First Step: Flawless Prep for a Flawless Finish
A perfect spray job is built on a foundation of meticulous preparation. Do not skip these steps. The sprayer will only amplify imperfections on the surface, so starting with a pristine canvas is non-negotiable.
First, clean the wood thoroughly with a dedicated wood cleaner or deck wash to remove all dirt, grime, and mildew. For exterior projects, a light pressure wash can be effective, but be careful not to damage the wood fibers. Once clean, the wood must be completely dry before you proceed.
Sanding is the next crucial phase. For new wood, a light sanding with 120-grit sandpaper opens up the pores of the wood, allowing the stain to absorb deeply and evenly. For previously stained wood, you may need to strip the old finish and sand the surface smooth.
Finally, mask everything you don’t want stained. Overspray is insidious and can travel further than you think. Use painter’s tape and plastic sheeting to cover siding, windows, concrete, plants, and any adjacent surfaces. Weather is also a critical factor; never stain in direct sunlight or when rain is in the forecast. Understanding how long after rain you can stain a fence is key to ensuring the wood is dry enough for proper absorption.
Getting the Mix Right: How to Thin Oil-Based Stain
Most oil-based stains are too thick to be sprayed directly from the can. Thinning reduces the viscosity, allowing the stain to be properly atomized by the sprayer for a fine, even mist. Always check the stain manufacturer’s instructions first, as they will specify the correct thinning agent, which is typically mineral spirits or paint thinner.
A simple way to test viscosity is the funnel test. Time how long it takes for the unthinned stain to empty from a small funnel. Then, start by adding a small amount of thinner—about 5-10% by volume—and mix thoroughly. Time it again. You are looking for a smooth, consistent stream that runs out of the funnel in the timeframe recommended by your sprayer’s manual.
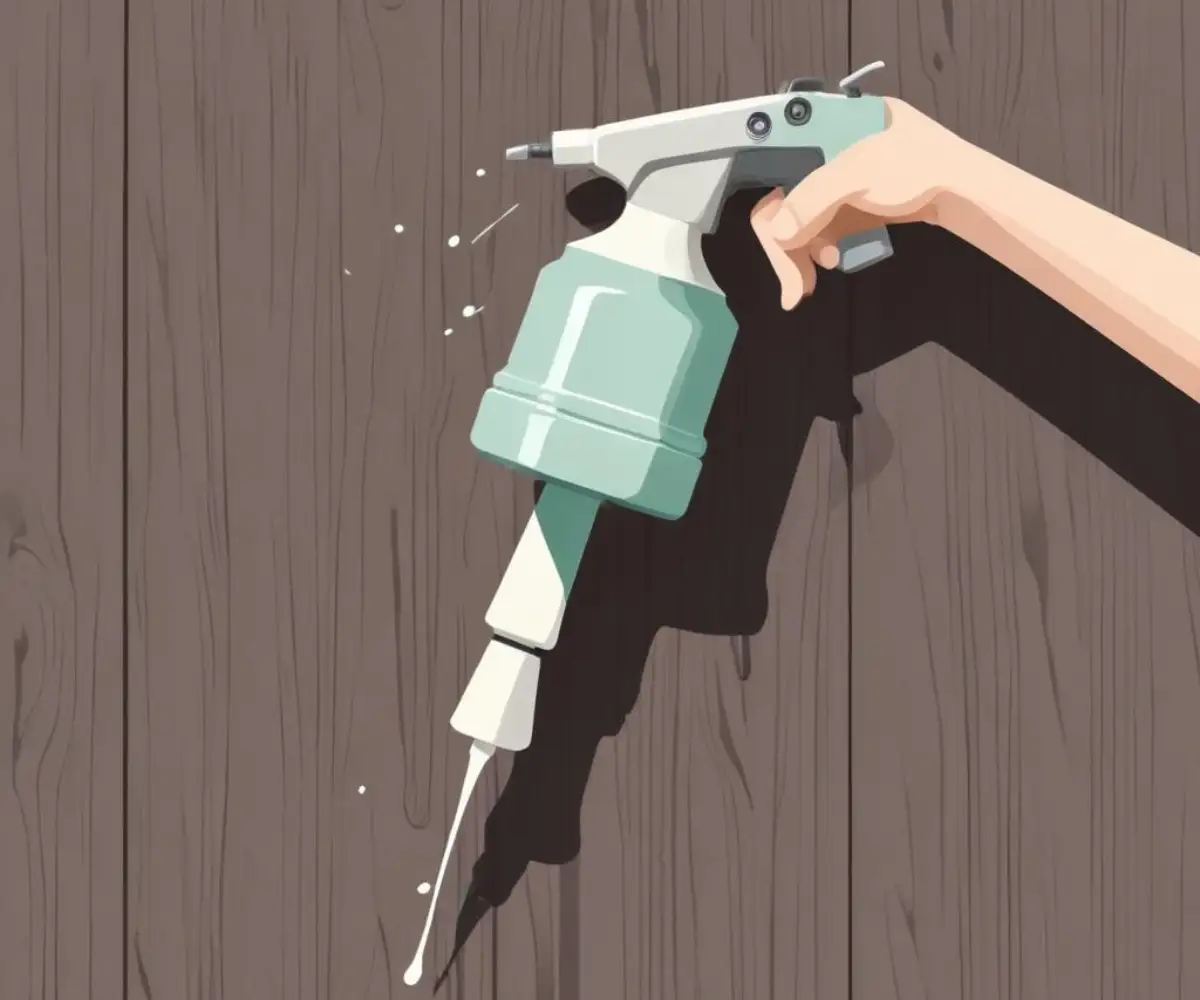
The Art of the Spray: A Step-by-Step Technique Guide
With your surface prepped and your stain thinned, it’s time to spray. But before you aim at your project, it’s vital to dial in your equipment and technique.
Dialing In Your Sprayer Settings
Start by selecting the correct spray tip for your project; a wider fan pattern is good for large surfaces, while a narrower one is better for detail work. Set the pressure to the lowest possible setting that still achieves a good spray pattern. You can test this on a piece of cardboard.
You are looking for a clean, even, elliptical pattern with no “tails” or “fingers” at the edges. If you see these, it often means the pressure is too low or the stain is too thick. Gradually increase the pressure until the pattern is uniform.
Mastering the Perfect Motion
Your physical technique is what separates an amateur finish from a professional one. Follow these golden rules for a perfect application:
Maintain a consistent distance from the surface, typically 8-12 inches. Getting too close will cause runs, while being too far away results in a dry, sandy texture. Your arm should move parallel to the surface, not swing in an arc.
Keep the sprayer in motion whenever the trigger is pulled. Start your motion before pulling the trigger and release the trigger before you stop moving. This prevents heavy spots and splotches at the beginning and end of each pass. Overlap each pass by about 50% to ensure even coverage without creating dark bands.
The Pro Secret: Why You Must Back-Brush After Spraying
This is the single most important technique that many DIYers overlook. Immediately after spraying a section, go over it lightly with a high-quality natural bristle brush. This is not to smooth out the finish—the sprayer already did that—but to work the stain into the wood pores.
Back-brushing ensures deeper penetration, better adhesion, and a more uniform appearance, especially on porous or uneven wood. It eliminates any puddles and ensures the stain is fully worked into every nook and cranny for maximum protection and a richer color.
The Aftermath: Cleanup That Protects Your Investment
Proper cleanup is tedious but absolutely essential. If you neglect it, your expensive sprayer will be ruined. First, empty any remaining stain back into its can. Then, run the appropriate solvent (mineral spirits for oil-based stain) through the sprayer until it runs clear.
Next, disassemble the gun, tip, guard, and any filters. Clean these parts individually with a small brush and more solvent to remove all stain residue. Once clean and dry, reassemble the sprayer and store it according to the manufacturer’s instructions.
Troubleshooting Common Spraying Nightmares
Even with careful preparation, issues can arise. Here’s how to handle the most common problems.
Problem: Runs and Drips
This is almost always caused by applying too much stain in one area. The culprit is usually moving the sprayer too slowly, holding it too close to the surface, or not releasing the trigger at the end of a pass. Immediately wipe up the run with a rag and apply a light spray coat to blend the area.
Problem: Uneven “Tiger Stripe” Pattern
This happens when you fail to overlap your passes correctly or when your distance from the surface is inconsistent. The solution is to practice your technique on cardboard until you can maintain a consistent speed, distance, and a 50% overlap on every pass.
Problem: Splattering or “Spitting”
If your sprayer is sputtering, it could be due to several factors. The stain may still be too thick, the pressure could be set too low, or the tip may be partially clogged. First, check and clean the tip. If the problem persists, you may need to add a bit more thinner or increase the sprayer’s pressure.
Safety First: The Non-Negotiable Rules of Spraying
Oil-based stains contain volatile organic compounds (VOCs) that are harmful to inhale. Proper respiratory protection is not optional. You must wear a respirator with organic vapor cartridges to protect your lungs.
Goggles, gloves, and long sleeves are also essential to protect your eyes and skin. Ensure your workspace has abundant ventilation. Poor ventilation can lead to a dangerous buildup of fumes and lingering odors; it’s a similar principle to why a chemical issue in a home can cause a problem like when a drywall smells like urine—proper airflow is key to safety and comfort.
The Hidden Danger: Spontaneous Combustion
This is a critical safety warning. Rags soaked with oil-based stain can generate their own heat as they dry and can spontaneously ignite hours later. Never bunch them up and throw them in the trash.
To dispose of them safely, either lay them out flat on a non-flammable surface like concrete until they are completely dry and stiff, or submerge them in a bucket of water and seal the lid before taking them to a hazardous waste disposal facility.
By embracing the right tools and techniques, spraying oil-based stain transforms a difficult chore into a rewarding project. With careful preparation, a steady hand, and a commitment to safety, you can achieve a stunning, durable finish that will protect and beautify your wood for years to come.