Snowblower Grinding Noises? Stop! Here’s the Fix Now
That horrible, metal-on-metal grinding sound coming from your snowblower is more than just annoying—it’s a critical warning. Ignoring it can lead to catastrophic failure, turning a manageable repair into a costly replacement. This guide will help you diagnose the source of that grinding noise and provide actionable steps to fix it, ensuring your machine is ready for the next big storm.
A grinding snowblower isn’t just a machine in distress; it’s a safety hazard. Understanding the root cause is the first step toward a safe and effective repair. From the auger housing at the front to the drive system in the back, we will cover every potential source of the problem.
You'll Learn About
Safety First: Before You Investigate That Awful Grind
Before any inspection or repair, you must take essential safety precautions. Always disconnect the spark plug wire and ensure it’s secured away from the spark plug. This single step prevents any chance of an accidental engine start, which could lead to severe injury.
Turn off the engine, remove the key, and wait for all moving parts to come to a complete stop. This includes the augers, impeller, and any drive belts. Never place your hands or tools inside the auger or discharge chute unless the machine is completely powered down and secured.
What’s That Grinding Sound? Pinpointing the Source
The location of the grinding noise is your first major clue. Listen carefully to determine if the sound is coming from the front auger area, the middle section near the engine, or the wheels and drive system. Each area points to a different set of potential problems.
A noise that occurs only when the auger is engaged suggests a problem with the auger assembly or gearbox. If the grinding happens when you engage the wheels, the issue likely lies within the drive system, such as the friction disc or drive belts.
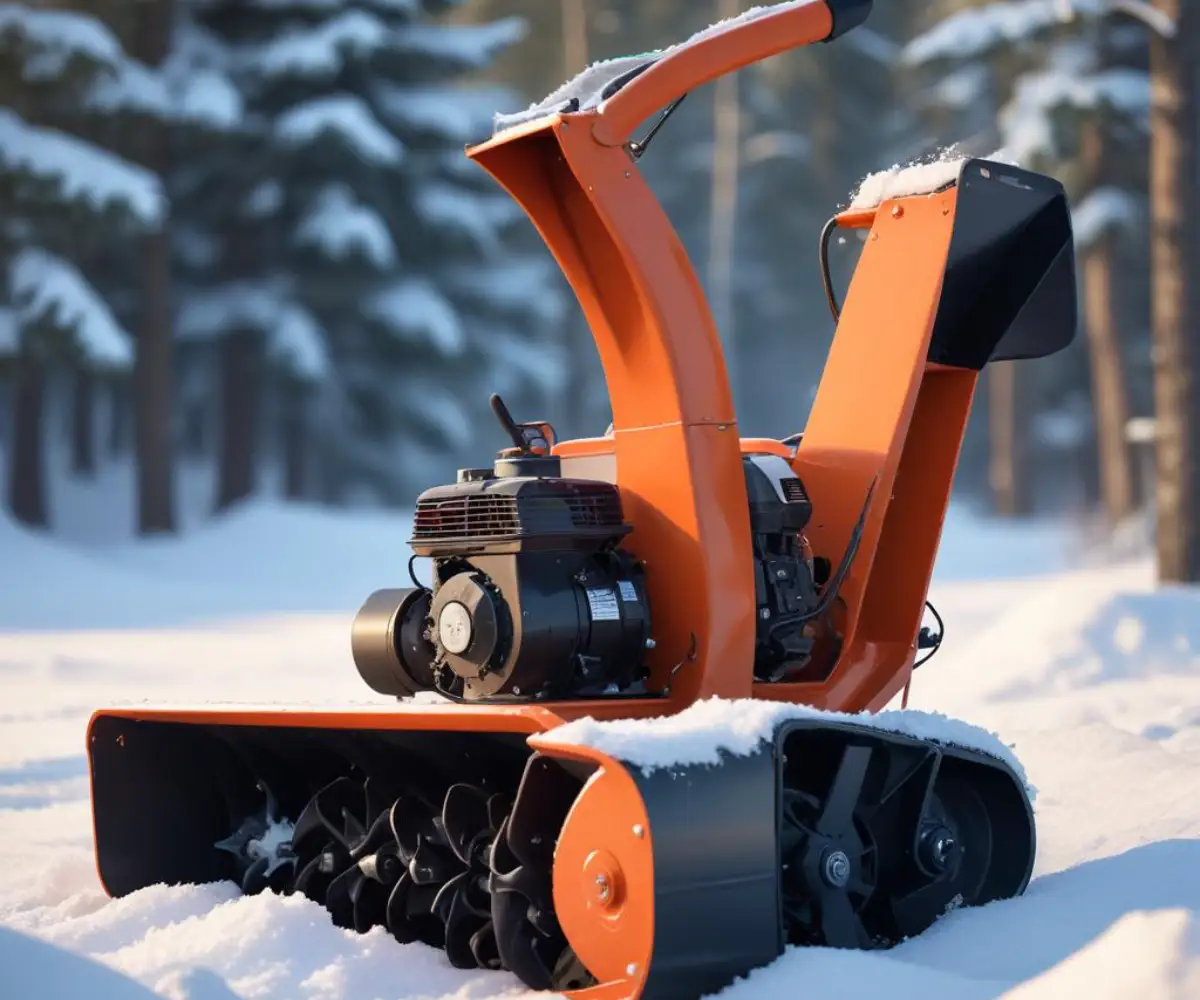
Grinding from the Front (Auger & Impeller)
The front housing is the most common source of grinding noises, as it’s where the machine does its heavy work. Foreign objects are a primary culprit. Rocks, thick ice chunks, newspapers, or even doormats can get lodged between the auger blades and the housing, causing a severe grinding sound.
Beyond simple jams, several mechanical components in this area can fail. Worn or seized auger bearings can produce a high-pitched grinding or squealing. Similarly, a failing auger gearbox, the heart of the snow-clearing mechanism, can be a source of deep, troubling grinding noises, often indicating a severe internal issue.
Shear pins are another critical component. These small bolts are designed to break when the auger hits a hard object, protecting the more expensive gearbox from damage. A partially sheared pin can cause a clicking or grinding sound as the auger slips and catches on the shaft.
Grinding from the Drive System (Wheels & Transmission)
If the grinding sound appears when you engage the drive lever to move the snowblower, the problem is likely in the transmission or drive system. The friction disc is a common wear item that can cause grinding. This rubber-rimmed wheel transfers power from the engine to the wheels, and when it becomes worn, glazed, or contaminated with oil, it can slip and grind against the drive plate.
Worn or damaged drive belts can also be a source of noise. A frayed or stretched belt might not grip the pulleys correctly, leading to a slipping and grinding sound as it struggles to transfer power. In more serious cases, the issue could be internal to the transmission, with damaged gears or bearings causing the noise.
Your Step-by-Step Snowblower Repair Guide
With a potential diagnosis in mind, it’s time to take action. This section will walk you through the most common repairs. Before you begin, gather necessary tools such as a socket set, wrenches, pliers, and any replacement parts you’ve identified as necessary. And remember to have your workspace organized; knowing how to hang power tools on pegboard can make finding the right tool quick and easy, saving you time and frustration.
Fixing Front-End Grinding Noises
For noises emanating from the auger housing, follow these steps methodically. Remember, the spark plug must be disconnected.
Step 1: Clear Obstructions. Carefully inspect the area inside the auger housing and the discharge chute. Use a broom handle or a dedicated clean-out tool to dislodge any rocks, ice, or debris. Never use your hands.
Step 2: Inspect and Replace Shear Pins. Locate the shear pins on the auger shaft. They are small bolts, typically two or four, that hold the augers to the shaft. If you find one that is broken or bent, it must be replaced. To do this, align the hole in the auger with the hole in the shaft and push out the broken piece, sometimes requiring a punch and hammer. Insert the new, manufacturer-recommended shear pin and secure it. Never substitute a standard bolt for a shear pin, as this can lead to severe gearbox damage.
Step 3: Examine the Auger Bearings. With the shear pins removed, try to wiggle the auger shaft. If there is significant play or if the augers are difficult to turn by hand, the bearings may be worn or seized. Replacing them often involves removing the auger assembly from the housing, which can be a complex job but is critical for smooth operation.
Step 4: Check the Auger Gearbox. The gearbox is a sealed unit located behind the augers. Check for a fill plug and inspect the lubricant level. If the oil or grease is low or appears milky (indicating water contamination) or contains metal shavings, the gearbox needs service. A grinding gearbox often means the internal worm gear is failing, which is a significant repair.
Silencing Drive System Grinding
If the grinding occurs when the wheels are engaged, you’ll need to inspect the drive components. This usually requires tipping the snowblower forward onto its housing to access the belly pan.
Step 1: Inspect the Friction Disc. Remove the belly pan to expose the drive system. The friction disc is a rubber wheel that presses against a large metal plate. Look for signs of wear, such as cracks, glazing, or areas where the rubber has worn down to the metal. A worn friction disc will not grip the drive plate properly and must be replaced.
Step 2: Check and Replace Belts. Remove the belt cover to inspect the auger and drive belts. Look for fraying, cracks, or glazing on the belt surfaces. A worn belt can slip on the pulleys, causing a grinding or squealing noise. Ensure the belts have proper tension and replace them if they show any signs of damage.
The Auger Gearbox: The Heart of the Problem
Many grinding issues ultimately trace back to the auger gearbox. This component transfers power from the engine to the augers at a 90-degree angle and is under immense stress. Lack of lubrication is the number one killer of these gearboxes.
Over time, the seals can fail, allowing the specialized “00” grease or gear oil to leak out. When it runs dry, the metal worm gear and bronze spur gear inside will grind against each other, quickly destroying themselves. If you see fine, gold-colored dust (from the bronze gear) in the housing, it’s a sure sign of catastrophic failure. For specific models, like those experiencing Ariens ST1028LE Snowblower Problems, gearbox maintenance is a frequently discussed topic and a vital preventative measure.
Proactive Maintenance to Prevent Future Grinding
The best way to deal with grinding noises is to prevent them from ever happening. A regular maintenance schedule can save you from costly repairs and ensure your machine is reliable when you need it most. Proper storage is also key; after the season, keeping the machine in a dry environment prevents rust and corrosion that can lead to seized bearings. Using the best fan to dry out a crawl space or garage can help maintain an ideal storage environment.
Here is a simple maintenance schedule to follow:
| Timing | Maintenance Task | Purpose |
|---|---|---|
| Before Each Use | Visually inspect auger housing for debris. | Prevents jams and broken shear pins. |
| Monthly (During Season) | Check shear pins for tightness and wear. | Ensures they break as designed, protecting the gearbox. |
| Start of Season | Inspect belts for cracks and proper tension. | Prevents slipping and loss of power to auger/wheels. |
| Start of Season | Check auger gearbox lubricant level. | The most critical step to prevent gearbox failure. |
| End of Season | Lubricate moving parts (chute, linkages). | Prevents seizing and ensures smooth operation. |
| End of Season | Check tire pressure. | Ensures proper traction and reduces strain on the drive system. |
When to Call a Professional
While many of these repairs are manageable for a DIYer, some tasks are best left to a professional. If the grinding is deep within the engine or transmission, or if you suspect a bent auger shaft or cracked housing, it’s wise to seek expert help.
A full gearbox rebuild can be particularly complex, requiring specialized tools and knowledge. If you’ve performed the basic checks and can’t identify the source of the noise, a small engine repair shop can provide an accurate diagnosis and prevent you from causing further damage.
Conclusion: Don’t Let the Grind Win
A grinding snowblower is a machine crying out for help. By listening closely, performing a thorough safety check, and methodically inspecting the key components, you can often diagnose and fix the issue yourself. From replacing a simple shear pin to inspecting the critical auger gearbox, proactive maintenance is your best defense against the sounds of mechanical failure.
Never ignore a grinding noise. Addressing it promptly will not only save you from a much larger repair bill but will also ensure your snowblower is a reliable partner in conquering winter’s worst, keeping your driveway clear and your day moving forward.