Sliding Door Over a Light Switch? Don’t Panic, Here’s Your Fix
You’ve found the perfect sliding barn door. It has the rustic charm and space-saving elegance you’ve always wanted. But as you measure the wall, your heart sinks. Right in the middle of the door’s path is a light switch, an immovable plastic obstacle mocking your design dreams. This is a surprisingly common headache for homeowners.
The allure of a sliding door is undeniable, but installing one in a home not originally designed for it often creates a direct conflict with existing electrical fixtures. Simply ignoring it is not an option. You need a safe, functional, and aesthetically pleasing solution. Fortunately, you have several excellent choices that don’t require you to abandon your vision.
You'll Learn About
Why This Is Such a Common Renovation Nightmare
The “sliding door versus light switch” dilemma is a classic issue in home renovation, especially in older homes or rooms with awkward layouts. Modern open-plan living and the desire for unique space-saving doors often clash with decades-old wiring plans. The problem arises because sliding doors need a clear, unobstructed wall space equal to the door’s width to open fully.
When you retrofit these beautiful doors into an existing space, you’re bound to run into obstacles like light switches, outlets, or thermostats. Trying to work around them without a proper plan can lead to frustration and, more importantly, create significant safety hazards.
The Wrong “Fixes”: 4 Mistakes You Must Avoid
In a moment of frustration, you might be tempted to cut corners. However, when it comes to electrical wiring and heavy sliding doors, a “quick fix” can quickly turn into a dangerous mistake. Here are the common errors you absolutely must avoid.
Mistake 1: Just Covering the Switch
The most dangerous “solution” is to simply install the door over the switch, leaving it inaccessible. This is a direct violation of most electrical codes, including the National Electrical Code (NEC). Electrical junction boxes must always be accessible for maintenance and emergencies. An inaccessible, covered switch is a fire hazard waiting to happen.
Mistake 2: Unlicensed Electrical Work
Thinking of moving the switch yourself? Unless you are a licensed electrician, this is a serious risk. Improper wiring can lead to short circuits, electrical shocks, and fires. Always entrust the physical relocation of electrical wiring to a qualified professional who understands local codes and safety protocols.
Mistake 3: Creating a Deep Notch in the Door
Some people consider carving a recess into the back of the door to accommodate the switch. While a shallow groove might work for a very slim switch, a deep cutout can compromise the structural integrity of the door, causing it to warp or even break over time. It also often looks like an amateurish afterthought, detracting from the door’s beauty.
Mistake 4: Using Inadequate Spacers
Hardware kits for sliding doors come with standoffs or spacers to create a gap between the wall and the door. While you can sometimes use larger spacers to create more clearance, using ones that aren’t rated for your door’s weight or are improperly installed can lead to instability. The door could rub against the wall or even detach from the track.
The Ultimate Solutions: 4 Smart Ways to Reclaim Your Wall
Now for the good news. There are several safe, effective, and elegant solutions to this common problem. Your choice will depend on your budget, your DIY comfort level, and the specific layout of your room.
Solution 1: Relocate the Light Switch (The Professional Route)
The most conventional and “correct” solution is to move the light switch entirely. This involves hiring an electrician to reroute the wiring to a new location outside the door’s path. The process typically involves cutting into the drywall, moving the electrical box, running new wires, and then patching and painting the old hole.
While this is the most invasive option, it provides a clean, permanent fix that looks professionally integrated. An electrician will typically charge between $100 and $300 to move a single switch. This is the gold standard if you’re already doing a larger renovation. Just as you might plan for flooring changes, like when deciding if you can put LVP under cabinets, careful planning for electrical work is key.
Solution 2: The Magic of Wireless Light Switch Kits
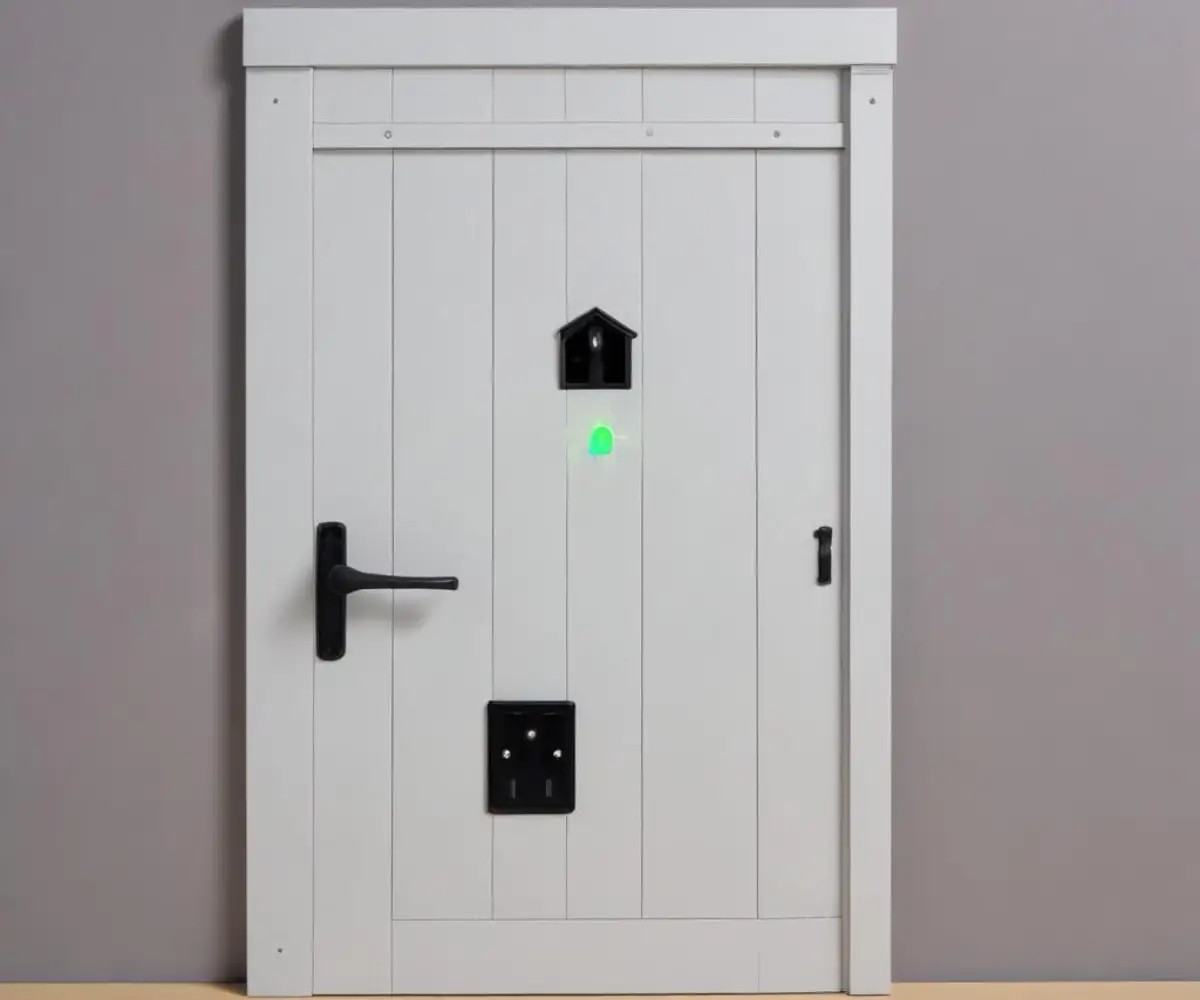
For a brilliant, modern, and often DIY-friendly solution, look no further than a wireless light switch kit. These systems are a game-changer. They consist of two components: a receiver that gets wired directly to the light fixture in the ceiling, and a slim, battery-powered (or battery-free) switch that you can mount anywhere you want.
With this method, the old switch box is decommissioned. The wires are safely connected to ensure the circuit is always “on” for the receiver, and a blank plate is installed over the box. You then simply stick the new wireless switch on the wall in a convenient location. No cutting, no patching, no mess.
Solution 3: Embrace the Smart Home Revolution
Take the wireless concept a step further with smart lighting. Replace the bulb in your fixture with a smart bulb (like Philips Hue) and pair it with a wireless smart remote or hub. This approach completely bypasses the need for a physical wall switch.
You can control the light with a stick-on remote, your smartphone, or even your voice via a smart assistant like Alexa or Google Home. As with the wireless switch kit, you’ll need to safely decommission the old switch and install a blank cover plate. This is an elegant solution for those looking to add more smart functionality to their home.
Solution 4: Strategic Hardware & Spacers
In some cases, you might be able to solve the problem with hardware alone. If your light switch is relatively flat (a “Decora” or rocker-style switch is better than a traditional toggle), you may be able to create enough clearance by using a thicker header board or extended standoffs for the track.
This pushes the entire door and track system further away from the wall. You will need to carefully measure the depth of your switch and ensure the hardware you choose provides enough of a gap for the door to slide freely without rubbing. This solution avoids electrical work but requires precise measurement and selection of robust, appropriate hardware.
Solution Smackdown: Which Option Is Right for You?
Feeling overwhelmed by the choices? This table breaks down the key factors for each solution to help you decide.
| Solution | Average Cost | Skill Level | Pros | Cons |
|---|---|---|---|---|
| Relocate Switch | $100 – $300+ | Professional Electrician | Permanent, clean, code-compliant finish. | Invasive, requires drywall repair and painting. |
| Wireless Switch Kit | $40 – $80 | Confident DIYer | No wall damage, flexible switch placement, affordable. | Requires basic wiring at the fixture, switch may need batteries. |
| Smart Lighting | $50 – $150+ | Beginner DIYer | Adds smart home functionality, voice control, highly versatile. | Higher initial cost, may require a hub, dependent on Wi-Fi. |
| Extended Hardware | $20 – $60 (for spacers) | Intermediate DIYer | No electrical work, simple concept. | Only works for low-profile switches, requires precise measurement. |
Step-by-Step Guide: Installing a Wireless Light Switch Kit
The wireless switch is often the perfect middle-ground solution. It’s affordable, effective, and within the reach of a confident DIYer. Here’s a general guide to how it’s done.
Disclaimer: Always turn off the power to the circuit at your breaker box before performing any electrical work. If you are not 100% confident, hire a professional.
Step 1: Gather Your Tools
You will need a voltage tester, a screwdriver, wire strippers, and wire nuts. Your wireless switch kit will contain the receiver and the new switch. You will also need a blank wall plate to cover the old switch box.
Step 2: Turn Off the Power and Verify
Go to your home’s breaker panel and shut off the power to the room you’re working in. Use a non-contact voltage tester at the light switch to confirm that the power is completely off before touching any wires.
Step 3: Access the Old Switch and Fixture
Unscrew and remove the cover plate and the screws holding the old switch in the electrical box. At the ceiling, carefully remove your light fixture to expose the wiring in its electrical box. This is where you will install the receiver.
Step 4: Install the Receiver and Decommission the Old Switch
At the old switch, disconnect the wires and join them together with a wire nut to create a continuously powered circuit. Tuck them safely back into the box and install a blank cover plate. At the ceiling fixture, follow the kit’s instructions to wire the receiver between the power supply and the light itself.
Step 5: Mount Your New Wireless Switch
This is the easy part. The new switch requires no wires. Simply use the included adhesive strips or screws to mount it on the wall in your desired location, well clear of the sliding door’s path. Turn the power back on and test your new, conveniently located switch! Similar simple fixes can solve other household issues, like using expanding foam for a wobbly towel rack.
Planning Your Sliding Door Installation: Clearance is Key
Before you even purchase your door, proper measurement is crucial to avoid surprises. Measure the width and height of your door opening, and remember that the door itself should be a few inches wider and taller than the opening for privacy.
Most importantly, measure the wall space next to the doorway where the door will slide open. This area must be completely clear of obstructions from floor to ceiling. This initial check will tell you immediately if a light switch or other obstacle needs to be addressed. It’s the same principle as any home renovation—proper planning prevents poor performance. Even seemingly unrelated projects, like deciding to replace metal shed doors, benefit from careful upfront measurement and planning.
Frequently Asked Questions (FAQs)
Is it against electrical code to cover a light switch?
Absolutely, yes. The NEC and local building codes require all electrical junction boxes to remain accessible. Permanently covering a switch with a door creates a serious safety and fire hazard.
How much does it cost to have an electrician move a light switch?
The cost typically ranges from $100 to $300, depending on the complexity of the job, wiring accessibility, and local labor rates. This price usually includes creating the new opening and patching the old one, but you may be responsible for the final painting.
Can I just use a thinner light switch?
While a slimmer, rocker-style switch is less obtrusive than a traditional toggle, the main obstacle is usually the electrical box recessed in the wall, not just the switch itself. A thinner switch rarely provides enough clearance on its own without also using extended track hardware.
The Final Verdict: Don’t Let a Switch Derail Your Dream Door
That inconveniently placed light switch might seem like a deal-breaker, but it doesn’t have to be. From the traditional approach of hiring an electrician to the modern convenience of wireless and smart technology, you have a variety of robust solutions at your disposal.
Don’t compromise on safety by attempting a dangerous workaround. Instead, evaluate your budget, skills, and desired outcome to choose the right path forward. With a little planning, you can install that beautiful sliding door and have a perfectly placed, fully functional light switch too.