Exposed Stove Side? Hide That Ugly Panel and Reclaim Your Kitchen
You’ve designed your kitchen, picked the perfect appliances, and arranged your cabinets. But then you see it: the plain, unfinished metal side of your stove, sticking out like a sore thumb at the end of a cabinet run. This common design hiccup can instantly make a polished kitchen look incomplete and poorly planned.
An exposed stove side is more than just an eyesore. It can create awkward cleaning challenges and raise questions about safety and heat exposure to nearby surfaces. Fortunately, you don’t have to live with this unfinished look; there are several elegant and practical solutions to conceal it.
You'll Learn About
Why Is My Stove’s Side Exposed Anyway?
This issue typically arises in specific kitchen layouts. It often happens when a freestanding range is placed at the end of a line of cabinets rather than being neatly nestled between two of them. This is common in smaller kitchens, galley kitchens, or layouts that have been altered during a remodel.
Sometimes, the choice of appliance is the culprit. A slide-in range is designed to have its sides covered by cabinetry, often featuring unfinished sides. In contrast, a freestanding range has finished sides, but even these can look industrial and out of place when left visible.
Safety First: Understanding Clearances and Heat Exposure
Before jumping into aesthetic fixes, it’s crucial to address safety. Stoves, particularly ovens and gas cooktops, generate significant heat. Appliance manufacturers provide strict guidelines for minimum clearances to combustible materials to prevent fires and other heat-related damage.
Always consult your stove’s installation manual for specific clearance requirements. For gas ranges, a typical minimum clearance to a side wall is 6 inches. While electric ranges may allow for zero clearance, it’s still wise to allow space to prevent steam or grease from damaging adjacent surfaces. Any solution you choose must respect these safety distances.
Top Solutions to Cover an Exposed Stove Side
Hiding the side of your stove can be a straightforward DIY project or a task for a professional. The best solution depends on your budget, kitchen style, and how much space you have. Here are five effective methods to solve the problem.
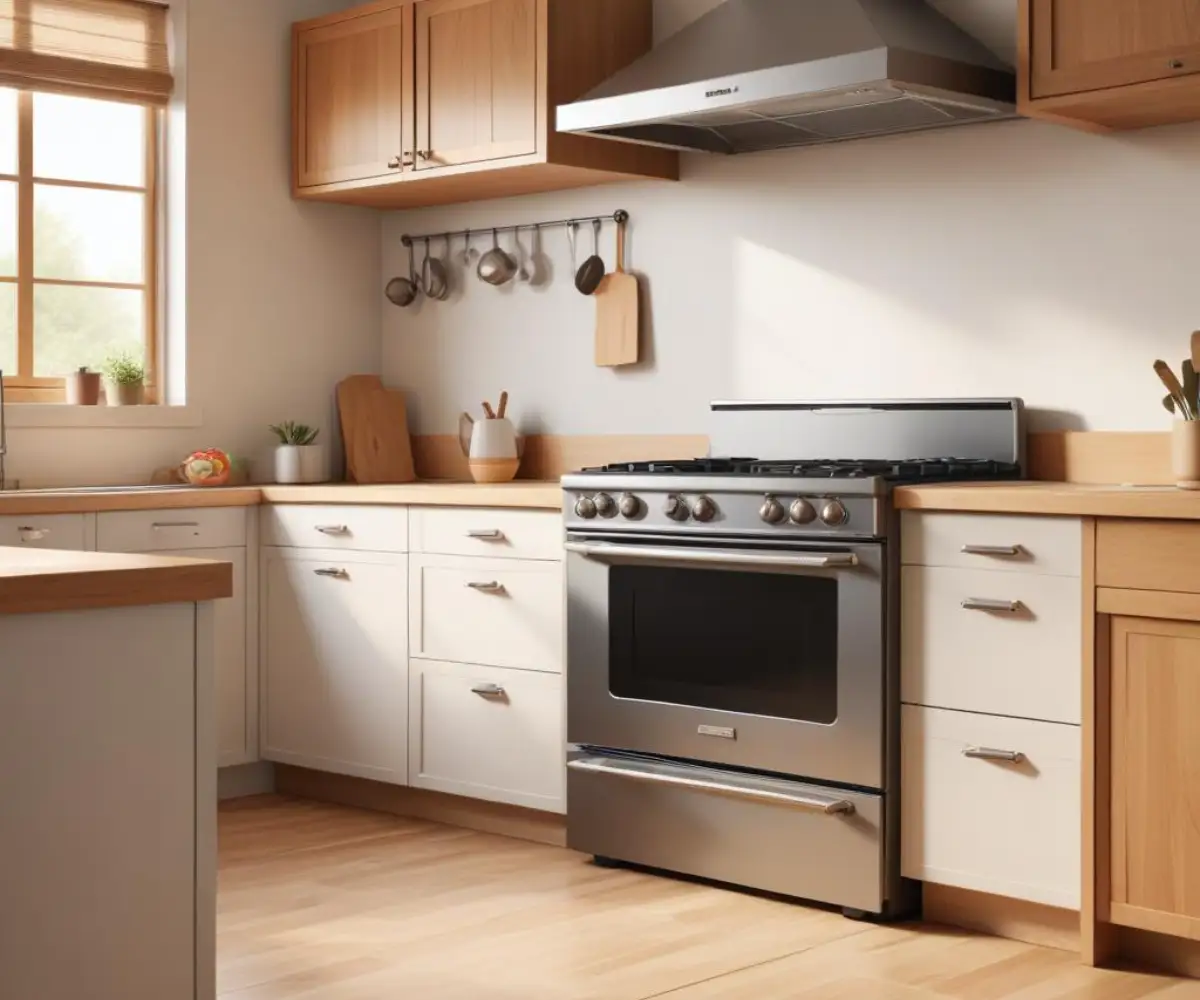
1. Install a Cabinet End Panel
The most seamless solution is to install a decorative end panel that matches your existing cabinetry. This creates a custom, built-in look, making it seem as though the stove was always meant to be there. These panels are specifically designed to finish a run of cabinets.
You can order one from your cabinet manufacturer for a perfect match or have one custom-made. The panel is installed vertically, running from the floor to the top of the counter, effectively creating a “wall” that hides the stove’s side. This is an excellent option for maintaining a cohesive and high-end look.
2. Build a Narrow Cabinet or Open Shelving
If you have a few extra inches to spare, you can add functional storage. A slim, custom-built cabinet is perfect for storing baking sheets, cutting boards, or spices. This not only covers the exposed side but also adds valuable storage in a space that would otherwise be wasted.
For a more open feel, consider narrow, heat-resistant shelving. This can be a stylish spot for cookbooks, decorative jars, or frequently used cooking oils. When choosing this option, ensure the materials can withstand ambient heat from the stove over time.
3. Use a Stainless Steel Heat Shield
For a more modern or industrial aesthetic, a stainless steel panel is a highly practical solution. A heat shield serves a dual purpose: it covers the unsightly stove side while also protecting the adjacent surface (like a wall or a non-matching panel) from heat. This is a favorite in professional kitchens for its durability and ease of cleaning.
You can have a piece of stainless steel custom-cut to fit the space. Installation is often as simple as using a strong, heat-resistant adhesive or screwing it into a support structure. This method is particularly effective if there’s minimal space to work with.
4. Add a Slim, Rolling Kitchen Cart
A non-permanent and versatile solution is to place a narrow kitchen cart or a small butcher block table next to the stove. This physically blocks the view of the exposed side and provides extra prep space or storage that can be moved as needed. Look for a cart that matches the height of your countertop for the most integrated look.
This is an ideal choice for renters or for those who prefer flexible kitchen layouts. It adds functionality without the commitment of a permanent installation. It also helps define the cooking zone visually.
5. Extend Your Wall or Backsplash Material
Another visually appealing option is to build a short “wing” wall or extend your backsplash tile around the side. This creates a solid, architectural element that encloses the stove. Tiling this new surface to match your existing backsplash will create a unified, custom-designed appearance.
While this is a more involved project, it offers a robust and permanent solution that fully integrates the stove into your kitchen’s design. This method works especially well in contemporary and minimalist kitchens.
Comparing Your Options: What’s the Best Material?
Choosing the right material is critical for both appearance and safety. Some materials handle heat and grease splatters better than others. The table below compares common choices for covering an exposed stove side.
| Material/Solution | Pros | Cons | Best For |
|---|---|---|---|
| Cabinet End Panel (Wood/MDF) | Creates a seamless, built-in look; matches existing decor perfectly. | Can be susceptible to long-term heat damage if too close; may require a heat shield. | Kitchens where a cohesive, traditional, or transitional look is desired. |
| Stainless Steel Panel | Excellent heat resistance; easy to clean; durable and long-lasting. | Can look industrial; may show fingerprints and smudges easily. | Modern, contemporary, or industrial-style kitchens and for prioritizing safety. |
| Custom Shelving Unit | Adds functional storage; can be a decorative element. | Requires careful material selection to resist heat; items on shelves can get greasy. | Layouts with a few extra inches of space where extra storage is needed. |
| Tiled Wing Wall | Extremely durable and heat-proof; fully integrates the stove. | More complex and expensive to install; a permanent structural change. | Major kitchen remodels or when a completely unified look is the goal. |
A Step-by-Step Guide to Installing a Cabinet End Panel
Installing a cabinet end panel is a popular DIY project. Here’s a simplified guide to get it done:
1. Measure Carefully: Measure the height, depth, and thickness required for the panel. Ensure it will sit flush with your countertop and cabinet fronts. Account for any toe-kick at the bottom for a perfect fit.
2. Acquire the Panel: Order a matching end panel from your cabinet supplier. If that’s not possible, purchase a piece of high-quality MDF or plywood that you can paint to match your cabinets.
3. Create Support: The panel needs something to attach to. Secure wooden support cleats to the floor and the wall behind the stove. These will provide a stable frame for the panel.
4. Cut the Panel to Size: If your panel is not pre-cut, use a circular saw with a fine-toothed blade to cut it to your exact measurements. To prevent chipping, you can apply painter’s tape along the cut line.
5. Attach the Panel: Position the panel against the support cleats. Secure it by driving screws from the inside of the cleats into the panel, so the screw heads are hidden. For a cleaner finish, you can also use construction adhesive in addition to screws.
6. Finishing Touches: If needed, apply matching edge banding to the raw front edge of the panel. Fill any small gaps between the panel and the wall or floor with a bead of paintable caulk for a professional look. If you need help with this step, learning how to open a tube of caulk properly is the first step to a clean finish.
The Hidden Factor: Long-Term Heat and Material Health
While building codes provide minimum safety clearances, it is important to consider the long-term effects of radiant heat on the materials you choose. Constant exposure to even low levels of heat can cause wood to dry out and warp, paint to discolor, or laminate finishes to peel over time. This is especially true for materials placed directly next to the oven portion of a range.
To mitigate this, always opt for materials with good thermal stability. If you choose a wood or MDF panel, consider adding a thin, self-adhesive thermal barrier to the side facing the stove. This small, invisible step can significantly extend the life and appearance of your chosen solution, ensuring it looks great for years to come.
Final Thoughts: Reclaiming Your Kitchen’s Style
An exposed stove side is a design problem that disrupts the flow and finish of a kitchen. However, it is a problem with many effective and stylish solutions. From a simple matching end panel to a functional storage unit, you can easily conceal the blemish and enhance your kitchen’s overall design.
By prioritizing safety and choosing a solution that complements your existing decor, you can turn this awkward flaw into a seamless part of your kitchen. The key is to address the entire space, considering how even a small detail contributes to the room’s final look—much like ensuring there is no awkward gap between the stove and countertop. A well-considered fix will not only look better but will also improve the functionality and safety of your cooking space.