Side of Door Draft? Banish Chills & Slash Bills Now!
Feeling an unwelcome chill creep in from the side of your closed door? You’re not just imagining it. That persistent side of door draft is a common frustration for homeowners, signaling a breach in your home’s thermal envelope. It’s a constant reminder that your heated or cooled air is escaping, leading to uncomfortable rooms and shockingly high energy bills.
This isn’t just a minor annoyance; it’s a significant energy efficiency problem. Whether it’s the bitter cold of winter or the oppressive heat of summer, gaps along the side of your door force your HVAC system to work overtime. But you don’t have to live with it. With a few simple steps, you can diagnose the cause and implement effective, long-lasting solutions to seal those gaps for good.
You'll Learn About
Why Is There a Draft Coming From the Side of My Door?
Understanding the root cause of a side door draft is the first step toward a permanent fix. Several factors can lead to those pesky gaps between your door and the frame, each requiring a slightly different approach to resolve.
Often, the problem is as simple as worn-out or damaged weatherstripping. This crucial seal can compress, crack, or peel away over time, losing its ability to block airflow. In other cases, the issue is more structural. Your house settling over time can cause the door frame to shift, leading to a misaligned door. A door that doesn’t sit squarely in its frame will inevitably have uneven gaps.
Another common culprit is improper door installation or issues with the door’s hardware. Loose or poorly adjusted hinges can cause the door to sag, creating a larger gap on the latch side and top of the door. Similarly, a misaligned strike plate can prevent the door from closing tightly against the weatherstripping, leaving a clear path for drafts.
Step 1: The Initial Inspection – Finding the Source
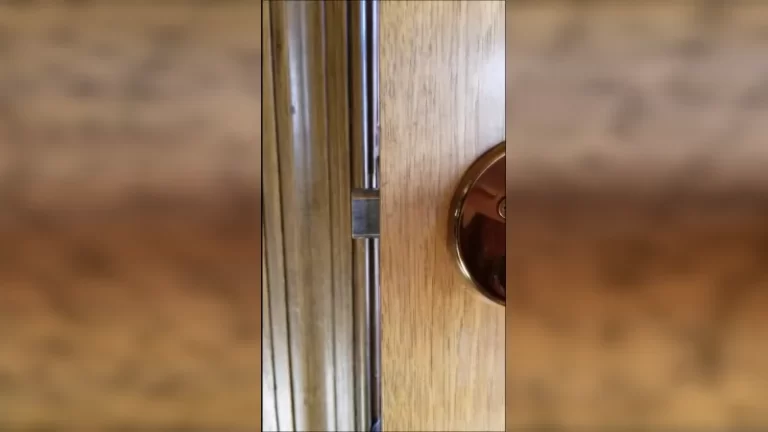
Before you can fix the draft, you need to pinpoint exactly where the air is coming in. A visual inspection is a good starting point. Close the door and look for any visible daylight around the edges. An uneven gap is a clear sign of a problem.
For a more precise test, try the smoke test. On a windy day, carefully hold a lit incense stick or a smoke pen near the edges of the door frame from the inside. Watch the smoke closely; where it wavers or gets blown into the room is where your air leak is located. This method is highly effective for identifying drafts that aren’t obvious to the naked eye.
Sealing the Gaps: Your Action Plan to Stop Door Drafts
Once you’ve identified the source of the draft, it’s time to take action. Most solutions are straightforward DIY projects that can be completed in an afternoon with basic tools. From replacing weatherstripping to adjusting hardware, these fixes will make your home more comfortable and energy-efficient.
Improving your home’s overall insulation is a holistic approach to energy savings. While you’re focused on the door, consider if other areas need attention. For instance, learning how to insulate glass block windows can complement your efforts to create a truly sealed home environment.
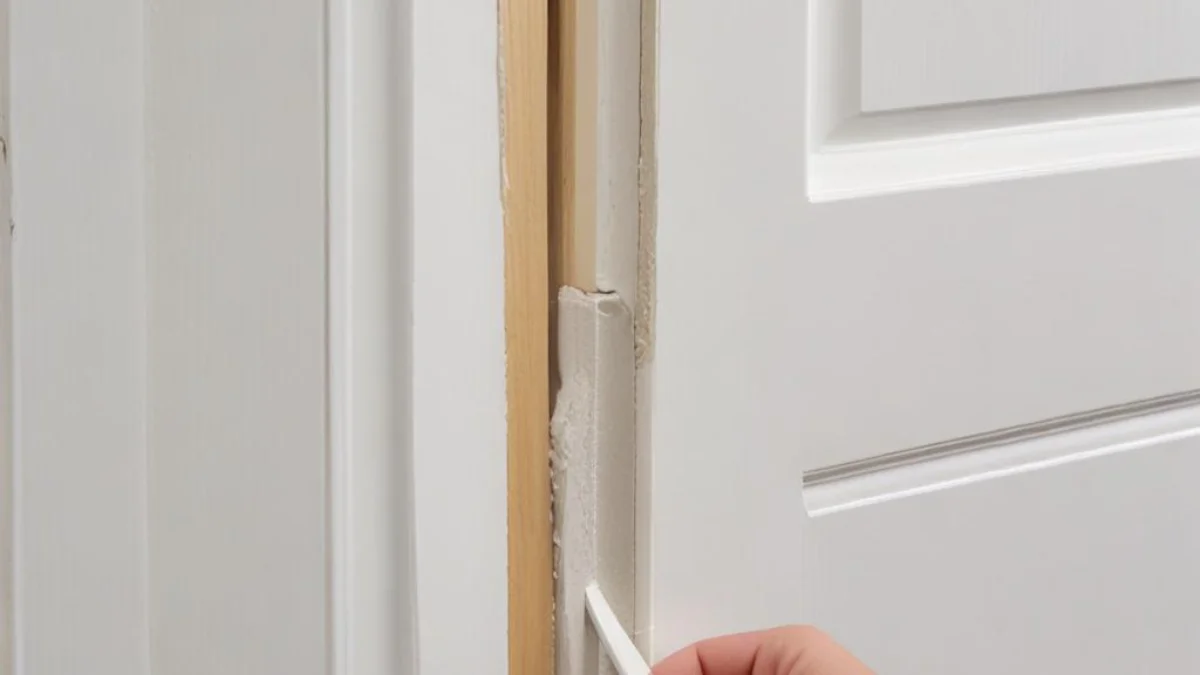
Solution 1: Replace Worn-Out Weatherstripping
This is often the most effective and simplest solution for a side of door draft. Weatherstripping is inexpensive and comes in various materials to suit different needs and gap sizes. When old seals are compressed and brittle, they no longer provide an effective barrier.
Start by removing the old weatherstripping. Use a putty knife or pliers to gently pull it out of the kerf (the groove in the door jamb). Once removed, thoroughly clean the channel to ensure the new stripping adheres and sits properly. Measure the height of your door jamb and cut the new weatherstripping to size before pressing it firmly into the groove.
Choosing the Right Weatherstripping
Selecting the correct type of weatherstripping is crucial for a successful seal. Different materials offer varying levels of durability and are suited for different gap sizes. Consider the climate you live in and the amount of traffic the door receives when making your choice.
For a comprehensive comparison, refer to the table below which breaks down the most common types of weatherstripping.
| Weatherstripping Type | Material | Durability | Best For | Installation |
|---|---|---|---|---|
| Foam Tape | EPDM Rubber or Foam | Low to Medium | Irregular and small gaps. Easy, quick fix. | Self-adhesive; press into place. |
| V-Strip (Tension Seal) | Metal or Vinyl | High | Tight-fitting doors, sides of frames. | Self-adhesive or requires small nails. |
| Tubular Rubber/Vinyl/Silicone | Rubber, Vinyl, or Silicone | High | Larger, uneven gaps. Excellent seal. | Often inserted into a groove (kerf) or nailed on. |
| Felt | Reinforced Felt | Low | A temporary and economical option. | Stapled or tacked into place. |
| Kerf-In | Foam or Rubber Bulb | High | Doors with pre-cut grooves (kerfs) in the jamb. | Pushes into the existing groove. |
Solution 2: Adjusting Door Hinges and Alignment
If new weatherstripping doesn’t solve the problem, the door’s alignment is likely the issue. A sagging door creates an uneven gap, typically larger at the top on the latch side. This can often be corrected by simply tightening the hinge screws.
If the screws are stripped and won’t tighten, you can use a longer screw that will bite into the stud behind the door jamb. Another trick is to remove the screw, insert a couple of wooden toothpicks coated in wood glue into the hole, break them off flush, and then re-drive the screw. For more significant alignment issues, you may need to place a small cardboard shim behind one of the hinges to adjust the door’s position within the frame.
Solution 3: Repositioning the Strike Plate
The strike plate is the metal piece on the door jamb where the latch engages. If it’s not positioned correctly, the door won’t close tightly against the weatherstripping, creating a draft. You can often see if this is the problem by closing the door and trying to jiggle it; if it moves, the latch isn’t snug.
To fix this, you can remove the strike plate and file the opening slightly larger to allow the latch to engage more deeply. A better solution is to reposition the strike plate. Loosen the screws, move it slightly towards the door stop, and retighten. This adjustment will pull the door tighter against the frame when closed, compressing the weatherstripping and sealing the gap.
Advanced Solutions for Persistent Drafts
Sometimes, simple fixes aren’t enough, especially in older homes with more significant structural shifts. If you’ve tried the basics and still feel a draft, it may be time to consider more comprehensive solutions.
Air leaks aren’t confined to doors; they can appear in many places. Unsealed openings, like an old fireplace flue or an unsealed attic, can contribute to drafts throughout the house. Understanding the risks of an attic open to potential risks and how to seal it properly is crucial for whole-home energy efficiency.
Using Foam Corner Seals
Even with perfectly installed weatherstripping, small gaps can persist at the bottom corners of the door jamb. These are notorious spots for air infiltration. Specialized foam corner seals are designed to solve this exact problem.
These small, tapered pads have an adhesive backing and are placed at the intersection of the threshold and the door jamb. They effectively fill the small, triangular gap that standard weatherstripping can’t reach, creating a complete seal around the entire door perimeter.
When to Call a Professional
While most door draft issues are DIY-friendly, some problems require an expert eye. If the door frame itself is warped, rotted, or significantly out of square, simple adjustments won’t be enough. Similarly, if you suspect the issue is related to your home’s foundation settling, it’s best to consult a professional contractor.
A professional can assess the structural integrity of the door and frame, determine the underlying cause of the draft, and recommend the best course of action. This might involve repairing the frame, or in some cases, replacing the entire door unit. While it’s a larger investment, a new, properly installed, and energy-efficient door can provide significant long-term savings and comfort. Taking a proactive approach to home maintenance, such as addressing a fireplace ash pit with no cleanout door, prevents larger issues down the line.
Maintain a Draft-Free Home for the Long Term
Fixing a side of door draft is a major step toward a more comfortable and energy-efficient home. Once you’ve sealed the gaps, regular maintenance will ensure they stay sealed. Inspect your weatherstripping seasonally, especially before winter and summer, and check that your door hardware remains tight and properly aligned.
By taking a proactive approach, you can banish drafts for good. You’ll not only enjoy a more comfortable living space but also the peace of mind that comes with lower energy bills and a more sustainable home. Don’t let a simple draft compromise your comfort and budget any longer.