Shut Off Water to Shower FAST: Stop Leaks Before Disaster Strikes
That relentless drip… drip… drip… from the shower head isn’t just annoying; it’s a ticking clock. Every drop is a sign of a problem that could escalate from a simple fix to a catastrophic leak, causing costly water damage to your walls and floors. Knowing how to shut off water to your shower is a fundamental skill every homeowner must have to protect their property and peace of mind.
Whether you’re tackling a DIY repair, replacing a fixture, or responding to a sudden leak, controlling the water supply is the critical first step. This guide provides a comprehensive walkthrough of the various ways to stop water flow to your shower, from the simplest methods to the last-resort emergency shutoff.
You'll Learn About
Why You Can’t Ignore a Leaking Shower
A persistent drip or a faucet that won’t fully close is often a symptom of a failing internal part, like a worn-out washer or a faulty valve cartridge. If left unaddressed, these minor issues can lead to more significant problems, including sudden bursts of water, damage behind the shower wall, or a complete failure of the fixture.
Immediate action is crucial. By shutting off the water supply, you can safely diagnose the problem, perform repairs, or prevent further damage while waiting for a professional. This proactive step transforms a potential crisis into a manageable home maintenance task.
Method 1: Finding Your Shower’s Dedicated Shut-Off Valves
The best-case scenario is that your shower has its own dedicated shut-off valves, often called “integral stops” or “service stops.” These valves allow you to stop the water flow exclusively to the shower without affecting the rest of the house. Finding them, however, can sometimes feel like a treasure hunt.
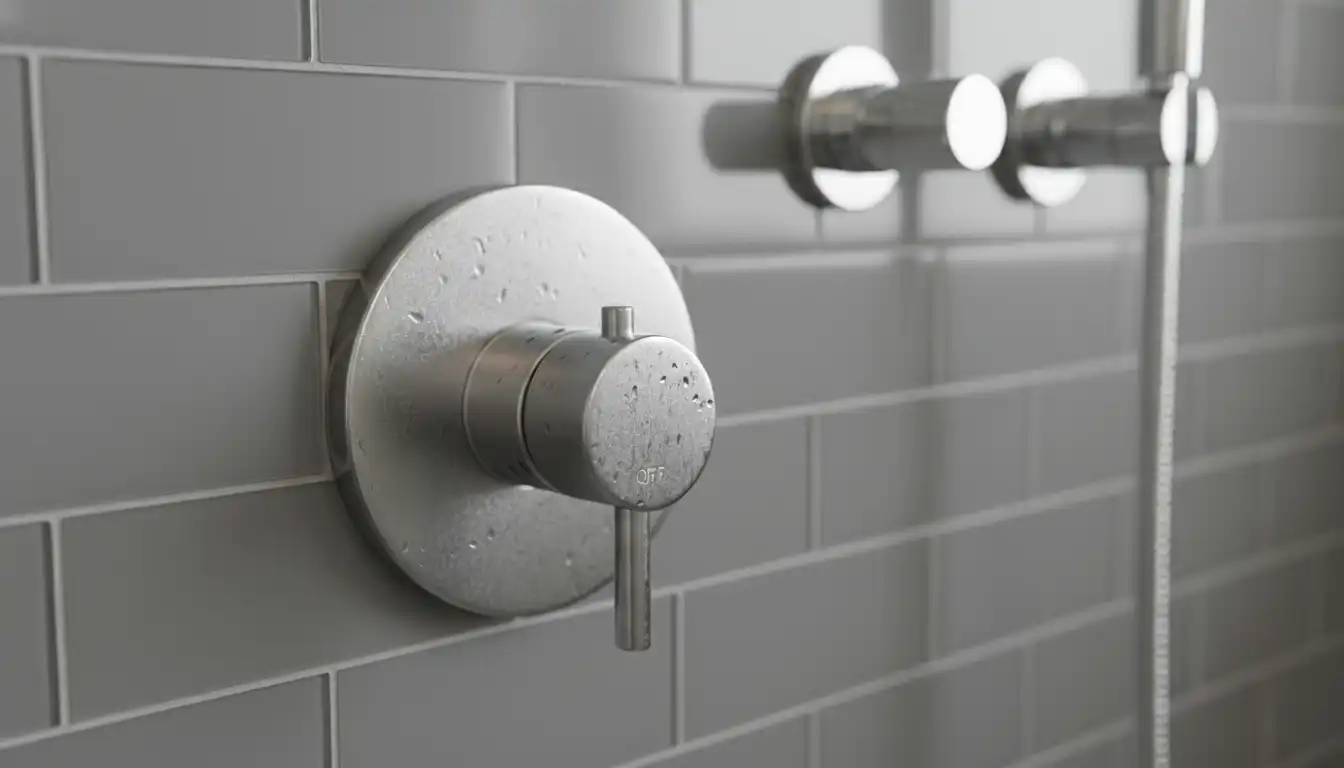
Look Behind the Faucet Handle Plate: Many modern single-handle shower faucets hide the shut-off valves directly on the main valve body. You will need to remove the handle and the large decorative plate (called an escutcheon) to see them.
Once the plate is off, look for two small slots, one on each side (for hot and cold). These can typically be turned with a flathead screwdriver. A simple quarter-turn clockwise should shut off the water. This is the most convenient option when you need to start replacing a shower faucet with a different brand or performing other direct repairs.
Check for an Access Panel: The plumbing code in many areas requires an access panel for shower and tub valves. Look on the wall directly behind the shower faucet. This panel might be in an adjoining room, such as a bedroom closet or a hallway.
These panels can be small, square pieces of drywall or plastic covers. Once opened, you should see the back of the shower valve and the hot and cold water pipes leading to it. Often, you’ll find lever or knob-style shut-off valves on these pipes.
When There Are No Dedicated Valves
It is very common, especially in older homes, for showers not to have dedicated shut-off valves. Builders sometimes omitted them to save on costs. If you’ve checked behind the escutcheon and can’t find an access panel, you’ll need to move on to the next method.
Method 2: Tracing the Lines in Your Basement or Crawlspace
If you have an unfinished basement or a crawlspace, you may have another opportunity to find localized shut-off valves. This method requires a bit more detective work but can still save you from shutting off water to the entire home.
Locate the Bathroom Plumbing: Go to the area directly beneath the bathroom with the shower. Look up at the ceiling joists to identify the pipes. You should be able to see the main drain pipe from the shower and toilet, as well as the smaller hot and cold supply lines.
Follow the Supply Lines: Trace the hot and cold water lines (usually copper or PEX tubing) that run up towards the shower. Look for inline shut-off valves installed along these pipes. If you find them, turn their handles clockwise until they are fully closed.
Method 3: The Last Resort—Shutting Off the Main Water Supply
If you cannot find any dedicated valves for your shower, your only remaining option is to shut off the main water supply to your entire house. While effective, this is less convenient as it means no one can use any sinks, toilets, or other water-using appliances while you work.
Finding Your Main Water Shut-Off Valve
The main shut-off valve is typically located where the main water line enters your house. Common locations include:
- Basement or Crawlspace: Usually on an exterior wall, close to the front of the house.
- Utility Room or Closet: Often located near the water heater. Systems like a tankless water heater in a cabinet might have the main valve nearby for easy access during installation or maintenance.
- Outside Your Home: In warmer climates, the valve may be on an exterior wall or in an underground box near the street with a removable lid.
The valve will have either a round, wheel-like handle (a gate valve) or a lever handle (a ball valve). Turn the wheel handle clockwise multiple times until it stops. For a lever handle, turn it a quarter-turn so it is perpendicular to the pipe.
After shutting off the main valve, open a faucet on the lowest level of your home (like a basement sink) and the shower faucet itself. This will drain the remaining water from the pipes and relieve any pressure in the system.
Comparing Your Shut-Off Options
Understanding the pros and cons of each method can help you act quickly and efficiently in any situation. Here is a breakdown of the different approaches.
| Method | Pros | Cons | Best For |
|---|---|---|---|
| Dedicated Shower Valves | Isolates only the shower; quick and convenient. | May be hard to find or nonexistent in older homes. | Planned repairs like replacing a faucet cartridge or shower head. |
| Inline Valves (Basement) | Still isolates the shower without affecting the whole house. | Requires an accessible basement or crawlspace; valves may not be present. | Situations where no dedicated valves are found behind the faucet. |
| Main Water Shut-Off | Guaranteed to stop all water flow; essential for emergencies. | Inconvenient for the rest of the household; shuts off all water. | Emergency leaks or when no other shut-off options are available. |
What to Do When a Shut-Off Valve is Stuck
Over time, valves that are not used regularly can become stiff or stuck due to mineral buildup. Never force a stuck valve, as you risk breaking the handle or the valve stem itself, which can create a much bigger plumbing emergency.
If a valve won’t turn, you can try gently tapping its body with a wrench to loosen mineral deposits. Applying gentle, steady pressure may also work. If it still refuses to move, it is safer to use the main water shut-off and call a professional plumber to replace the faulty valve.
Restoring Water and Checking Your Work
After you have completed your repair or replacement, it is time to turn the water back on. This should be done slowly to prevent a sudden surge of pressure, known as a “water hammer,” which can damage pipes and joints.
Turn the valve counter-clockwise slowly. If you used the main shut-off, listen for the sound of pipes refilling. Once the water is back on, check the shower and any connections you worked on for leaks. It’s a good idea to monitor the area for a few hours to ensure everything is secure and dry.
Mastering this simple but critical skill empowers you to handle minor plumbing issues with confidence and protect your home from significant water damage. It’s a cornerstone of responsible homeownership and a key piece of knowledge for any home and garden enthusiast.
Frequently Asked Questions
Where is the shut-off valve for my shower?
The location of your shower’s shut-off valve can vary. Look for an access panel in the wall near the shower, which might be in an adjacent room or closet. In some homes, the valve could be in the basement or ceiling directly below the shower.
What if I can’t find a dedicated shut-off valve for my shower?
If you cannot find a specific valve for the shower, you will need to use the main water shut-off valve for your entire house. This is typically located in the basement, a crawl space, or near the water meter. Knowing the location of your main shut-off valve is important for emergencies.
How do I turn off the water once I find the valve?
To shut off the water, turn the valve handle clockwise until it stops. If there are separate valves for hot and cold water, be sure to turn both off. For lever-style ball valves, turn the handle so it is perpendicular to the pipe.
Why won’t my shower turn off even when the handle is in the “off” position?
This is often caused by a faulty internal component, such as a worn-out cartridge or a broken valve stem. Over time, these parts can degrade or become clogged with mineral deposits, preventing a complete seal. In these cases, the water supply needs to be shut off to make repairs.
How do I turn the water back on?
After completing any repairs, slowly turn the shut-off valve counterclockwise to restore the water flow. Open the shower faucet to check for leaks or drips around the handle and connections. If you notice any issues, it may indicate a deeper plumbing problem that requires professional attention.
Final Words
In an emergency, speed is your best defense against water damage. Immediately check for local shut-off valves behind the shower wall or under a nearby sink. If those aren’t accessible, locate your home’s main water valve—usually near the water meter or where the main line enters the house—and turn it clockwise until it stops.
Taking these quick steps prevents structural rot and costly repairs. Once the flow is contained, you can calmly assess whether the issue is a worn-out cartridge or a deeper plumbing failure.