Shower Panel Separating From Wall? Here’s the Urgent Fix
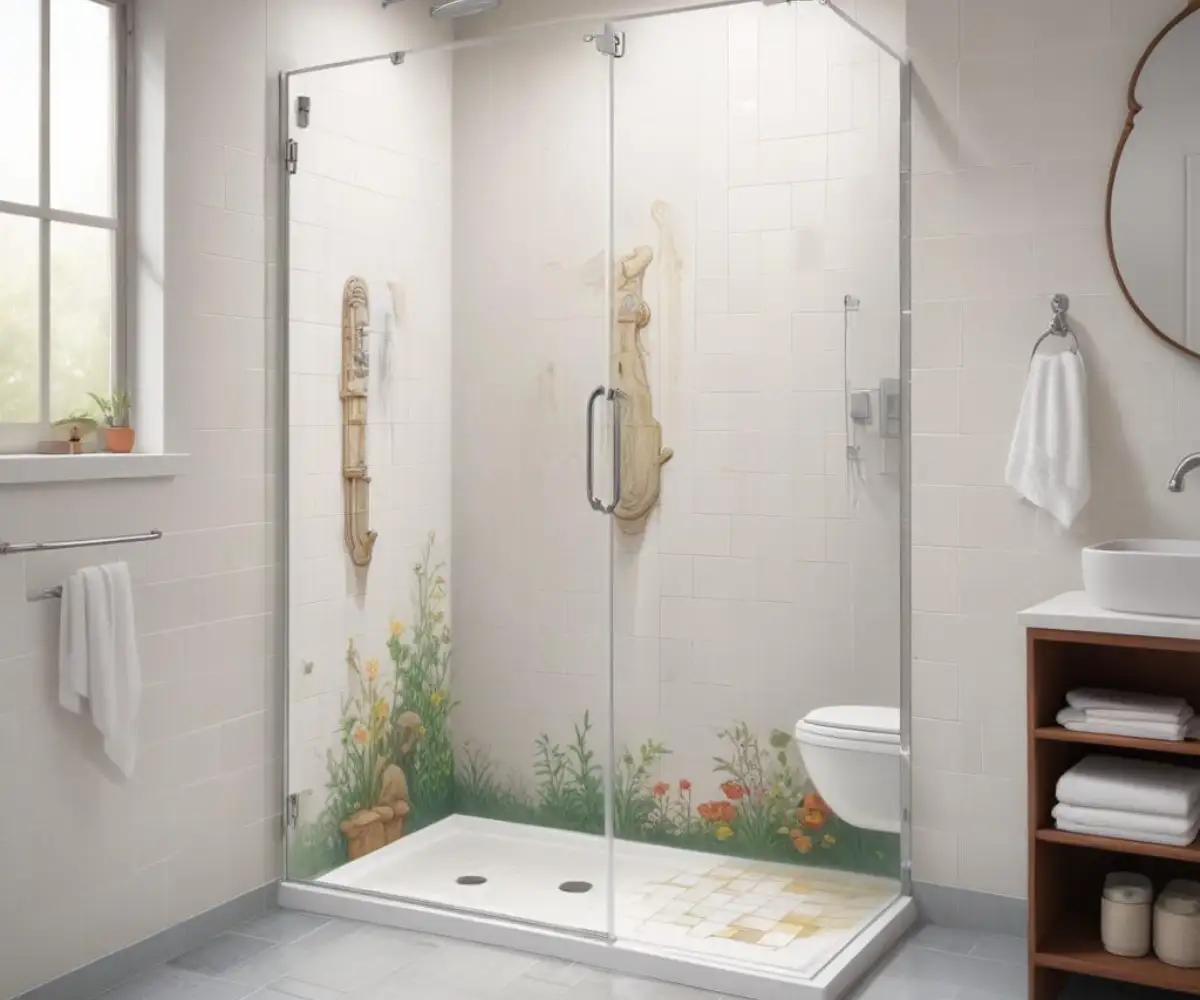
You step into your shower and notice something unsettling. A small gap has appeared where your shower panel meets the wall. It might seem like a minor cosmetic issue, but ignoring it is a massive mistake that can lead to disastrous consequences.
That gap is a direct invitation for water to invade your walls. This can cause hidden structural damage, toxic mold growth, and repair bills that spiral into the thousands. Don’t panic—this guide will walk you through exactly why this is happening and how to fix it for good.
You'll Learn About
Why Is Your Shower Wall Panel Pulling Away? Uncovering the Root Causes
Understanding the “why” behind your separating shower panel is the first step toward a permanent solution. The problem almost always comes down to one of a few key culprits. Ignoring the root cause will only lead to the problem recurring.
Adhesive Failure: The #1 Culprit
The bond holding your panel to the wall is critical, and when it fails, separation is inevitable. Adhesive failure often happens due to using the wrong type of product for a wet environment or applying it incorrectly. The wall surface must be perfectly clean, dry, and primed for the adhesive to create a lasting bond.
Even with the right product, skimping on the amount of adhesive or applying it unevenly can create weak spots. Over time, the constant changes in temperature and humidity in a shower can cause these weak points to give way, resulting in the panel pulling away from the wall.
Wall Movement and Structural Shifts
Your home isn’t static; it settles and shifts over time. While usually minor, these movements can put significant stress on rigid structures like shower panels. If the wall behind the panel moves even slightly, it can break the adhesive bond.
This is especially common in newer homes as they settle or in areas with expansive soil. If you’ve noticed other signs like sticking doors or cracks in your drywall, structural movement could be the underlying cause of your shower panel problem.
Water Intrusion: The Silent Destroyer
This is the most dangerous cause because it creates a vicious cycle. If the original sealant fails at the seams or base of your shower, water gets behind the panel. This moisture saturates the wall material and systematically destroys the adhesive’s grip.
Once water is behind the panel, it promotes the growth of black mold and mildew, which can pose serious health risks. Furthermore, it can saturate the wall studs and subfloor, leading to wood rot and compromising the structural integrity of your bathroom. The first sign might be a strange, musty odor you can’t seem to get rid of.
Improper Installation: A Problem From Day One
Many shower panel failures can be traced back to mistakes made during the initial installation. A common error is failing to properly prepare the wall surface, leaving behind dust, grease, or old wallpaper that prevents a strong bond. Using an insufficient amount of adhesive is another frequent shortcut that leads to failure.
Proper installation isn’t just about glue. Ensuring the panels are adequately supported and braced while the adhesive cures is critical. Without this step, panels can shift or bow before the bond is fully set, creating a weak point from the very beginning.
The Dangers of Ignoring a Separating Shower Panel
A small gap may not seem urgent, but it’s a critical warning sign of bigger problems brewing behind the scenes. Delaying the repair can transform a minor fix into a full-scale renovation project. Here’s exactly what you’re risking.
Catastrophic Water Damage
Every time you shower, water can enter the gap and seep into your wall cavity. This moisture can ruin drywall, rot wooden studs, and even damage the subfloor. If the leak is severe, it can travel down and cause stains and damage to the ceiling of the room below.
Repairing this level of structural damage is complex and expensive. It often involves tearing out large sections of your bathroom wall and floor. You might also encounter unexpected issues, like the unsettling discovery that your water heater sounds like rocks, signaling another costly repair on the horizon.
Black Mold and Health Risks
The dark, damp space behind a separated shower panel is the perfect breeding ground for toxic black mold. Mold spores can be released into the air, leading to a host of health issues, including respiratory problems, allergies, headaches, and skin irritation. Those with asthma or compromised immune systems are particularly at risk.
Eradicating a significant mold infestation requires professional remediation. Simply cleaning the visible surface isn’t enough; the mold within the walls must be completely removed to ensure your home is safe and healthy.
A Complete System Failure
What starts as a single panel pulling away can eventually cause the entire shower system to fail. The added stress on the remaining panels and seals can lead to a domino effect of failures. Before you know it, the entire enclosure could need a complete replacement.
Addressing the issue promptly saves you from the much larger headache and expense of a total shower overhaul. A timely repair protects your investment and ensures your bathroom remains a safe, functional space.
Your Step-by-Step Guide to Fixing a Separating Shower Panel
Now that you understand the urgency, it’s time to take action. This step-by-step process will guide you through securing your shower panel and making your shower watertight once again. Always prioritize safety by working in a well-ventilated area.
Step 1: Assess the Damage and Prepare Your Workspace
Before you begin, thoroughly inspect the separation. Gently press on the panel to see how much it moves and try to peek behind it with a flashlight to check for moisture or mold. This assessment will determine if you need to simply re-adhere the panel or if a full removal is necessary.
Gather your tools: a utility knife, a caulk gun, 100% silicone sealant, a high-quality panel adhesive, cleaning rags, denatured alcohol, and bracing materials (like 2x4s and painter’s tape). Clear the shower of all personal items to give yourself plenty of room to work.
Step 2: Carefully Remove the Affected Panel (If Necessary)
If you see significant moisture, mold, or a very large gap, you must remove the panel completely to address the wall behind it. Start by using a utility knife to carefully cut through all the old silicone sealant around the edges of the panel. Then, use a stiff putty knife or pry bar to gently work the panel away from the wall.
Work slowly and carefully to avoid cracking the panel. It’s often helpful to have a second person to help support the panel as it comes loose. Once removed, lean it against a wall where it won’t get damaged.
Step 3: Address the Wall Behind the Panel
This is the most critical step. If the wall is damp, you must dry it completely using fans or a dehumidifier. Any soft, crumbling, or moldy drywall must be cut out and replaced with a new piece of moisture-resistant backer board.
Once the wall is dry and structurally sound, scrape away all the old adhesive. Finally, clean the entire surface with denatured alcohol to ensure it’s free of any dust or residue that could interfere with the new adhesive. A pristine surface is essential for a strong, lasting bond.
Step 4: Re-installing the Shower Panel Correctly
With the wall prepped, it’s time to re-install the panel. Choose a high-quality, waterproof panel adhesive specifically designed for bathrooms. Apply the adhesive to the back of the panel or directly to the wall in a zigzag pattern, ensuring even coverage.
Carefully press the panel into place, applying firm, even pressure across the entire surface. Use lumber to brace the panel tightly against the wall. Place painter’s tape where the bracing contacts the panel to prevent scratches, and leave it in place for at least 24 hours, or as directed by the adhesive manufacturer.
Step 5: Sealing the Seams for a Watertight Finish
Once the adhesive has fully cured, remove the bracing. The final step is to apply a fresh bead of 100% mold-resistant silicone sealant along all seams, corners, and where the panel meets the shower base. This creates a completely waterproof barrier.
Apply the sealant in a smooth, continuous bead. Use a caulk finishing tool or a wet fingertip to tool the bead, pressing it into the joint to ensure a perfect seal. Allow the sealant to cure completely before using the shower, typically for at least 24 hours.
Proactive Measures: How to Prevent Your Shower Panels From Ever Separating
Fixing a separated panel is one thing, but preventing it from ever happening again is the real goal. By focusing on proper installation and routine maintenance, you can ensure your shower enclosure remains stable and watertight for years to come.
The Crucial Role of Proper Installation
The best defense against panel separation is a flawless installation from the start. This means using the right materials and techniques. For instance, opting for a waterproof foundation like a foam board can make a world of difference. To get it right, understanding the common pitfalls of a sentinel foam board installation can help you avoid the number one mistake that leads to failure.
Always follow the manufacturer’s instructions to the letter for both the panels and the adhesive. Ensure the walls are perfectly plumb and clean before starting, and never rush the curing process. These initial steps are your best insurance against future problems.
Regular Inspection and Maintenance
A little bit of routine maintenance goes a long way. Once a month, take a close look at all the sealant lines in your shower. Look for any signs of cracking, peeling, or shrinking. Pay special attention to the corners and the joint where the walls meet the shower base.
If you spot any compromised sealant, don’t just caulk over it. Take the time to completely remove the old sealant, clean the joint thoroughly, and apply a fresh, high-quality bead. This simple task can stop water intrusion before it has a chance to cause any damage.
Control Bathroom Humidity
Excessive humidity puts constant stress on your shower enclosure’s adhesives and sealants. Always run your bathroom’s exhaust fan during and for at least 20-30 minutes after every shower. This helps pull moisture out of the air, allowing your walls and seals to dry out properly.
If your fan is old or ineffective, consider upgrading to a more powerful model. Proper ventilation not only protects your shower panels but also helps prevent the growth of surface mold and mildew throughout your entire bathroom.
Comparing Repair Options: DIY vs. Hiring a Professional
Deciding whether to tackle this repair yourself or call in a professional can be a tough choice. While a DIY approach can save money on labor, it requires time, the right tools, and a good deal of confidence. Making a mistake could lead to even costlier damage down the road.
Hiring a professional offers peace of mind and the assurance of expert workmanship, but it comes at a higher price. It’s important to weigh the pros and cons based on your budget, skill level, and the complexity of the damage. For instance, what seems like a simple panel repair could uncover the need for precise work, similar to how you must how to measure door without removing trim correctly to avoid issues. The table below breaks down the key factors to help you make an informed decision.
| Feature | DIY Repair | Professional Hire |
|---|---|---|
| Cost | Lower material costs only. No labor expense. | Higher cost due to labor, materials, and overhead. |
| Time Commitment | Significant time required for prep, work, and curing. Can take a full weekend. | Much faster completion time, often done in a single day. |
| Skill Level Required | Moderate to high. Risk of making mistakes that can cause more damage. | Expertise and experience guaranteed. High-quality finish. |
| Tools Required | May require purchasing or renting specific tools you don’t own. | The contractor will have all necessary professional-grade tools. |
| Warranty | No warranty on your own work. If it fails, the cost is on you. | Often includes a warranty on both materials and workmanship. |
Frequently Asked Questions (FAQ)
When dealing with a separating shower panel, many homeowners have similar questions and concerns. Here are answers to some of the most common inquiries to help guide you through the repair process with confidence.
What is the best adhesive to use for shower wall panels?
The best choice is a high-quality, waterproof panel adhesive specifically formulated for tubs and showers. Look for products that are 100% silicone-based or polyurethane-based, as they offer excellent flexibility and moisture resistance. Always check the panel manufacturer’s recommendations to ensure compatibility and avoid voiding any warranties.
Can I just caulk the gap without re-attaching the panel?
No, this is a critical mistake. Simply filling the gap with caulk is a temporary, cosmetic fix that does not solve the underlying problem. The panel is still loose, which means it will continue to flex and move, causing the new caulk to crack and fail quickly. This allows water to become trapped behind the panel, leading to mold and wall damage.
How long does the adhesive need to cure?
Cure time varies depending on the specific product, temperature, and humidity. Generally, you should allow the adhesive to cure for at least 24 to 48 hours before using the shower. It is crucial to brace the panel securely against the wall during this entire period to ensure a strong, permanent bond. Always refer to the instructions on the adhesive tube for the exact recommended cure time.
My wall behind the panel is moldy. What do I do?
If you discover mold, you must address it immediately and safely. For small areas of surface mold, you can often clean it with a solution of bleach and water or a specialized mold killer. Always wear protective gear, including an N95 mask, gloves, and safety glasses.
If the mold covers a large area or has penetrated deep into the drywall, it is highly recommended to hire a professional mold remediation service. They have the proper equipment and expertise to remove the mold safely and ensure it doesn’t return.