Shower Glass Protective Coatings Reviews: End Soap Scum Forever?
That pristine, perfectly clear shower glass you loved when it was new now seems like a distant memory. Instead, you’re locked in a never-ending battle against stubborn hard water stains, chalky white soap scum, and a cloudy film that defies even the most aggressive scrubbing.
It’s a frustrating cycle that leaves your bathroom looking perpetually grimy. The underlying problem is that glass, while seemingly smooth, has microscopic pores that trap mineral deposits and soap residue, leading to buildup that’s nearly impossible to remove.
This is where shower glass protective coatings come in, promising a revolutionary solution. These advanced treatments aim to create an invisible shield, making the glass surface so slick that water and grime slide right off. But do they live up to the hype? This comprehensive review will break down everything you need to know.
You'll Learn About
What Exactly Is a Shower Glass Coating and How Does It Work?
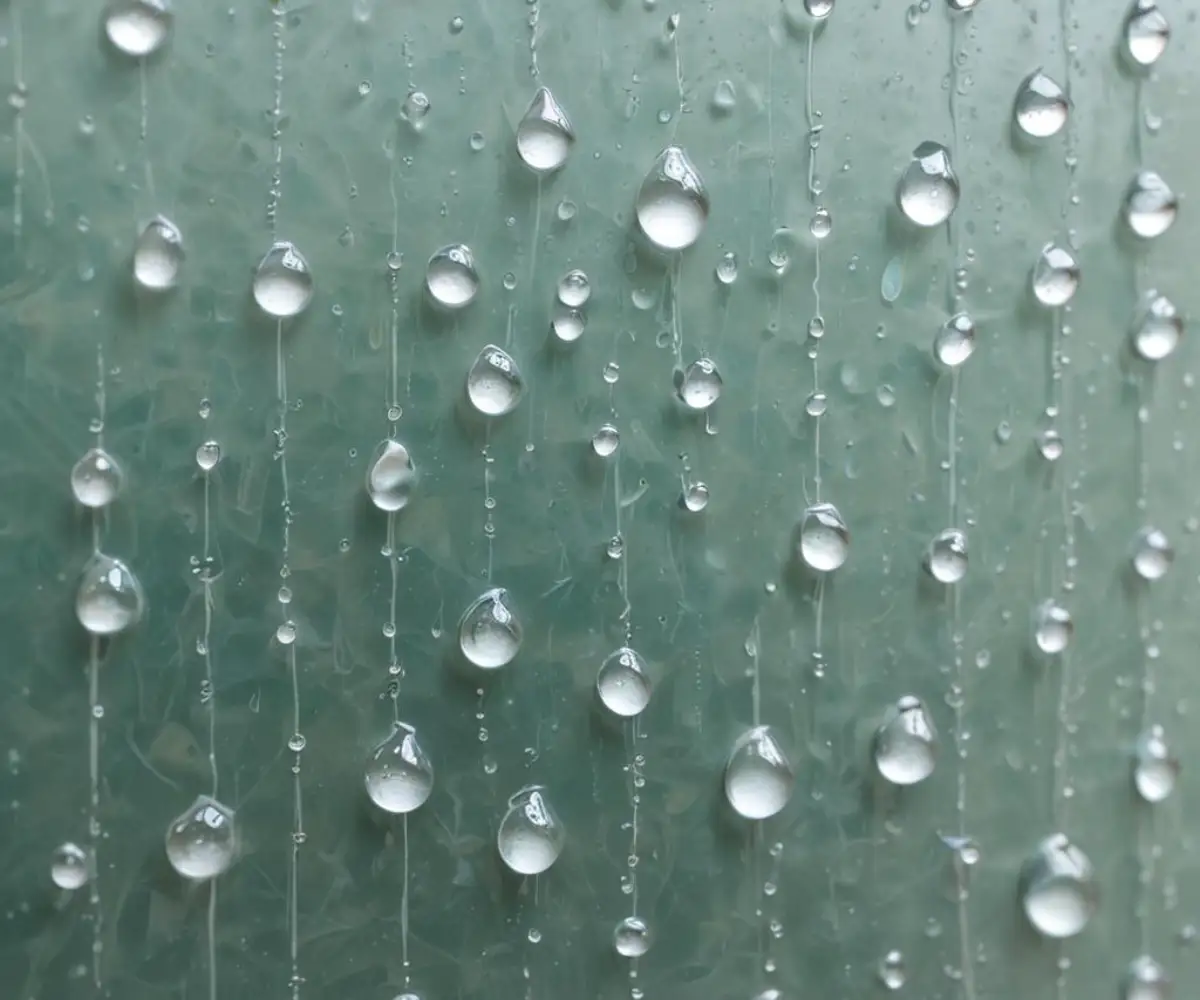
A shower glass protective coating is a liquid polymer or sealant that is applied to the glass to make it hydrophobic, which simply means it repels water. Think of it like wax on a car; water beads up and rolls away instead of sitting on the surface and drying into spots.
These coatings work by filling in the microscopic pores of the glass, creating an ultra-smooth, non-stick surface. This barrier prevents minerals from hard water (like calcium and magnesium) and the fatty acids in soap from bonding to the glass, which is what causes that dreaded soap scum and etching over time.
The result is dramatically less cleaning time and a shower that maintains its sparkle with minimal effort. While coatings significantly reduce grime, they don’t eliminate the need for cleaning entirely—they just make the task far easier and less frequent.
The Showdown: Ranking the Best Shower Glass Coatings
Shower glass coatings fall into two main categories: professional-grade, long-lasting treatments and do-it-yourself (DIY) kits. Professional coatings are often applied during manufacturing or by a certified installer and can last for a decade or more. DIY products are more affordable and accessible but require more frequent reapplication.
Choosing the right one depends on your budget, how much effort you’re willing to put in, and your expectations for longevity. Some homeowners find investing in a professional coating during a remodel pays off in the long run, while others prefer the flexibility of a DIY solution.
Upgrading your bathroom’s surfaces for better maintenance and efficiency can be a game-changer. Just as these coatings protect your shower, taking time to learn how to insulate glass block windows can also significantly improve your bathroom’s energy efficiency and comfort.
Top Professional-Grade Coating: The Long-Term Champions
When it comes to durability and performance, professionally applied coatings are in a class of their own. Brands like ShowerGuard and Diamon-Fusion are leaders in this category, offering warranties that often last for 10 years or even a lifetime.
ShowerGuard is unique because the coating is fused to the glass during the manufacturing process using an ion-beam technology. This makes it a permanent part of the glass that will never peel or degrade. Diamon-Fusion uses a patented two-step nanotechnology process that creates a chemical bond with the glass, offering similar long-term protection and making cleaning effortless.
While the upfront cost is higher—often adding several hundred dollars to the price of a new shower door—the peace of mind and long-term performance make it a worthwhile investment for many. These are ideal for new constructions or major bathroom renovations.
Best DIY Kit for Most People: EnduroShield Home Kit
For those looking for a powerful DIY solution, the EnduroShield Home Kit stands out. It’s a semi-permanent treatment that uses nanotechnology to create a protective barrier lasting up to three years with a single application. User reviews frequently praise its ease of application and impressive water-repelling results.
The key to its success is proper preparation. The glass must be immaculately clean and free of all residue before application for the coating to bond correctly. The kit comes with a pre-cleaner to help with this crucial first step. Many users report a dramatic reduction in cleaning time, from daily scrubbing to a simple weekly wipe-down.
Top Budget-Friendly Option: Rain-X Shower Door Water Repellent
If you want to test the waters of glass coatings without a significant investment, Rain-X Shower Door Water Repellent is an excellent starting point. Originally famous for its automotive windshield treatments, Rain-X has formulated a product specifically for the bathroom environment.
This product is extremely easy to apply—just spray on and buff off. It provides a noticeable hydrophobic effect, causing water to bead up and slide off the glass. The main drawback is its durability; it typically needs to be reapplied every few weeks to a month to maintain its effectiveness. However, for its low price and accessibility, it’s a fantastic way to combat soap scum on a budget.
Comparison of Leading Shower Glass Coatings
To help you decide, here is a breakdown of the top contenders in the shower glass protection market. This table compares key features to give you a clear overview of what each product offers.
| Brand/Product | Type | Durability | Application | Average Cost |
|---|---|---|---|---|
| ShowerGuard | Professional | Lifetime | Factory-Applied | $500+ (part of new door) |
| Diamon-Fusion | Professional | Lifetime | Factory or Pro-Applied | $250 – $500+ |
| EnduroShield | DIY Kit | Up to 3 years | User-Applied | $25 – $40 |
| Rain-X Shower Door | DIY Spray | A few weeks | User-Applied | $10 – $20 |
How to Apply a DIY Shower Glass Coating Like a Pro: A Step-by-Step Guide
Getting professional-level results from a DIY kit is entirely achievable if you follow the right steps. Proper preparation is 90% of the job. An improperly cleaned surface will cause the coating to fail prematurely.
Don’t skip these steps for a flawless, long-lasting application. Taking your time here will pay dividends in the coating’s performance and durability.
Step 1: Deep Clean the Glass
Start by thoroughly cleaning the shower glass to remove all traces of soap scum, hard water minerals, and any existing cleaners. Use a high-quality glass cleaner or a mixture of white vinegar and water. For tough buildup, a paste of baking soda and vinegar can be effective.
After scrubbing, rinse the glass completely and let it dry. Then, use the pre-cleaner included in your coating kit to remove any remaining invisible residue. This ensures the surface is perfectly prepped for bonding.
Step 2: Ensure the Surface is Completely Dry
Once cleaned, the glass must be bone-dry. Use a clean, lint-free microfiber cloth to wipe away every last drop of moisture. Trapped water can interfere with the chemical bonding process and create hazy spots under the coating.
Allow the glass to air dry for another 30 minutes after wiping it down, just to be certain. Proper ventilation in the bathroom will speed up this process.
Step 3: Apply the Coating
Following the manufacturer’s instructions carefully, apply the coating solution to the provided applicator pad or a clean microfiber cloth. Work in small, manageable sections, applying the product in even, circular, overlapping motions. Ensure you get complete coverage without missing any spots.
A little product often goes a long way. Avoid over-applying, as this can lead to streaking.
Step 4: Let it Haze and Buff Off
Most coatings will need to dry for a few minutes until a light haze appears on the glass. This indicates that the coating is bonding to the surface. Once hazed over, use a fresh, dry microfiber cloth to buff the residue off.
Continue buffing until the glass is crystal clear and feels incredibly smooth to the touch. The hydrophobic effect should be immediately noticeable if you splash a small amount of water on it.
Step 5: Allow the Coating to Cure
The final and most critical step is to let the coating fully cure. Most products require 8-24 hours without any contact with water. Plan your application for a time when the shower won’t be needed, such as before leaving for work or overnight.
Exposing the coating to water before it has fully cured can compromise its durability and longevity.
Common Mistakes to Avoid That Will Ruin Your Coating
Even with the best products, simple errors can lead to disappointing results. One of the most common issues is improper surface preparation. If the glass isn’t perfectly clean, the coating won’t adhere properly and will wear off quickly.
Another frequent mistake is using harsh or abrasive cleaners after the coating is applied. Cleaners containing ammonia, acids, or gritty abrasives can strip the protective layer. Stick to gentle, pH-neutral cleaners or a simple mix of water and vinegar for maintenance.
Finally, avoid using abrasive scrubbing pads or paper towels, which can create micro-scratches on the coating. A soft microfiber cloth is all you need to keep the treated glass looking its best. Focusing on proper maintenance from the start will ensure you get the most out of your investment.
The Verdict: Are Protective Coatings Really Worth It?
After reviewing the options, the evidence is clear: shower glass protective coatings are a highly effective solution for tackling soap scum and hard water stains. They drastically reduce cleaning time and help maintain the beauty of your shower enclosure for years to come. Whether you opt for a professional-grade treatment or a user-friendly DIY kit, the benefits are undeniable.
For those undertaking a new build or a full bathroom remodel, investing in a factory-applied coating like ShowerGuard offers a permanent, worry-free solution. For everyone else, a high-quality DIY kit like EnduroShield provides exceptional results and value. Ultimately, the question of is shower glass coating worth it comes down to how much you value your time and despise scrubbing.
While perfecting your shower glass, you may also consider other ways to improve your bathroom’s light and functionality. For instance, if you have an older glass block feature, you might wonder whether it’s possible to replace a glass block window with a regular window to update the look and improve the view. By tackling these projects, you can create a bathroom that is not only easier to maintain but also more beautiful and efficient.