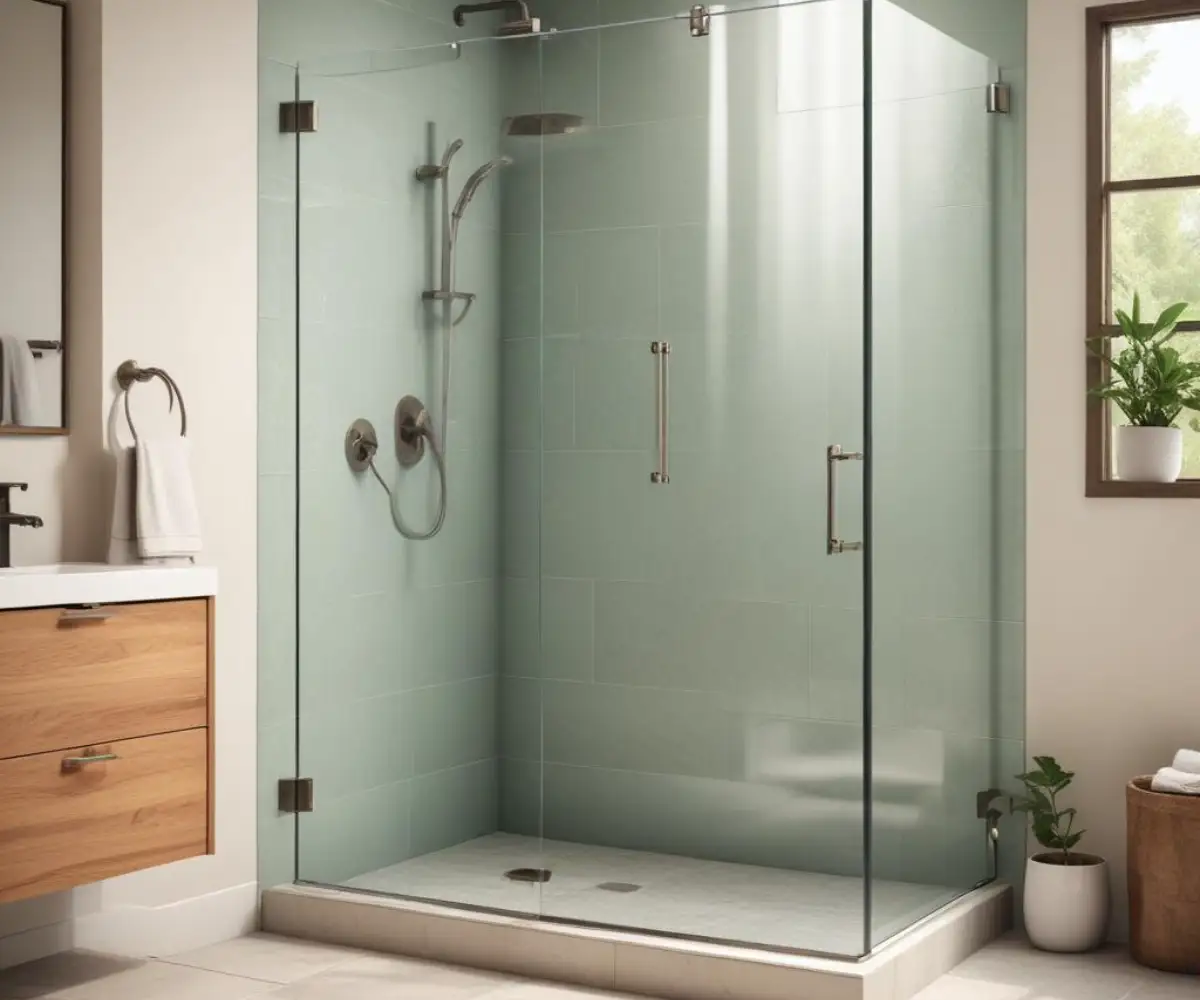
Stop Shower Door Leaks: Perfect Curb Placement is Key
A beautiful glass shower door can elevate any bathroom, but a single, tiny mistake in its placement can lead to a homeowner’s worst nightmare: persistent leaks. A puddle of water on the floor is more than an annoyance; it signals a failure in the system that can lead to costly water damage, mold growth, and structural issues.
The secret to a watertight seal isn’t just about caulk or vinyl sweeps; it starts with the precise placement of the door on the shower curb. This foundational step is the number one defense against leaks, yet it’s often misunderstood. Getting this right is a game of millimeters that prevents gallons of water from escaping.
You'll Learn About
Why Curb Placement is Everything
The shower curb is the threshold designed to keep water inside the shower. Its design and the door’s relationship to it are critical. The most important, yet often overlooked, feature of a curb is its slope. An ideal shower curb has a slight inward pitch, typically between 1/8 and 1/4 inch, directing every drop of water back toward the drain.
When a door is placed incorrectly on a properly sloped curb, it can negate the curb’s function. If the door is too far out, water can pool behind it and seep out. If it’s too far in, it might not have the proper support or could interfere with the shower space. The goal is to align the door so that its drip system works in perfect harmony with the curb’s slope.
The Golden Rule: Centerline vs. Inner Offset Placement
The debate over where exactly to place the shower door on the curb—centered, on the inside edge, or the outside edge—is a common point of confusion. While centering the door is a frequent practice, the most effective position for water containment is slightly offset toward the inside (the “wet side”) of the shower.
Placing the door so the inside face of the glass is just past the peak of the curb’s slope ensures that water running down the door drips directly onto the sloped surface and flows back into the shower. This inner-offset position creates a formidable barrier that is far more effective at preventing leaks than a perfectly centered door. Placing the door on the outer edge is a recipe for disaster, as it allows water to pool and escape.
A Step-by-Step Guide to Perfect Placement
Achieving a leak-proof installation requires careful planning and precise execution. Following these steps will set you up for success and give you peace of mind.
Step 1: Inspect Your Curb’s Slope
Before any installation, verify your curb’s pitch. Place a level across the curb. The bubble should show a slight tilt inward, toward the shower drain. A curb that is level or, even worse, slopes outward toward the bathroom floor is a major construction flaw that must be addressed before a door is installed.
Step 2: Measure and Mark Your Guideline
Once you’ve confirmed a proper slope, it’s time to mark the placement line. For an inner-offset installation, identify the highest point of the curb (the peak of the slope). Your goal is to align the inside surface of the glass door about 1/8 to 1/4 inch inside this peak. Measure and draw a clear, straight guideline along the entire length of the curb.
Step 3: Account for Your Door Type
The type of shower door you have influences its final position. Frameless doors, which rely heavily on precise placement and tight seals, benefit most from the inner-offset method. Framed doors have a track that offers a bit more forgiveness, but the principle of keeping the main barrier on the inside of the curb’s peak still applies. For pivoting doors, ensure there is enough clearance for the door to swing open without the bottom sweep seal catching on the curb’s edge.
Common Placement Mistakes and How to Avoid Them
Even with a plan, errors can happen. Being aware of common pitfalls is the first step in avoiding them and ensuring your project doesn’t turn into a costly repair job.
Mistake #1: Ignoring the Curb’s Slope
Assuming the curb is built correctly is a frequent error. Always check the slope first. Installing a door on a level or outward-sloping curb guarantees leaks, no matter how perfectly the door is placed.
Mistake #2: Drilling Too Close to the Edge
When marking holes for screws for a framed track or frameless clamps, never drill too close to the edge of the curb. This can compromise the structural integrity of the tile or solid surface material, leading to cracks and instability over time.
Mistake #3: Relying Solely on Silicone
Silicone caulk is a sealant, not a dam. It is meant to waterproof seams, not to hold back a pool of standing water. If your door placement is wrong and water collects, the silicone will eventually fail, leading to leaks and mold growth.
The Overlooked Detail: Curb Material and Profile
Beyond slope and door position, the very material and shape of your curb play a crucial role in water containment. This is a factor that many installation guides fail to mention but can make a significant difference in the long-term success of your shower enclosure.
Solid surface materials like quartz, marble, or granite are superior to tile for a curb top. A solid piece has no grout lines, eliminating a common weak point for water intrusion and mold growth. If your curb is tiled, ensure the grout is properly sealed and maintained. The profile also matters; a curb with a slightly beveled or rounded inner edge can help guide water toward the drain even more effectively than a flat-topped curb, making it a subtle but powerful design choice for a fully enclosed shower.
| Placement Strategy | Description | Pros | Cons |
|---|---|---|---|
| Inner Offset | Door is aligned so the glass is just inside the curb’s highest point. | Maximizes water runoff back into the shower; Most effective leak prevention. | Requires precise measurement to avoid placing it too far inward. |
| Centerline | Door is placed directly in the center of the curb’s width. | Aesthetically balanced; Common installation practice. | Can allow water to sit on the flat peak of the curb, potentially seeping out. |
| Outer Edge | Door is placed on the outside edge of the curb. | None for water containment. | Almost guarantees leaks by allowing water to bypass the sloped area entirely. |
Troubleshooting Leaks After Installation
If you have an existing door that leaks from the bottom, the first step is to diagnose the problem. Check the bottom sweep—a vinyl or acrylic strip—for wear and tear. A damaged sweep is a common culprit and is often an easy fix.
If the sweep is intact, examine the door’s alignment in relation to the curb. If it’s placed too far to the outside, you may need to consider professional intervention. Sometimes, adding a quality drip rail to the bottom of the door can help redirect water inward, but this is a corrective measure, not a substitute for proper initial placement. Understanding the potential expenses involved can be helpful, and resources on Kohler shower installation cost can provide a general idea of professional labor rates.
When Professional Installation is the Best Choice
While a motivated DIYer can tackle a shower door installation, this is one project where precision is paramount. If your walls are not perfectly plumb, if your curb has an incorrect slope, or if you are installing a heavy, custom frameless door, hiring a professional is a wise investment.
An expert installer can identify and often correct subtle issues with the shower construction that might otherwise lead to failure. They have the tools and experience to ensure a perfect fit, providing a secure, waterproof seal that will last for years.
Conclusion: Precision is Protection
The placement of a shower door on its curb is the most critical factor in preventing leaks. By understanding the importance of the curb’s inward slope and adopting the inner-offset placement strategy, you can create a highly effective water barrier. This foundational detail, combined with careful measurement and awareness of common mistakes, protects your bathroom from water damage and ensures your shower remains a source of relaxation, not stress.
Whether you do it yourself or hire a professional, prioritizing correct placement is the key to a beautiful, functional, and leak-free shower for the long haul.