Shower Curb Thickness: The #1 Mistake Ruining Your Bathroom?
You’ve spent weeks, maybe months, planning your dream bathroom remodel. You’ve picked the perfect tile, a stunning vanity, and a showerhead that promises a spa-like experience. But in all this excitement, there’s a small, often overlooked detail that can bring the entire project crashing down: the shower curb thickness.
Getting this single dimension wrong can lead to a cascade of problems. A curb that’s too thin might not support the glass door, leading to wobbles and leaks. One that’s too thick can feel bulky and become a tripping hazard, ruining the sleek, modern look you were aiming for.
This critical element does more than just keep water in the shower. It’s the foundation for your shower door and a key player in the overall waterproofing shield of your bathroom. Let’s break down why its thickness is a non-negotiable detail you must get right.
You'll Learn About
Why Your Shower Curb’s Thickness Is So Deceptively Important
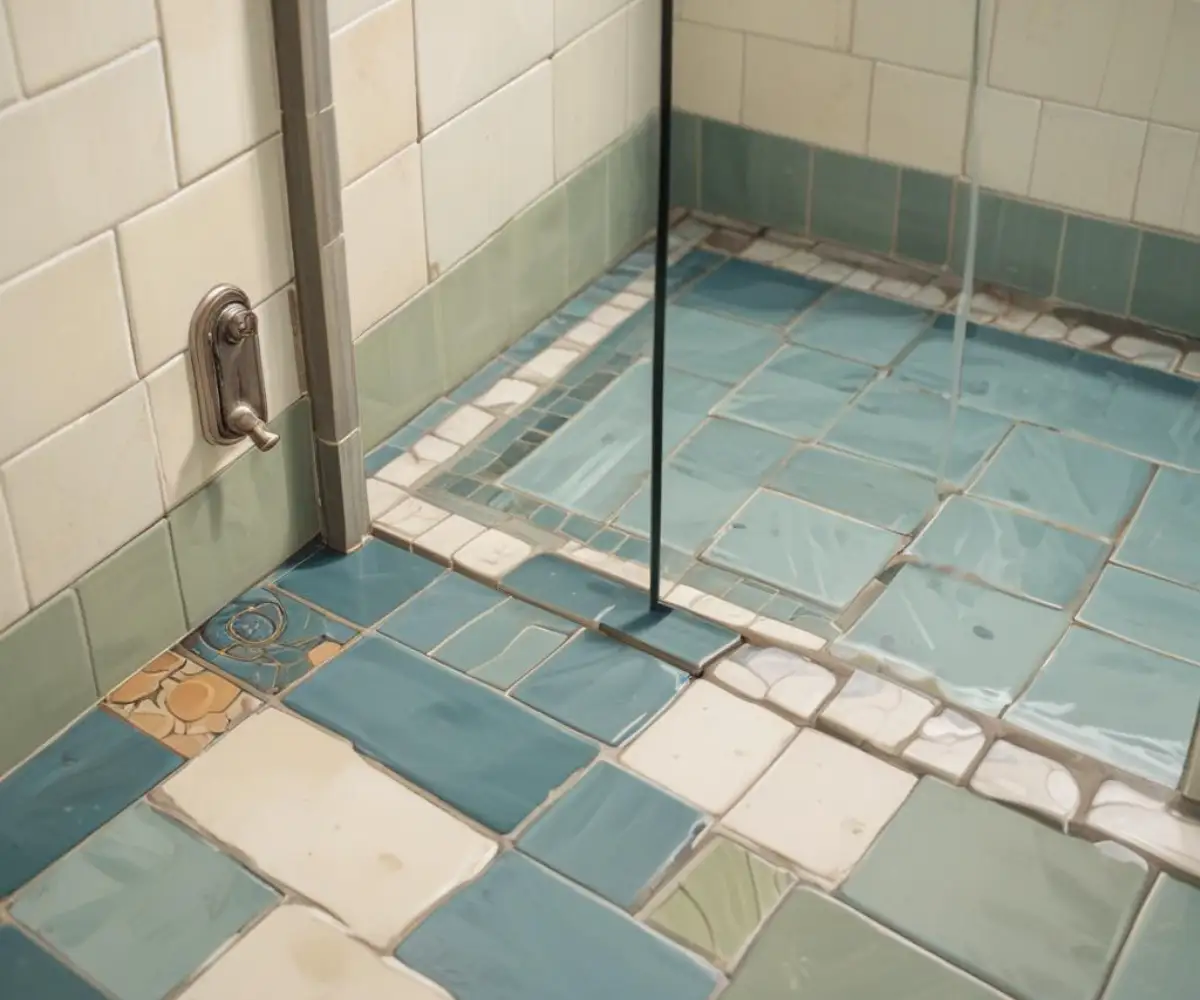
A shower curb, also known as a shower threshold, is the raised barrier you step over to get into the shower. Its primary job is to contain water, but its structural role is just as crucial. A poorly constructed curb can undermine the entire shower assembly.
The main problems stemming from incorrect curb thickness are structural instability and waterproofing failures. A curb that is too narrow may not provide a stable, flat surface for a glass shower door track, causing it to rock or fail over time. Even worse, it might not be wide enough to properly layer waterproofing materials, creating a weak point for leaks that can cause catastrophic water damage.
The Anatomy of a Shower Curb: More Than Just a Hump
A finished shower curb isn’t a single piece of material. It’s a layered assembly, and each layer contributes to the final thickness. Understanding this “stack” is the key to planning the correct dimensions from the very beginning.
Typically, a curb starts with a wood or foam core, gets wrapped in a waterproof membrane, and is then covered with mortar and tile. The combined thickness of all these materials determines the final width. This is where many DIY projects go wrong—by only accounting for the initial framing and forgetting the subsequent layers.
Building the Perfect Curb: Choosing Your Materials Wisely
The foundation of your curb dictates its initial size and long-term durability. You have several options, from traditional methods to modern, time-saving solutions. Each choice has implications for the final thickness and waterproofing integrity.
Traditionally, plumbers and tile setters would stack pressure-treated 2x4s to create the curb’s frame. While effective, this method introduces wood into a very wet environment, which can be risky if the waterproofing isn’t perfect. Today, many professionals prefer using materials that are inherently waterproof and stable.
Modern Solutions: Foam Curbs and Concrete
Prefabricated foam curbs, like the Schluter-KERDI-BOARD-SC, are a popular modern choice. These lightweight, high-density foam curbs are already waterproof, dimensionally stable, and ready to tile right out of the box. They come in standard widths that are designed to work perfectly with modern shower systems.
Another excellent option is to form the curb with concrete blocks or a dry-pack mortar mix over a wire lath frame. This method creates a rock-solid, rot-proof foundation. While it requires more skill to get the shape and slope just right, the result is an incredibly durable structure that will last a lifetime.
The Golden Rule: Standard Shower Curb Dimensions
So, what is the ideal shower curb thickness? While there’s some flexibility, industry standards and building codes provide clear guidelines. Deviating from these can lead to failed inspections and functional problems.
For most residential showers, the finished curb width should be between 4.5 and 6 inches. This range provides ample stability for glass doors and enough surface area for proper waterproofing overlaps. The height is also regulated; building codes often state the top of the curb must be at least 2 inches above the top of the drain to prevent overflow.
Planning for Every Layer: A Thickness Breakdown
Let’s build a curb on paper. If you start with two stacked 2x4s (which are actually 1.5 inches thick each), your wood frame is 3 inches wide. Add a half-inch of cement backer board to each side, and you’re at 4 inches. Then, account for the thickness of your waterproofing membrane, thin-set mortar, and the tile itself, and you will easily land in that ideal 4.5 to 5.5-inch range.
It’s crucial to factor in these layers from the start. Choosing the best shower waterproofing system for your project can influence these measurements. For example, a topical sheet membrane like Kerdi has a different thickness profile than a liquid-applied product like Red Guard, a detail you can explore in our Red Guard Waterproofing vs Kerdi comparison.
| Curb Construction Method | Core Material | Typical Finished Width | Pros | Cons |
|---|---|---|---|---|
| Traditional Wood Frame | Stacked 2×4 Lumber | 4.5″ – 5.5″ | Inexpensive, readily available materials. | Susceptible to rot if waterproofing fails. |
| Prefabricated Foam | High-Density Foam (e.g., Kerdi-Board) | 4.5″ | Waterproof, lightweight, fast installation. | Higher initial material cost. |
| Mortar/Concrete | Dry-Pack Mortar or Concrete Block | 5″ – 6″ | Extremely durable, rot-proof, fully customizable. | Requires more skill and labor to form correctly. |
Special Considerations for Frameless Glass Doors
The trend toward heavy, frameless glass shower doors makes curb thickness even more critical. These doors require a solid, stable base to anchor their hardware. A flimsy or narrow curb simply won’t do the job.
Most frameless door systems require a minimum of a 4-inch flat, continuous surface on top of the curb for the hardware and seals to sit correctly. If your curb is too narrow or poorly sloped, the installer may not be able to mount the door securely, or it may leak from the bottom. Always check the specifications for your chosen shower door before you even begin framing the curb.
The Inward Slope: A Small Detail with Big Consequences
Beyond thickness, the top of the shower curb must have a slight inward pitch, typically about 5 degrees. This subtle slope is vital for directing any water that splashes onto the curb back into the shower pan and down the drain. A level or outward-sloping curb will allow water to sit or even run out onto the bathroom floor, defeating its primary purpose.
This slope is created during the final mortar or tile setting stage. It’s a detail that requires a skilled hand but is absolutely essential for a leak-free shower. It ensures that your beautiful new bathroom stays dry and damage-free for years to come.
Common Curb Construction Mistakes and How to Avoid Them
Building a shower curb seems simple, but several common mistakes can lead to major headaches down the road. Awareness is the first step to avoiding them.
Mistake #1: Building it Too Narrow. As discussed, a curb under 4 inches wide after tiling can cause major issues with door installation and stability. Always plan for a finished width of at least 4.5 inches.
Mistake #2: Puncturing the Waterproofing Liner. When building a traditional curb, the waterproof pan liner must run continuously up and over the curb. Many DIYers mistakenly nail or screw through the liner on the top or inside of the curb, creating a direct path for water to escape. Fasteners should only ever be placed on the outside face of the curb.
Mistake #3: Forgetting the Slope. A flat curb is a water-collecting curb. Ensure the final tiled surface has that gentle, 5-degree slope back into the shower. This is a non-negotiable step for proper water management.
Your Blueprint for a Perfect Shower Curb
Getting your shower curb right is a testament to thoughtful planning. It’s a small part of a larger project, but its impact on the final result is immense. It ensures your shower is not only beautiful but also structurally sound and completely waterproof.
From choosing the right materials to accounting for every layer in your thickness calculation, these details matter. Taking the time to plan your curb dimensions properly will save you from the costly and stressful ordeal of fixing leaks and water damage. In the end, a well-built curb is the unsung hero of a durable and stunning bathroom renovation.
Considering a full bathroom upgrade? Thinking about energy efficiency throughout your home is also wise. For instance, understanding if your electrical panel can handle modern appliances is key; you might wonder if 200 amp service is enough for a tankless water heater, a common question in major renovations.