Shower Curb Slope Fix: Stop Damaging Water Leaks Now!
You step out of a relaxing shower only to find a familiar, unwelcome puddle on your bathroom floor. You wipe it up, but it’s back again the next day, a frustrating and persistent problem. That small pool of water is a silent alarm, signaling a critical flaw in your shower: an incorrect curb slope.
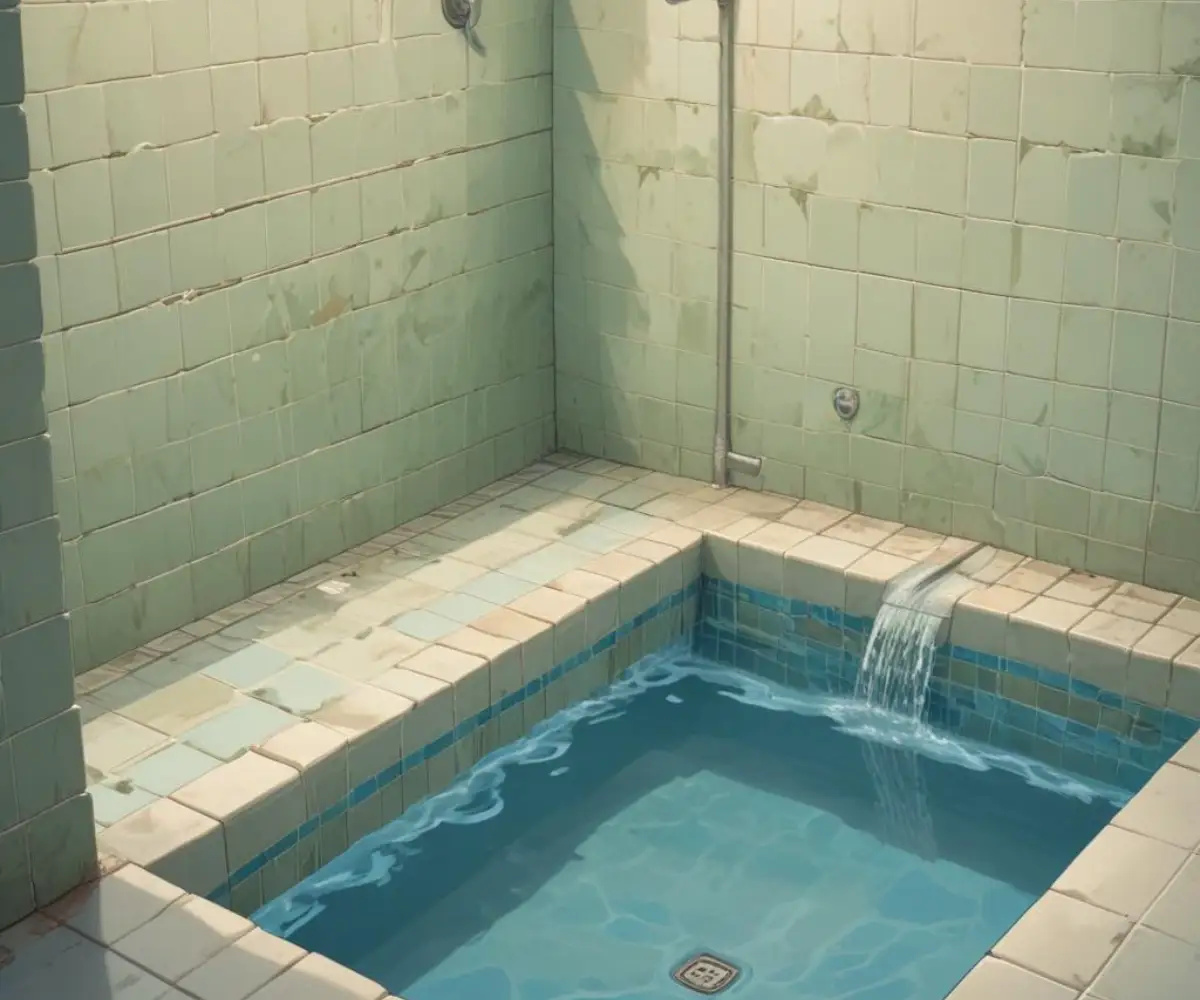
The shower curb, that short wall you step over, is your shower’s last line of defense against water escaping. It’s designed to have a slight, almost imperceptible slope inward, guiding every last drop of water back toward the drain where it belongs.
When that slope is flat or, even worse, angled outward, it creates a pathway for water to seep out, leading to costly damage, mold growth, and a slippery, hazardous floor. This guide will walk you through everything you need to know about diagnosing and executing a permanent shower curb slope fix.
You'll Learn About
Why Your Shower Curb is Failing: The Root of the Problem
An incorrectly sloped shower curb is almost never a sign of a product defect; it’s a symptom of an installation error. Understanding why it happened is the first step toward a lasting solution. Several factors can lead to this frustrating and damaging issue.
The most common culprit is simply a mistake made during the initial construction of the shower pan and curb. Creating the perfect slope with mortar, known as “deck mud,” is a skill that requires precision. An inexperienced installer might pack the mud improperly, resulting in a flat or even negatively sloped surface.
Over time, a house naturally settles and shifts. While minor settling is normal, significant movement can sometimes impact the structural integrity of your bathroom, potentially altering the level of your shower curb and compromising its carefully set slope.
The Critical Role of Waterproofing in Curb Failure
Beneath your tile lies a critical waterproofing membrane. If this membrane wasn’t installed correctly over the curb, or if the curb itself wasn’t built to be a solid, integrated part of the shower pan, problems are inevitable. A flawless repair absolutely depends on having the best shower waterproofing system in place to prevent future failures.
A proper curb is not just a pile of wood wrapped in liner; it’s a solid, sloped component fully integrated into the waterproofing layer. When considering a rebuild, understanding your material options is key. The debate over materials, like in the classic Red Guard waterproofing vs Kerdi showdown, highlights the importance of choosing a system that ensures a completely sealed enclosure.
Finally, sometimes the slope was set correctly in the mortar bed, but the tile installer applied an overly thick layer of thin-set adhesive. This can inadvertently build up the outer edge of the curb, negating the slope and creating a flat surface that allows water to sit or escape.
Diagnosing the Slope: A Simple Test for a Big Problem
Before you can plan your repair, you need to confirm the extent of the problem. You might see the water pooling, but a simple test with a level will tell you exactly what you’re dealing with. It’s a quick check that can save you from major headaches down the road.
Place a small level across the width of your shower curb. For proper drainage, the bubble should show a slight but clear tilt inward, toward the shower drain. A standard recommendation is a slope of at least 1/4 inch per foot, though for a short span like a curb, a visible inward angle is sufficient.
If the bubble is perfectly centered, your curb is flat, which is a problem. If the bubble shows an outward tilt, you have a negative slope, which is an even more urgent issue that needs immediate attention to prevent water from actively flowing onto your bathroom floor.
Another easy method is the water test. Dry the curb completely, then slowly pour a small cup of water directly onto the center of the curb’s top surface. Watch where the water flows; it should all trickle back into the shower pan. If it runs to the outside, stays put, or flows in both directions, you have confirmed a faulty slope.
Beyond the slope itself, look for secondary signs of water damage. These include stained or discolored grout lines on or around the curb, peeling paint on adjacent walls, soft or spongy spots in the floor outside the shower, or a persistent musty smell you can’t trace. These are all red flags that water has been escaping for some time.
The Permanent Solution: A Full Curb Rebuild
For a guaranteed, long-term fix, the only truly effective method is to rebuild the curb from the top down. While this is the most labor-intensive approach, it is also the correct and most reliable way to solve the problem permanently. It allows you to address the core issue, inspect the underlying waterproofing, and ensure a perfect slope.
This process involves removing the existing tile and mortar bed on the curb, reshaping the slope, and then re-waterproofing and re-tiling. It’s a job that requires patience and attention to detail but is well within the reach of a determined DIYer. Before you begin, gather all your tools and materials to ensure a smooth workflow.
Step 1: Preparation and Demolition
Safety and preparation are paramount. Begin by thoroughly cleaning the area and protecting the surrounding bathroom surfaces with plastic sheeting and painter’s tape. You will need safety glasses, gloves, and a dust mask for this phase.
Using a hammer and a small pry bar or chisel, carefully begin to remove the tiles from the top and sides of the curb. The goal is to get them off without damaging the surrounding wall or floor tiles if they are to remain. Once the tile is off, you’ll need to chip away the old mortar bed down to the waterproofing membrane or the curb’s structural frame.
Step 2: Inspecting and Repairing the Waterproofing
This is the most critical stage of the repair. With the curb exposed, you have a clear view of the underlying waterproofing membrane. Inspect it carefully for any tears, holes, or signs that it wasn’t installed correctly in the first place.
If the membrane is damaged, it must be repaired or replaced. A compromised waterproofing layer means that even with a perfect slope, water can still penetrate the curb structure, leading to rot and mold. This is where your choice of materials becomes crucial for a lasting repair.
Step 3: Rebuilding the Slope with Deck Mud
With the waterproofing secure, you can now rebuild the curb’s slope. You’ll be using a “deck mud” mixture, which is a fairly dry mix of sand, Portland cement, and water. The consistency should be like damp sand, holding its shape when squeezed in your hand.
Pack the deck mud firmly onto the curb, building it up. Use a small trowel and a level to shape the mud, creating that essential slight inward slope. Take your time with this step, as it is the entire foundation of the fix. Ensure the mud is compacted tightly to avoid air pockets.
Step 4: Waterproofing, Tiling, and Grouting
Once the new mortar bed has cured (check the manufacturer’s instructions, but typically at least 24 hours), you must apply a new layer of waterproofing. Use a liquid-applied membrane or a sheet membrane, ensuring it fully covers the new curb and overlaps properly with the existing shower pan liner.
After the waterproofing has cured, you can begin tiling. Apply a layer of thin-set mortar and press your tiles firmly into place, using spacers for consistent grout lines. Be careful not to apply too much thin-set, which could counteract the slope you just created. Finally, after the thin-set has cured, apply grout to the joints and a bead of silicone caulk where the curb meets the floor and walls.
A Less Invasive Fix: The Overlay Method
In some cases, particularly with very minor slope issues, a full demolition may not be feasible. A less invasive “overlay” method can be attempted, but it comes with significant caveats. This approach involves adding a new, sloped layer on top of the existing tile.
This is not a substitute for a proper rebuild and may not be a permanent solution. Its success is highly dependent on achieving a powerful, waterproof bond to the old tile surface. It can, however, be a stop-gap measure to prevent further water damage while you plan for a more extensive renovation.
The process starts with extreme surface preparation. The existing tile on the curb must be scuffed and sanded to remove its glaze, then thoroughly cleaned and degreased to ensure the new material can adhere. A high-quality bonding agent or primer specifically designed for tiling over tile should be applied.
Next, a very thin layer of a specialized, high-adhesion material like an epoxy-based mortar is applied and shaped to create the new slope. This is a delicate process that must be done quickly and precisely. Often, a piece of metal or PVC tile trim is added to the outer edge to create a clean, finished dam before the material is applied, providing a neat boundary for the new surface.
| Tool / Material | Purpose | Pro-Tip |
|---|---|---|
| Safety Glasses & Gloves | Protect eyes and hands from debris and chemicals. | Always wear PPE during demolition and when mixing mortar or grout. |
| Hammer & Chisel/Pry Bar | Careful removal of existing tile and mortar. | Start at a corner or damaged grout line to get the first tile out more easily. |
| Shop-Vac | Cleanup of dust and debris. | Keep the area clean as you work to prevent dust from contaminating new materials. |
| Deck Mud (Mortar Mix) | To form the new, sloped structural base of the curb. | Mix to a “damp sand” consistency. It should clump in your hand but not be wet. |
| Trowel & Level | To pack, shape, and verify the new curb slope. | Constantly check your slope with the level as you pack the mud. |
| Waterproofing Membrane | Creates a waterproof barrier over the new mortar. | Use a liquid-applied or sheet membrane and ensure it overlaps with the shower pan liner. |
| Thin-Set Mortar | Adhesive for setting the new tile. | Choose a high-quality modified thin-set suitable for wet areas. |
| Grout & Silicone Caulk | To fill tile joints and seal change-of-plane joints. | Use 100% silicone caulk for joints where the curb meets the floor and walls for flexibility. |
Frequently Asked Questions About Shower Curb Slopes
Even with a detailed guide, you may still have questions. Here are answers to some of the most common queries homeowners have when facing this issue. Understanding these points can help you tackle your project with confidence.
Can I just add more caulk to stop the leak?
No. Caulk is a sealant, not a structural component or a water barrier for a constant flow. While it should be used at the joints, applying more caulk to the top of the curb will not fix an incorrect slope. Water will simply pool behind the caulk, eventually break the seal, and continue to escape, often leading to hidden mold growth.
How much should a professional charge to fix a shower curb slope?
The cost can vary significantly based on your location, the extent of any existing water damage, and the materials used. A full rebuild of a curb is a labor-intensive job. Expect costs to range from several hundred to over a thousand dollars, as it involves demolition, plumbing checks, carpentry, waterproofing, and tile setting skills.
How long does this repair take?
A full rebuild is not a one-day job. You must account for the curing time of multiple products. Demolition might take a few hours. The mortar bed needs at least 24 hours to cure.
The waterproofing membrane will also have a curing time (liquid-applied can be 12-24 hours), as will the thin-set and grout. Realistically, plan for the shower to be out of commission for 3 to 5 days.
Fixing a faulty shower curb slope is more than just an aesthetic repair; it’s about protecting the structural integrity of your home.
By tackling the problem at its source with a proper rebuild, you can stop the cycle of leaks, prevent costly water damage, and restore peace of mind. It’s a project that pays dividends in the health and longevity of your bathroom.
Preventing Future Problems and Protecting Your Investment
Once you’ve invested the time and effort to fix your shower curb, you’ll want to ensure the problem never returns. The best way to prevent future issues is to be diligent during any bathroom renovation. If you hire a contractor, insist on inspecting the curb’s slope yourself after the mortar bed is laid but before a single tile is placed.
A simple check with a level at this stage can prevent a complete teardown later. Regular maintenance is also key. Inspect your grout and caulk lines every few months. If you see any cracks or gaps, clean them out and reapply a fresh bead of silicone to prevent any water intrusion.
Undertaking a significant repair like a shower curb rebuild can sometimes be a gateway to a larger bathroom update. While the walls are open and work is being done, it’s an opportune time to consider other enhancements. For instance, many homeowners find that improving natural light transforms the space, making a project like a glass block window replacement a logical next step in a full bathroom renovation.