Why Use a Shop Vac for Removing Blown Insulation: The Ultimate DIY Removal Hack?
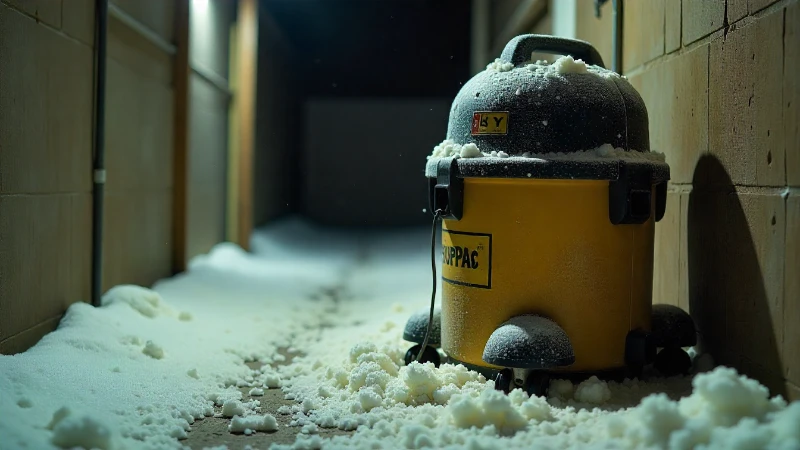
Dealing with blown-in insulation can be a daunting task for any homeowner. Whether you’re renovating, dealing with water damage, or upgrading your home’s thermal efficiency, that fluffy stuff in your attic or walls needs to go. Many homeowners wonder if their trusty shop vac is up to the challenge.
The short answer is yes, you can use a shop vac for blown insulation removal, but it’s not always a straightforward process. This guide will walk you through the problems you’ll face and provide a clear solution for tackling this messy job effectively and safely.
You'll Learn About
The Problem: Why Removing Blown-In Insulation is So Difficult
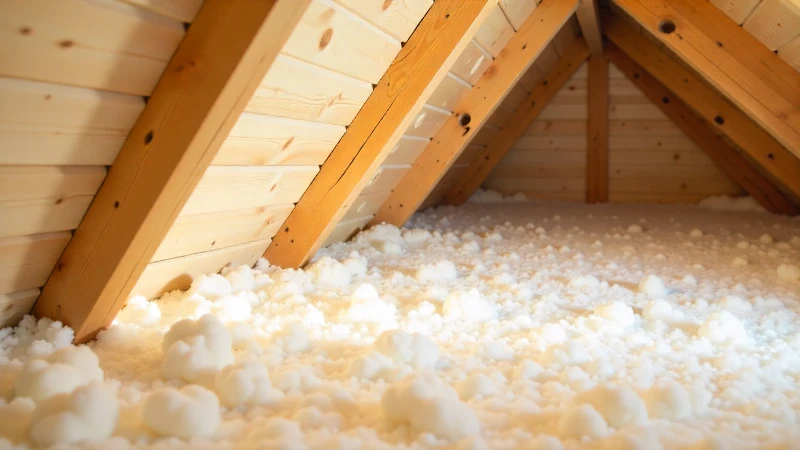
Blown-in insulation, whether it’s fiberglass or cellulose, is designed to fill every nook and cranny. This makes it great for insulating, but a nightmare to remove. The material is loose, dusty, and can easily become airborne, creating a significant mess and potential respiratory hazards.

Using a standard shop vac without the proper setup can lead to clogged filters, motor burnout, and fine dust being exhausted back into your living space. It’s a messy, inefficient, and potentially hazardous undertaking if not approached correctly.
Common Challenges with DIY Insulation Removal
Homeowners attempting to remove old or damaged insulation often run into several key issues. The sheer volume of material can quickly overwhelm a standard shop vac’s capacity. This leads to constant interruptions to empty the canister.
Furthermore, the fine particles of dust from materials like cellulose can bypass or quickly clog standard filters. This not only reduces suction power dramatically but also risks damaging the vacuum’s motor over time. Without proper precautions, you end up with a bigger mess than you started with.
The Solution: A Step-by-Step Guide to Using a Shop Vac for Insulation
With the right technique and some simple modifications, your shop vac can become a powerful tool for insulation removal. The key is to pre-filter the material before it ever reaches your vacuum, protecting the motor and filter while making disposal much easier. Follow these steps for a cleaner, more efficient process.
Step 1: Gather Your Tools and Safety Gear
Before you even think about starting, safety is paramount. Blown-in insulation, especially older types, can contain harmful substances. You will need full personal protective equipment (PPE) to avoid skin irritation and respiratory issues.
Your checklist should include: a high-quality respirator or dust mask (N95-rated or better), safety goggles, disposable coveralls with a hood, and work gloves. For tools, you’ll need your shop vac, a long hose, a large trash receptacle (like a 55-gallon drum or heavy-duty contractor bag), and some duct tape.
Step 2: Create a Dust Collection System
This is the most critical part of the process. You need to create an intermediary dust collector to capture the bulk of the insulation. A popular DIY method involves using a large, airtight container like a 55-gallon drum with a securable lid.
Cut two holes in the lid just large enough for your vacuum hoses. One hole is for the “inlet” hose that will suck up the insulation from the attic. The other is for the “outlet” hose that connects to your shop vac. This setup, often called a cyclone or Thien baffle separator, causes the heavy insulation to drop into the drum before the fine dust reaches your vacuum.

Step 3: Setting Up Your Workspace
Prepare the area for a messy job. Lay down plastic sheeting to protect flooring and seal off the work area from the rest of your house to contain dust. If working in an attic, ensure you have stable footing and good lighting. It’s often helpful to have a second person to monitor the collection drum and swap it out when it gets full.
Proper preparation minimizes cleanup time and prevents insulation dust from contaminating your home. Remember that if your house has no insulation, this removal step is the first part of a major energy efficiency upgrade.
Step 4: The Removal Process
With your collection system in place and your PPE on, you can begin. Start at the point farthest from your exit and work your way back. Use the long hose to suck up the loose insulation, moving systematically across the attic floor or wall cavities.
Keep an eye on your collection drum. As it fills, the insulation will become heavier. Stop periodically to check the level and empty it into heavy-duty contractor bags for disposal. Be mindful not to overfill the drum, as this can reduce the effectiveness of your separator system.
Comparing Insulation Removal Methods
While using a shop vac is a viable DIY option, it’s important to understand how it compares to professional services. Professional insulation removal companies use massive, truck-mounted vacuums that are far more powerful and efficient. However, this comes at a significant cost.
For small to medium-sized jobs, or for a budget-conscious homeowner, the DIY shop vac method is an excellent alternative. It offers a balance between cost and effectiveness, giving you control over the project timeline.
| Method | Pros | Cons | Best For |
|---|---|---|---|
| DIY Shop Vac Method | Low cost, uses existing tools, flexible scheduling. | Time-consuming, requires careful setup, risk of mess. | Small areas, spot removal, budget-conscious DIYers. |
| Rental Insulation Vacuum | More powerful than a shop vac, designed for the task. | Rental costs, transportation logistics, still labor-intensive. | Medium-sized projects, homeowners needing more power. |
| Professional Removal Service | Fast, efficient, clean, handles disposal. | High cost, scheduling depends on contractor availability. | Large projects, contaminated insulation, homeowners who prefer not to DIY. |
Choosing the Right Insulation for Re-installation
Once the old material is gone, you have a clean slate. This is the perfect time to consider what type of insulation to install next. The debate often comes down to fiberglass vs. cellulose insulation, as both are popular blown-in options.
Cellulose is made from recycled paper and treated with fire retardants, while fiberglass is made from spun glass fibers. Each has its own R-value, cost, and installation considerations. Researching which is best for your climate and home is a crucial next step.
Is a DIY Approach Always Best?
While this guide empowers you to tackle insulation removal yourself, there are times when calling a professional is the smarter choice. If the insulation is wet, moldy, or contaminated with pests, handling it yourself can pose serious health risks. A professional service has the equipment and training to handle hazardous materials safely.
Additionally, consider the scale of your project. Removing insulation from a small attic is manageable; clearing out an entire house is a massive undertaking. Sometimes, looking into programs or reading mass save insulation reviews can provide insight into professional services and potential rebates that make hiring a pro more affordable.
Is There a Vacuum That Removes Insulation?
If you’re considering renovating your attic, removing old insulation is one of the first steps. Whether it’s to replace worn-out fiberglass, outdated cellulose, or to simply clear space for upgrades, insulation removal can be messy and labor-intensive. While many people may not know, there are specialized vacuums designed specifically for removing insulation.
In this guide, we’ll look at insulation vacuums, how they work, and why they’re the best solution for removing insulation efficiently and safely.
What Is an Insulation Vacuum?
An insulation vacuum is a heavy-duty machine designed to remove insulation from attics, walls, and other hard-to-reach spaces. These vacuums are built to handle large volumes of materials such as fiberglass, cellulose, and spray foam, which traditional household vacuums are not designed for. Insulation vacuums have powerful suction and a special hose that allows them to safely extract insulation without damaging the structure or creating unnecessary mess.
How Do Insulation Vacuums Work?
Insulation vacuums work similarly to regular vacuum cleaners but are much more robust. They have powerful suction systems capable of drawing up large amounts of insulation material and then transferring it into a collection bag or container. Here’s a step-by-step breakdown of how they work:
- Powerful Suction: The vacuum is equipped with a high-powered motor to pull up loose insulation from the floor, walls, or ceilings.
- Specialized Hose: The vacuum uses a flexible hose designed to be inserted into tight spaces, such as between the studs in an attic or down the walls. This hose has a wider diameter to handle bulkier materials like fiberglass or cellulose.
- Filtration System: Insulation vacuums typically include a filtration system that prevents small particles from escaping into the air, ensuring the process is safer for workers and the environment.
- Storage Bags: Once the insulation is vacuumed up, it’s stored in large, durable bags or containers for easy disposal. These bags are designed to handle the volume of insulation and are often disposed of as bulk waste or recycled, depending on the insulation type.
Types of Insulation Vacuums
There are different types of insulation vacuums, each suited for different insulation materials and removal needs:
- Truck-Mounted Insulation Vacuums: These are high-powered machines often used by professional contractors. They are mounted on trucks and have extensive hoses that can reach multiple stories. These vacuums are ideal for large-scale insulation removal projects.
- Portable Insulation Vacuums: These vacuums are smaller and more portable, making them suitable for DIY projects or smaller residential jobs. They have a smaller hose and are easier to maneuver, but they may not have the same capacity as truck-mounted models.
- Insulation Removal Machines with Blower Capabilities: Some models not only vacuum insulation but also blow loose insulation into place for installation, offering dual functionality.
Benefits of Using an Insulation Vacuum
- Efficiency: Using a vacuum to remove insulation is far quicker than traditional manual methods, such as scooping or scraping. It’s a more efficient process that minimizes labor and time.
- Cleanliness: Unlike manual removal, which can create a mess, insulation vacuums are designed to contain the material. This results in less cleanup after the job is done, as the vacuum collects everything into secure bags or containers.
- Safety: Insulation removal can stir up a lot of dust, which can be harmful to your lungs. Insulation vacuums are equipped with filtration systems that help trap dust and particles, reducing airborne irritants and protecting workers from potential health risks.
- Prevents Damage: Because these vacuums are specially designed for insulation removal, they prevent damage to your home’s structure. Using a traditional vacuum or manual methods can risk damaging the insulation, wiring, or drywall.
Where to Rent or Buy an Insulation Vacuum
If you’re looking to rent or purchase an insulation vacuum, there are several options available:
- Rental Companies: Many tool rental stores offer insulation vacuum rentals. This is a good option if you only need the vacuum for a short-term project and don’t want to invest in purchasing a machine. Local equipment rental companies often have a variety of vacuum types for different needs.
- Specialized Suppliers: Companies that specialize in insulation or construction equipment often sell or rent professional-grade vacuums designed specifically for insulation removal. Some brands also offer specialized vacuums for specific materials like cellulose or fiberglass.
- Online Retailers: If you’re looking to buy, online retailers like Amazon, Home Depot, and others sell portable insulation vacuums that are more affordable and suitable for smaller jobs.
Is an Insulation Vacuum Right for You?
While insulation vacuums are incredibly effective, they may not be necessary for every project. If you have a small attic or limited insulation, removing the material by hand might be an easier and more cost-effective option. However, if you’re dealing with a larger area or a significant buildup of insulation, an insulation vacuum will make the job easier and faster.
For DIY homeowners, renting a portable vacuum can be a good middle ground if you need to remove insulation for insulation upgrades or to replace old material.
Final Considerations and Clean-Up
After all the loose-fill insulation has been removed, a final detailed cleanup is necessary. Use your shop vac (with a clean filter) to go over the entire area, vacuuming dust from surfaces, joists, and any crevices. A damp cloth can be used to wipe down surfaces to capture any remaining fine particles.
Properly seal and dispose of the bags of old insulation according to your local regulations. With a clean and empty space, you are now ready to proceed with any repairs, air sealing, or the installation of new, more efficient insulation to improve your home’s comfort and energy bills.

