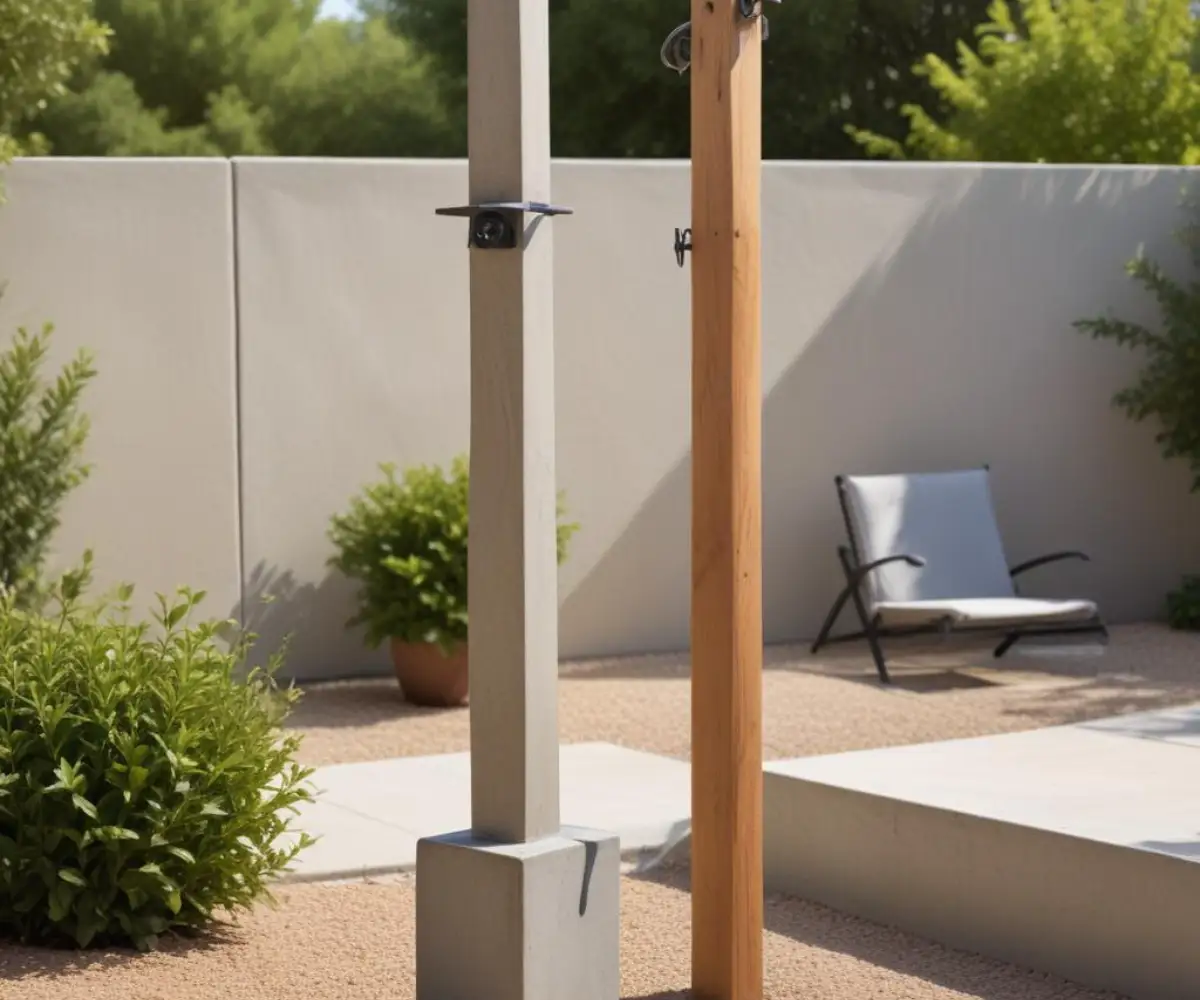
Shade Sail 4×4 Post Wobbling? The Ultimate Fix Before It Fails!
You envisioned a serene outdoor oasis, a beautiful shade sail gently billowing overhead. Instead, you’re staring at a wobbly, leaning 4×4 post that looks more like a hazard than a haven. A compromised post isn’t just an eyesore; it’s a critical failure point waiting for a strong gust of wind to cause serious damage.
The immense and constant tension from a shade sail, combined with powerful wind loads, exerts forces far greater than those on a simple fence post. Understanding how to properly select, install, and reinforce your 4×4 posts is the only way to guarantee a safe, durable, and professional-looking shade structure. This guide provides the definitive methodology to get it right the first time.
You'll Learn About
Why Your Post Installation Is More Critical Than You Think
A shade sail acts like a boat’s sail, catching the wind and transferring massive loads to its anchor points. If the posts are not installed with sufficient depth and strength, they will inevitably lean, bend, or fail completely. This is not a matter of ‘if,’ but ‘when’.
The most common failure points are undersized concrete footings, inadequate post depth, and wood rot occurring at the ground level where moisture is most prevalent. Choosing the correct materials and installation technique is non-negotiable for a long-lasting and safe shade sail setup.
Wood vs. Steel: Choosing Your Foundation
While steel posts offer superior rigidity and longevity, pressure-treated 4×4 wood posts are a common and effective choice when installed correctly. Always use wood rated for ground contact. For shade sails larger than 16×16 feet, upgrading to 6×6 posts is strongly recommended to prevent bending under tension.
Even ground-contact rated wood benefits from additional protection. Applying a wood preservative or bitumen sealant to the portion of the post that will be below ground offers an extra layer of defense against moisture and premature rot, significantly extending its service life.
Step-by-Step: The Foolproof Method for Setting 4×4 Posts
Executing a flawless installation begins with careful planning and precision at every stage. Rushing the process or cutting corners on materials will compromise the entire structure. Follow these steps meticulously for a rock-solid foundation.
Step 1: Planning and Layout – The Blueprint for Success
Before digging, lay your shade sail on the ground in the desired position. Mark the location for each post, extending the lines from the sail’s corners. A critical rule for stability is that at least one-third of your post’s total length should be buried in the ground. For a post that is 8 feet tall above ground, you will need a 12-foot post, with 4 feet buried in a concrete footing.
Step 2: Digging the Perfect Post Hole
The size of your post hole is paramount for stability. The hole’s diameter should be at least three times the width of the post, so for a 4×4 post (which is actually 3.5×3.5 inches), a 10-12 inch diameter hole is required. The depth must accommodate the one-third rule and should extend below your local frost line to prevent heaving in colder climates.
For superior stability, especially in clay soils, consider digging the bottom of the hole wider than the top. This bell shape creates a footing that is much more resistant to being pulled upwards by soil movement or extreme wind uplift on the sail.
Step 3: Preparing the Post for a Long Life
Before placing the post, add 4-6 inches of gravel to the bottom of the hole. This crucial step allows water to drain away from the base of the post, which is the area most susceptible to rot. Tamp the gravel down firmly to create a stable base.

Drill any holes for your mounting hardware before you set the post in concrete. This is far easier and more accurate than trying to drill into a post that is already installed. Using a through-bolt with a welded eye is the most secure method for attachment.
Step 4: Mixing and Pouring Concrete Like a Pro
Place the post in the hole, ensuring it rests firmly on the gravel base. Use a high-strength concrete mix and follow the manufacturer’s instructions. As you fill the hole, use a stick to poke the concrete and eliminate any air pockets.
A vital professional technique is to “crown” the concrete footing. Shape the top of the wet concrete so it slopes away from the post on all sides. This small detail ensures that rainwater is directed away from the wood, preventing pooling and drastically reducing the risk of rot at the vulnerable ground level.
Step 5: Plumbing, Bracing, and Curing
Use a level to ensure the post is perfectly plumb (vertical) on two adjacent sides. Brace the post securely with scrap wood to hold it in its final position. You must allow the concrete to cure for a minimum of 48-72 hours before attaching the shade sail and applying tension.
Hardware: The Unsung Hero of a Secure Shade Sail
The hardware you choose is just as important as the post installation. Undersized or inappropriate hardware will fail under the constant tension of a shade sail. Investing in high-quality, corrosion-resistant components is essential for both safety and longevity.
Choosing the Right Attachment and Tensioning Hardware
For attaching the sail to a 4×4 wood post, a heavy-duty through-bolt with a welded eye and nuts on the opposite side is the strongest option. Avoid using lag screws, as they can pull out of the wood under high tension. Stainless steel or hot-dip galvanized hardware provides the best protection against rust.
Turnbuckles are essential for achieving proper tension. Install a turnbuckle at each corner of the sail; this allows you to fine-tune the tension across the entire surface, creating a taut, professional appearance and preventing sagging, which can lead to water pooling and damage.
| Hardware Type | Material | Best Use Case | Pros | Cons |
|---|---|---|---|---|
| Through-Bolt w/ Eye Nut | Stainless Steel / Galvanized | Attaching to wood or steel posts | Extremely strong and secure | Requires drilling through the post |
| Pad Eye | Stainless Steel / Galvanized | Attaching to solid walls or fascia | Distributes load over a wider area | Requires a structurally sound surface |
| Turnbuckle | Stainless Steel / Galvanized | Tensioning the sail at corners | Allows for precise tension adjustment | Adds complexity to the connection |
| D-Shackle | Stainless Steel / Galvanized | Connecting sail corner to hardware | Simple, strong, and reliable | Does not provide tensioning |
Advanced Techniques for Maximum Stability
For those in high-wind areas or who demand the utmost in structural integrity, several advanced techniques can be employed. These methods go beyond standard installation to provide an exceptional level of resilience against the elements.
The “Lean Out” Method for Perfect Tension
A clever technique used by professional installers is to set the posts with a slight outward lean, typically around 5 degrees, angled away from the center of the sail. When tension is applied to the sail, it pulls the posts into a perfectly vertical position. This pre-loading counteracts the immense forces and prevents any inward lean over time.
This method requires precise planning but results in an incredibly stable and visually appealing installation. It ensures that even under significant load, the posts remain upright and rigid.
Troubleshooting Common 4×4 Post Problems
Even with careful installation, issues can sometimes arise over time. Addressing these problems promptly is key to maintaining the safety and appearance of your shade sail structure. From rot to wobbling, most issues have a viable solution.
“My Post Is Already Wobbly. Can I Fix It?”
A wobbly post is often a sign of an undersized or cracked concrete footing. For minor wobbles, you may be able to dig around the existing footing and pour a larger concrete collar to reinforce it. In more severe cases, the only safe solution is to remove the post and footing entirely and start over with a deeper and wider hole.
Just as the right foundation is key for your posts, the right base for your home’s interior, such as knowing the specifics of a shiplap subfloor, dictates longevity. Making correct material and structural choices from the start, whether outdoors or in, prevents future headaches. This proactive approach applies to all home projects, where asking questions like is grout maximizer worth it can save you significant time and money on repairs later.
Beyond the Basics: Aesthetics and Alternatives
Once your posts are securely installed, you can focus on the finishing touches that protect the wood and integrate the structure into your landscape design. These final steps enhance both the durability and the visual appeal of your project.
Finishing and Protecting Your Posts
To protect the above-ground portion of your posts from the elements, apply a high-quality exterior stain or paint. Be sure to cap the top of the posts with a metal or plastic post cap. This prevents water from seeping into the end grain, which is the most absorbent part of the wood and highly susceptible to rot.
If the process of installing permanent posts seems too demanding, alternative shading solutions can provide excellent comfort without the need for extensive groundwork. Exploring options like a retractable system can be a great choice. For instance, the Shaderunner USA offers adaptable shade and all-day comfort with a different kind of installation.
Final Safety Checklist
Before you relax under your new shade, perform one last safety check. Ensure all hardware is fully tightened. Check that shackles and turnbuckles are secure and that the sail is taut with no sagging. Plan to inspect your posts and hardware seasonally, and always take the sail down before severe weather events like hurricanes or heavy snowstorms to prevent damage.

