Sensi Thermostat 2 Wire Installation: Your Ultimate Guide
Upgrading to a smart thermostat with an older two-wire heating system can seem impossible. Many homeowners face the frustrating discovery that their new, feature-rich Sensi thermostat won’t power on, leading to confusion and the fear of a complicated, expensive rewiring job. This is a common problem rooted in the evolution of thermostat technology.
Older systems, particularly heat-only setups, only needed two wires: one to provide power (the R wire) and one to call for heat (the W wire). Modern smart thermostats, with their Wi-Fi radios and backlit screens, require a constant power supply, which is provided by a third wire known as the C-wire. Without it, the thermostat simply can’t function.
You'll Learn About
Understanding the “C-Wire” Problem
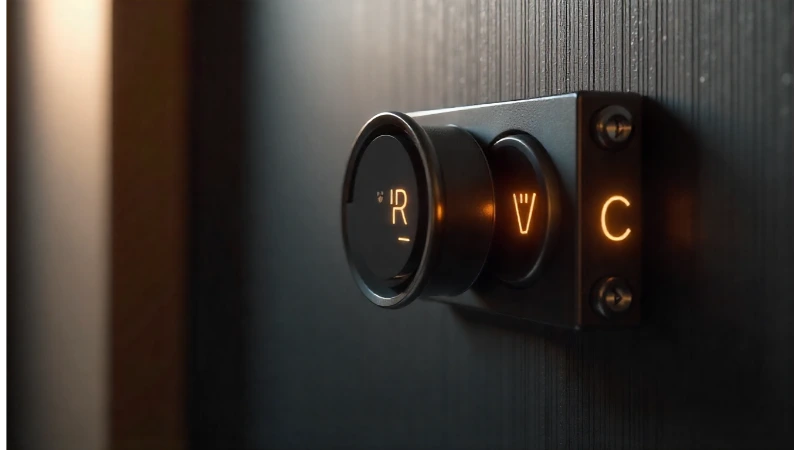
The core of the issue lies in the absence of a Common wire, or “C-wire.” Think of the R and W wires as a simple switch; when the thermostat calls for heat, the switch closes, completing a circuit and turning on your furnace. This process doesn’t provide the continuous power a smart device needs to stay connected to your Wi-Fi and run its internal software.
The C-wire provides a continuous 24V power source from the furnace, allowing the Sensi thermostat to operate without interrupting the heating cycle. Many Sensi models, especially the Sensi Touch and Touch 2, explicitly require a C-wire for all installations, including heat-only systems. Ignoring this requirement is the primary reason for installation failure.
Why Is My System Only Two Wires?
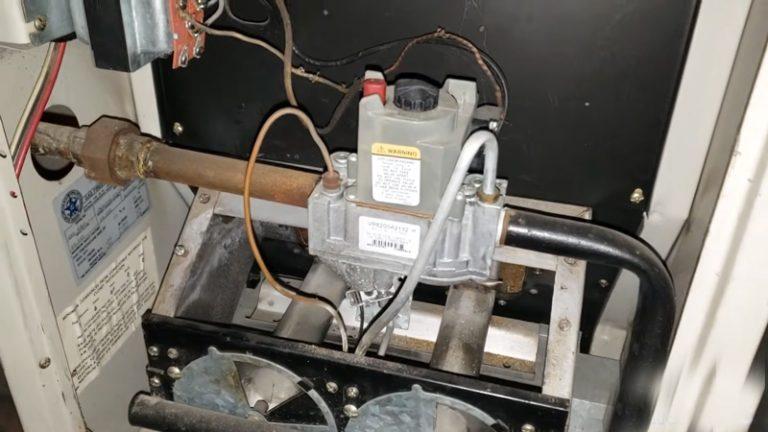
Two-wire systems are typically found in older homes with heat-only systems like boilers or gas furnaces. At the time of their installation, thermostats were simple mechanical devices that didn’t need constant power. The two wires were sufficient to create the simple on/off circuit needed to regulate temperature.
As heating and cooling systems became more complex, more wires were added to control different functions like the fan (G wire) and air conditioning (Y wire). Even with these additions, the C-wire was not always standard, leading to the compatibility issues many face today when upgrading to smart technology.
Solutions for Your Sensi Thermostat 2 Wire Installation
Fortunately, not having a C-wire doesn’t mean you have to abandon your smart thermostat dreams. There are several reliable methods to power your Sensi thermostat on a two-wire system. Each solution varies in complexity and cost, allowing you to choose the best path for your home and skill level.
Before attempting any of these solutions, it is crucial to turn off the power to your HVAC system at the circuit breaker. This ensures your safety and prevents damage to your thermostat or furnace control board.
Solution 1: Using an Unused Wire
The simplest solution often hides right behind your old thermostat. Many times, thermostat cables were installed with more wires than were needed for the original system. You might find an extra wire tucked into the wall that can be converted into your C-wire.
First, carefully pull the bundle of thermostat wires out from the wall. Look for a wire that isn’t connected to your old thermostat. If you find one, the next step is to locate the other end of this wire at your furnace or air handler’s control board. This unused wire will need to be connected to the ‘C’ terminal on the control board. Once connected at the furnace, you can connect it to the ‘C’ terminal on your new Sensi thermostat base.
Solution 2: The Sensi C-Wire Kit or Add-a-Wire Adapter
If you don’t have a spare wire, an adapter kit is an excellent alternative. The Emerson Thermostat Common Wire Kit is specifically designed for this situation. These kits work by using the existing wires to carry the necessary power, effectively creating a C-wire connection without running new cables through your walls.
Installation involves connecting the adapter at your furnace’s control board. The specifics can vary, but generally, you’ll connect your existing R and W wires to the adapter, which then connects to the R, W, and C terminals on the board. The adapter cleverly splits the signal, allowing for both heating control and constant power through the existing two wires at the thermostat end.
Solution 3: Using an External 24V Transformer
For heat-only systems, another effective method is to use a 24VAC plug-in transformer. This is a straightforward option that bypasses the need to work inside your furnace. The transformer plugs into a standard wall outlet and provides the dedicated power your Sensi thermostat needs.
To wire it, you will run the two wires from the transformer to your thermostat. One wire connects to the RC terminal, and the other connects to the C terminal. Your existing R and W wires will connect to the RH and W/E terminals, respectively. A critical step for this method is to clip the RH/RC jumper on the back of the Sensi thermostat, which keeps the two power sources separate.
Step-by-Step Installation Process
Once you’ve chosen your C-wire solution, the physical installation of the Sensi thermostat is guided by the Sensi app. It’s a user-friendly process designed to walk you through each step, from identifying your wires to connecting to Wi-Fi. It’s important to take a picture of your old thermostat’s wiring before disconnecting anything.
After shutting off the power, remove your old thermostat and install the new Sensi base plate. Connect the wires according to your chosen method (R to RH, W to W/E, and your new C-wire to C). Once everything is securely connected, you can attach the Sensi faceplate, restore power at the breaker, and complete the setup through the app.
Troubleshooting Common Issues
The most common issue is a blank screen after installation. This almost always indicates a problem with the C-wire connection, as the Sensi Touch models require it for power. Double-check that your new C-wire is securely fastened at both the thermostat and the furnace control board (or that your transformer is plugged in and wired correctly). You can use a voltmeter to ensure there are 20-30VAC between the RC/RH and C terminals.
If your heating isn’t working, verify the configuration settings within the Sensi app. Ensure you’ve correctly identified your system as “Heat Only” and specified the furnace type (e.g., Gas Furnace). Incorrect settings can prevent the thermostat from communicating properly with your system.
Advanced Considerations and Wiring Configurations
Understanding thermostat wiring can feel complex, but the terminals are standardized. Knowing what each wire does is key to a successful installation. Sometimes you may encounter confusing situations, like if your thermostat green wire is not connected, which typically controls the fan.
In some cases, particularly with more complex systems, you may wonder if you need a neutral wire for 240v systems, though this is generally not applicable to low-voltage thermostats like Sensi. It’s always best to consult your HVAC system’s manual or a professional if you’re unsure. While you’re working on your HVAC system, you might notice other oddities, such as your air conditioner drain making noise in the sink, which could indicate a separate issue worth investigating.
| Solution | Complexity | Tools Required | Best For |
|---|---|---|---|
| Use Unused Wire | Low-Medium | Screwdriver, wire stripper | Homes with extra, unused thermostat wires available. |
| C-Wire Adapter Kit | Medium | Screwdriver, wire stripper | Systems without a spare wire, providing a clean installation. |
| 24V External Transformer | Low | Screwdriver | Heat-only systems where running new wires is difficult. |
Final Thoughts on Your Installation
Successfully completing a Sensi thermostat 2 wire installation is a rewarding DIY project that brings modern convenience to an older heating system. The key is understanding the critical role of the C-wire and choosing the right method to provide that necessary, constant power.
By following the steps carefully—from shutting off the power to confirming your connections—you can overcome the initial challenge. Whether you utilize a hidden spare wire, an adapter kit, or an external transformer, the result is a fully functional smart thermostat, ready to save you energy and offer remote control over your home’s comfort.