Self Leveling Concrete Over Tile: Your Ultimate Guide to a Flawless Floor
That old, uneven, or just plain ugly tile floor might seem like a permanent problem. You want to install new flooring, but the thought of days of back-breaking demolition, dust, and debris is enough to make anyone procrastinate. This is a common roadblock for many homeowners looking to upgrade their space.
Ignoring an uneven tile subfloor isn’t a solution; it’s a guarantee for future flooring failure. New luxury vinyl plank, laminate, or even new tile will flex, crack, and separate when installed on an imperfect base. The problem isn’t just cosmetic—it’s a structural issue that compromises the integrity and longevity of your entire flooring system.
Fortunately, there is a powerful and efficient solution: covering the old tile with self-leveling concrete. This method avoids the chaos of demolition, creating a perfectly smooth, flat, and durable surface ready for any new floor covering. This guide will walk you through the essential steps to ensure your project is a complete success.
You'll Learn About
Why Your Uneven Tile Floor Is a Ticking Time Bomb
An uneven tile surface is more than just an annoyance; it’s a foundational flaw that telegraphs problems upward. When you lay a new floor, especially a floating floor like LVP or laminate, it relies entirely on the stability of the substrate beneath it. Even minor height variations between tiles can cause locking mechanisms to fail, planks to separate, and a hollow, unpleasant sound underfoot.
Many people believe they can just use extra mortar to level out new tiles or hope the underlayment for vinyl plank will hide the imperfections. This approach is a costly mistake. Thin-set mortar is not designed to be a leveling agent, and using it in thick beds can lead to cracking and poor adhesion. Similarly, underlayment can compress over low spots, failing to provide the necessary support.
The core issue is that the old tile floor dictates the performance of the new one. Ripping out the tile is one option, but it’s labor-intensive, messy, and can potentially damage the concrete slab underneath. Using a self-leveling underlayment directly over the prepared tile is the professional’s choice for a reason: it’s faster, cleaner, and creates a superior surface.
The Smart Solution: Self-Leveling Concrete Explained
Self-leveling concrete, also known as self-leveling underlayment, is a polymer-modified cement. It has a high-flow consistency, allowing it to spread across a surface and use gravity to create a perfectly flat and smooth plane. It’s specifically designed to correct uneven floors before the installation of new flooring.
The primary benefit of this method is avoiding demolition while achieving a surface that is often flatter and more stable than the original concrete slab. It provides a solid, monolithic surface that is ideal for nearly any floor covering. This is vastly superior to installing a floating subfloor, which can be a complex and often unnecessary expense similar to needing a DRICORE alternative.
A common myth is that “self-leveling” means you just pour it and walk away. This is incorrect. The product is self-smoothing, but it requires careful preparation and guidance with tools like a gauge rake and smoother to achieve a perfect finish. The magic is in its ability to seamlessly fill dips and flow over high spots.
Pre-Pour Checklist: 7 Steps to Guaranteed Success
Preparation is not just a step; it is the most critical phase of the entire project. Rushing or skipping any of these preparations is the number one cause of failure, leading to issues like delamination, cracking, and a weak final surface. Follow these steps meticulously for a professional outcome.
Step 1: The All-Important Floor Inspection
Your first task is to become a detective. Walk the entire floor and tap every single tile with a screwdriver handle or a golf ball. You are listening for a hollow sound, which indicates the tile is no longer bonded to the subfloor. Mark any loose, cracked, or hollow tiles with a crayon.
It is absolutely essential to address these compromised tiles. Self-leveling concrete is strong, but it cannot bridge movement. Pouring over loose tiles will result in the new surface cracking and failing. Remove any loose tiles and fill the void with a rapid-setting patch mortar, ensuring the patch is level with the surrounding tile.
Step 2: The Deep Clean You Can’t Skip
Years of household cleaners, waxes, grease, and grime create a film on your tile that will prevent the primer and leveler from bonding. A simple sweep and mop is not enough. You need to perform a deep, degreasing clean.
Use a heavy-duty tile cleaner or a degreaser mixed with water and scrub the entire floor, especially the grout lines. After scrubbing, rinse the floor thoroughly with clean water to remove all residue. The floor must be completely clean and dry before moving to the next step.
Step 3: Mechanical Abrasion – Creating the Perfect Grip
Most ceramic and porcelain tiles have a glazed, glass-like surface. This surface is non-porous and incredibly smooth, making it very difficult for primers to get a strong mechanical grip. To ensure a permanent bond, you must abrade the surface.
The most effective method is to use a floor buffer or angle grinder with a diamond-grit sanding pad (around 40-80 grit). The goal is not to remove the tile’s pattern, but to scuff the entire surface, removing the glossy sheen. This creates a microscopic, textured profile that the primer can lock onto, ensuring powerful adhesion.
Step 4: Containment is Key – Damming and Sealing
Self-leveling concrete is liquid and will find any and every escape route. You must create a watertight basin in the room. Use expanding foam or caulk to seal the gap along the bottom of the drywall and around any floor vents, pipes, or drains. This step is as crucial as sealing a large gap between your patio and house; failure to do so can lead to a costly mess.
For doorways or areas where you need to stop the flow, create dams using 2x4s. Secure them to the floor and seal the inside edge with silicone caulk to prevent leaks.
Step 5: Choosing the Right Primer – The Unsung Hero
Primer is the critical link between the old tile and the new underlayment. Do not skip this step. Pouring self-leveler without a primer, especially over non-porous tile, will result in the underlayment peeling right off the floor once it cures.
You must use a primer specifically designed for non-porous substrates like tile. These are often epoxy-based or acrylic primers formulated for slick surfaces. Apply the primer evenly with a roller or brush, ensuring complete coverage over the tiles and grout lines. Allow it to dry to a tacky finish according to the manufacturer’s instructions.
Step 6: Gathering Your Tools and Materials
Having everything ready before you start mixing is crucial, as self-leveling compounds have a limited working time (typically 15-20 minutes). Rushing to find a tool mid-pour can ruin the project. Organize your workspace for maximum efficiency.
| Tool/Material | Purpose |
|---|---|
| Self-Leveling Compound | The underlayment material. Calculate square footage to buy enough bags. |
| Primer for Non-Porous Surfaces | Ensures proper adhesion to the tile. |
| 5-Gallon Buckets (Multiple) | For measuring water and mixing the compound. |
| Heavy-Duty Mixing Drill with Paddle | Essential for achieving a lump-free, consistent mix. A standard drill may burn out. |
| Gauge Rake | Spreads the leveler to a consistent, predetermined depth. |
| Spiked Roller | Removes trapped air bubbles from the poured compound for a stronger surface. |
| Smoothing Trowel | Helps guide the material into corners and feather edges. |
Step 7: Mixing Your Self-Leveling Compound
This step requires precision. Always add the pre-measured clean, cool water to the bucket first, then add the powdered compound while mixing. Adding powder first will create dry clumps at the bottom that are difficult to incorporate.
Mix with the power mixer for the exact time specified by the manufacturer, usually around 2 minutes. The goal is a smooth, lump-free, pancake-batter-like consistency. Do not add extra water, as this will weaken the compound and can cause it to crack as it cures.
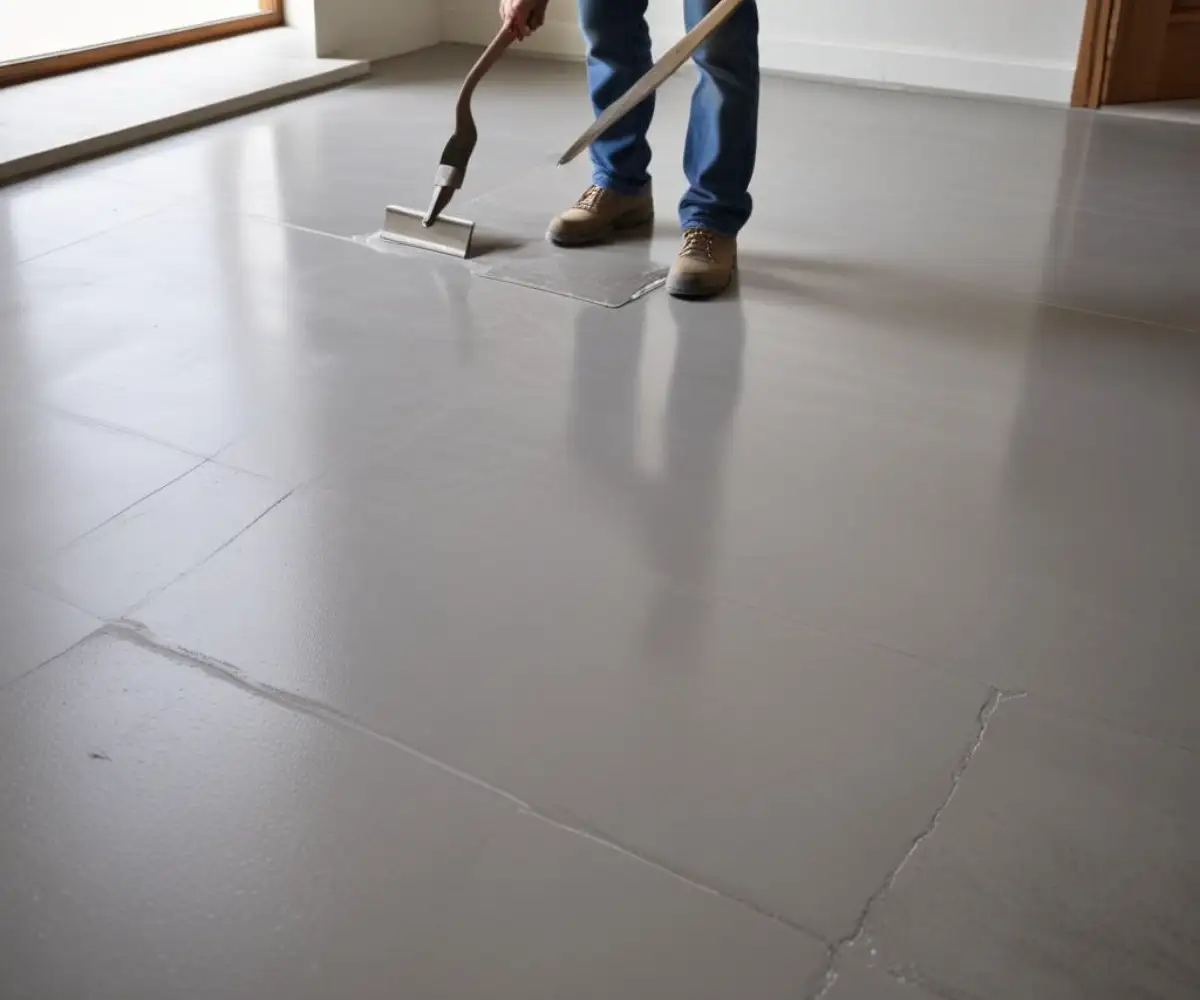
The Pour: A Step-by-Step Guide to a Flawless Finish
With your preparation complete, it’s time to pour. Work quickly and methodically. If you have a large area, it’s best to have one person mixing while another pours and spreads. This ensures you can maintain a “wet edge,” blending each bucket pour into the last for a seamless finish.
Start at the corner furthest from your exit and pour the mixed compound onto the floor in ribbons. Immediately use the gauge rake to gently pull the material across the floor, setting the desired depth. The material will largely level itself, but the rake ensures uniformity.
After spreading an area, use the spiked roller to gently roll through the wet compound. This will pop any air bubbles that were introduced during mixing. Finally, use the smoothing trowel to guide material into tight corners and along the edges of your dams.
Post-Pour Protocol: Curing, Drying, and What Comes Next
Once the pour is complete, you must let the compound cure undisturbed. Keep the room free of drafts and direct sunlight, as drying too quickly can cause cracking. Curing times vary by product and thickness, but most are walkable within 4-6 hours and ready for flooring installation in 12-24 hours.
Once fully cured, you will have a perfectly flat, smooth, and incredibly strong surface. This new foundation is ready for almost any flooring type, from tile to hardwood. It creates an ideal base that simplifies challenges like managing a clean vinyl plank flooring transition to carpet on concrete, ensuring a professional look.
Common Mistakes and How to Avoid Them
Even with careful planning, things can go wrong. Understanding common failures is the best way to prevent them. The vast majority of problems stem from inadequate preparation.
The Adhesion Catastrophe: Why Primer is Non-Negotiable
The most common failure is delamination, where the cured leveler separates from the tile floor. This is almost always caused by skipping the primer or failing to properly clean and abrade the tile surface. The bond between the tile and the underlayment is purely chemical and mechanical, and without proper prep, there’s nothing for the leveler to hold onto.
The “Un-Level” Self-Leveler: Common Pouring Errors
Ironically, a self-leveling project can result in an uneven floor if done incorrectly. This often happens from mixing the compound too thick, which prevents it from flowing properly. It can also be caused by waiting too long between pouring buckets, which allows a hard edge to form that the next pour cannot blend into seamlessly.
Forgetting Containment: The Leaky Mess
The stories are all too common: self-leveling concrete seeping under walls into an adjacent room, or worse, down a floor vent into the HVAC system. This is a direct result of failing to properly dam and seal every potential leak point around the room’s perimeter. Be meticulous in your containment efforts.
Frequently Asked Questions (FAQ)
How thick can I pour self-leveling concrete over tile?
Most standard self-leveling compounds can be poured from a feather edge up to 1 inch thick in a single lift. For greater depths, you may need to pour in multiple layers (allowing the first to cure) or use a specialized deep-fill product.
Do I have to remove the old tile first?
No, as long as the existing tile is well-bonded to the subfloor. The primary advantage of this method is avoiding the time, cost, and mess of demolition. However, any loose or hollow tiles must be removed and the resulting voids patched.
Can I use self-leveler over heated tile floors?
Yes, but it requires extra steps. The heating system must be turned off for at least 24 hours before and after the pour. It’s also crucial to use a high-quality, polymer-modified leveler that is rated to handle the expansion and contraction from temperature changes.
What is the cost per square foot?
The material cost for self-leveling concrete and primer typically ranges from $1.50 to $5.00 per square foot, depending on the required thickness and product quality. Professional installation can add significant labor costs, making this a very cost-effective DIY project if done correctly.
When to Call a Pro vs. DIY
A self-leveling project is well within the capabilities of a confident DIYer who pays close attention to detail. Small to medium-sized rooms like bathrooms or kitchens are excellent DIY projects. However, for very large, open-plan areas, or floors with significant damage or slope issues, hiring a professional is often the wise choice.
Professionals have the equipment and manpower to mix and pour large quantities quickly, which is essential for achieving a seamless finish over a large area. If you discover significant structural issues during your inspection, such as large, active cracks in the slab beneath the tile, it’s time to consult a structural engineer or foundation specialist before proceeding.