Pouring Self Leveling Concrete in Sections? Avoid This #1 Mistake!
You have a large, uneven floor that’s mocking your renovation plans. You’ve heard about the magic of self-leveling concrete, but the sheer size of the room is intimidating. How can one person possibly mix and pour that much material before it starts to harden?
The fear of creating a lumpy, patchy disaster is real. Many DIY projects stall right here, caught between an imperfect subfloor and the overwhelming logistics of a massive single pour. This is where the professional secret of pouring in sections comes into play.
You'll Learn About
Why Pouring in Sections is Your Secret Weapon for Large Floors
Tackling a large floor with self-leveling concrete doesn’t have to be a frantic race against the clock. By dividing the area into manageable sections, you transform an overwhelming job into a controlled, step-by-step process. This method gives you the time to mix, pour, and smooth each part correctly.
The result is a more uniform, flat surface without the stress. It allows a single person or a small team to achieve a finish that rivals a large professional crew, simply by being strategic. The key to success lies in meticulous preparation and understanding how to blend the sections seamlessly.
The Critical First Step: Subfloor Prep is Non-Negotiable
Before a single bag of leveler is opened, the subfloor must be immaculate. Proper surface preparation is the foundation of a successful pour. Any failure at this stage will telegraph through to the final surface, causing issues like poor adhesion, cracking, or bubbles.
Start by scraping and vacuuming all dust, dirt, and debris. The surface must be completely free of contaminants like oil, grease, or old adhesives. For significant prep work, you might even need to tackle jobs like removing an old concrete hearth to ensure a consistent base.
Different subfloors require different approaches. For instance, successfully applying self leveling cement over tile involves a unique set of preparation steps compared to a raw concrete slab. No matter the surface, priming is an essential final step before pouring. The primer seals the subfloor, preventing it from sucking water out of the leveler too quickly and ensuring a strong bond.
The Sectioning Strategy: How to Map Your Pour for Success
A successful sectional pour is all about planning. Before you mix anything, you need a clear map of how you will proceed. This involves creating physical divisions and, most importantly, understanding the timeline for blending each section into the next.
Creating Pour Bays and Control Joints
Use materials like high-density foam weatherstripping to create temporary dams or “pour bays.” These bays break the large area into smaller, more manageable squares or rectangles. This physical separation gives you a clear target for each batch of self-leveler.
Plan your sequence logically. Always start at the point furthest from your exit and work your way out of the room. This prevents you from trapping yourself in a corner and having to walk through your freshly poured compound.
The Unspoken Rule: Mastering the “Wet Edge”
This is the single most critical concept for pouring in sections. To create a seamless floor, the edge of the section you just poured must still be liquid when you pour the adjacent section. This is known as maintaining a “wet edge.”
The working time for most self-levelers is short, often just 10 to 20 minutes. You must pour the next batch and have it flow into the previous one within this window. Any delay will cause the first edge to set, creating a permanent ridge or seam between sections.
To succeed, have everything ready for your subsequent batches before you pour the first. Pre-measure your water and have the bags of powder open and ready to mix. Efficiency is key to maintaining that crucial wet edge and achieving a monolithic, single-slab appearance.
The Step-by-Step Pouring Process
With your subfloor prepped and your strategy mapped out, it’s time to execute the pour. Precision and speed are your allies here. Follow a consistent, repeatable process for each section to ensure a uniform result across the entire floor.
Mixing: Consistency is Key
Follow the manufacturer’s mixing instructions precisely. Adding too much water can weaken the compound, leading to cracking, while too little will prevent it from flowing and leveling properly. Always add the measured water to your bucket first, then add the powder.
Use a powerful, corded drill with a paddle mixer attachment. Mix thoroughly for the time specified, usually around two minutes, ensuring there are no dry clumps. A consistent, smooth mix is vital for predictable flow and performance.
Pouring and Spreading
Pour your first batch into its designated bay, starting from the far corner. Use a gauge rake to help spread the material to the desired thickness. The tool helps distribute the compound evenly but let the product’s self-leveling properties do most of the work.
Move immediately to mixing and pouring the next section. Overlap the wet edge of the previous pour by a few inches, allowing the two sections to flow together and merge. Use a smoothing trowel lightly at the seam to help blend them, and finish with a spiked roller to release any trapped air.
Common Problems When Pouring in Sections and How to Fix Them
Even with careful planning, issues can arise. Knowing how to identify and solve common problems is crucial for achieving a professional finish. Most minor imperfections can be corrected after the compound has cured.
| Problem | Primary Cause | Solution |
|---|---|---|
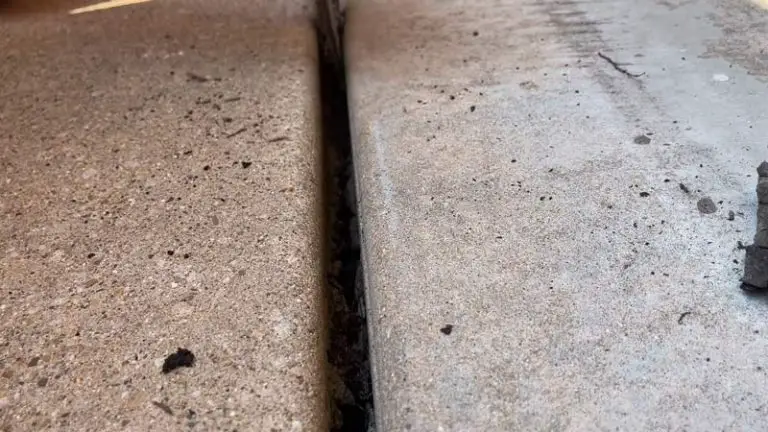
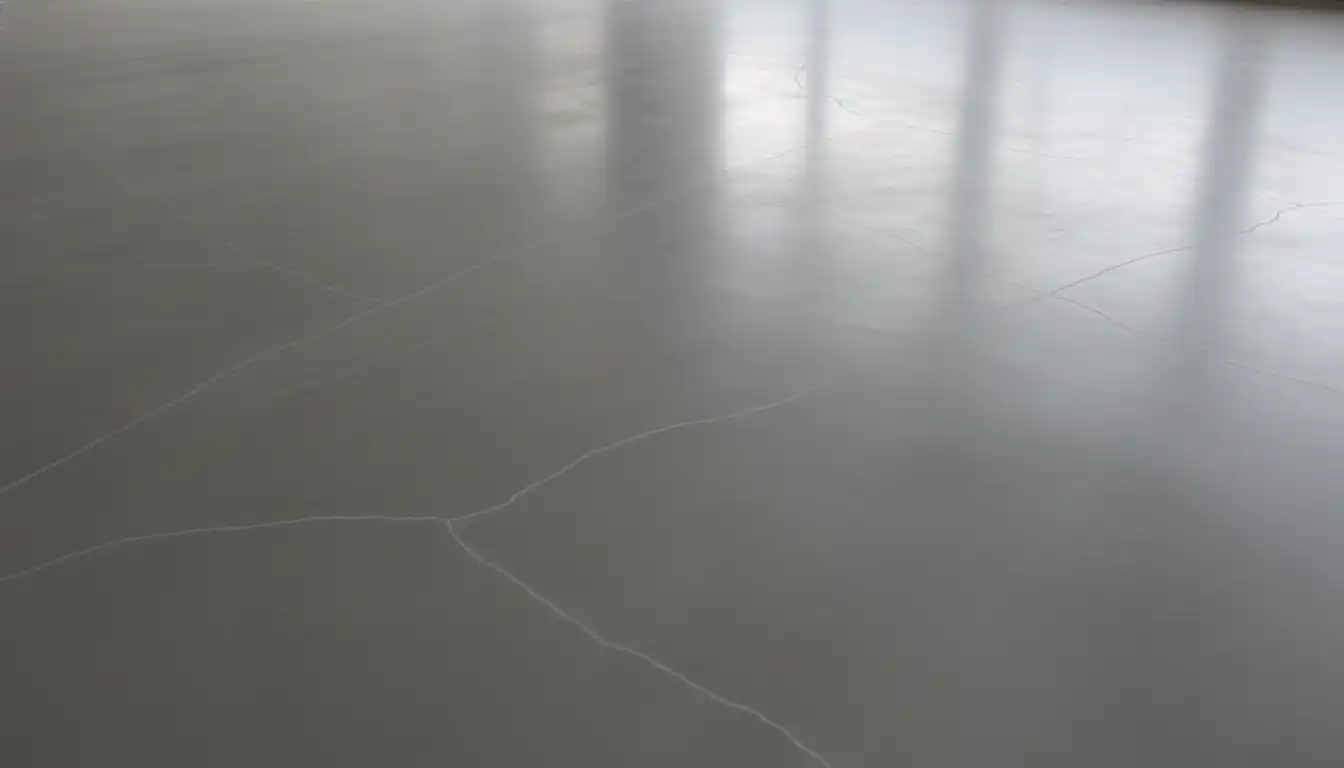
| Visible Ridges or Seams | The wet edge was lost; the previous section began to set before the next was poured. | After full cure (24-48 hours), use a concrete grinder to gently grind down the high ridge. Feather the edges with a thin-set mortar or a patch compound if needed. |
| Color Variations | Inconsistent water-to-powder ratio between batches or different mixing times. | This is mostly cosmetic. If the leveler is the final surface, a concrete stain or epoxy coating can create a uniform look. Otherwise, it will be covered by flooring. |
| Bubbles or Pinholes | Air escaping from an improperly primed or porous subfloor. Not using a spiked roller. | A spiked roller must be used immediately after pouring each section. For post-cure fixes, a thin skim coat of a feather-finish compound can fill the pinholes. |
| Uneven or Low Spots | Not enough material used; spreading the compound too thin. | After the initial pour is fully cured and primed again, a second, thinner layer of self-leveler can be applied over the low areas to bring them up to level. |
After the Pour: Curing and What Comes Next
Once the final section is poured, the waiting game begins. Curing is a chemical process that should not be rushed. Adhere strictly to the manufacturer’s guidelines for drying times before allowing foot traffic or installing your final flooring.
After it has cured, inspect the entire surface with a long straightedge to identify any remaining high or low spots. Minor ridges can be ground down, and small dips can be filled. It’s important to remember that self-leveler provides a flat, smooth surface but does not fix underlying structural problems. Major issues like a sinking slab may require a solution like a specialized foam for lifting concrete.
Final Thoughts: Is Pouring in Sections Right for Your Project?
Pouring self-leveling concrete in sections demystifies the process of tackling large floors. It transforms a high-stress race against time into a methodical and manageable task. With the right strategy, anyone can achieve a perfectly flat and smooth subfloor, ready for any covering.
The keys to success are universal: obsessive preparation, precise mixing, and a commitment to maintaining the wet edge. By breaking down the challenge, you empower yourself to complete the job with confidence and achieve a truly professional result.
Frequently Asked Questions
Can you pour self-leveling concrete in sections?
Yes, it is possible to pour self-leveling concrete in sections, a technique sometimes referred to as “dam pouring.” While a single, continuous pour is often recommended, dividing a large area into manageable sections can be an effective approach. This method requires careful planning to ensure a level and seamless final surface.
How do you create a stop for the concrete when pouring in sections?
To contain the self-leveling mixture within a specific area, you can create a temporary dam or barrier. Materials like spray foam or rigid foam sealed with silicone are effective for this purpose. This ensures the liquid compound stays exactly where you want it until it sets.
How do you blend the edges of different sections together?
Creating a smooth transition between sections is key to a professional finish. One technique is to feather the edge of the wet material into the adjacent area. Some professionals suggest lightly spraying the edges with water from a spray bottle as you work to help create a better feathered edge.
Is it better to pour adjoining sections wet or wait for the first to dry?
For the best results, it is ideal to pour adjacent sections while the edge of the previous pour is still wet, creating a “wet edge.” This allows the two sections to blend together seamlessly for a more monolithic surface. If you must pour against a dried section, ensure the edge is clean and consider priming it for better adhesion.
How long does a section need to dry before it can be walked on?
Drying times for self-leveling concrete vary based on the product, thickness, and environmental conditions like humidity. Generally, a section may be ready for light foot traffic in 4 to 24 hours. Always consult the manufacturer’s specific instructions for accurate curing times.
What’s the best way to manage a large area pour?
For large projects, it’s highly recommended to have at least two people: one person dedicated to mixing the compound and another to pouring and spreading it. This helps maintain a consistent workflow, which is crucial as the material has a limited working time before it begins to set. Having all your tools and materials ready before you start is also essential.