Self Leveling Cement Over Tile: Your Pro Guide To Avoiding Disaster
You stare at your old, dated tile floor, and the thought of demolition is exhausting. The dust, the noise, and the sheer cost of tearing it all out is a massive project. What if there was a way to create a perfectly flat, new surface directly over the old tile without the chaotic mess?
This is where self-leveling cement becomes a game-changing solution. It allows you to encapsulate the old floor, creating a pristine substrate for new flooring like LVP, laminate, or even new tile. However, this process is far from just pouring a bag of mix on the floor; success lies entirely in the details.
You'll Learn About
The Problem: Your Old, Uneven Tile Floor is a Nightmare
An old tile installation can be a source of constant frustration. Over the years, tiles can crack, come loose, or create an uneven surface with frustrating lippage. These issues make it impossible to install a new floor covering properly, as any imperfections will telegraph through to the new surface.
The conventional solution involves a complete tear-out, which is a labor-intensive, dusty, and expensive process. It often reveals other underlying issues that add time and cost to the project. Many homeowners delay necessary renovations simply to avoid the disruption of a full demolition.
Why Self-Leveling Cement is Your Secret Weapon
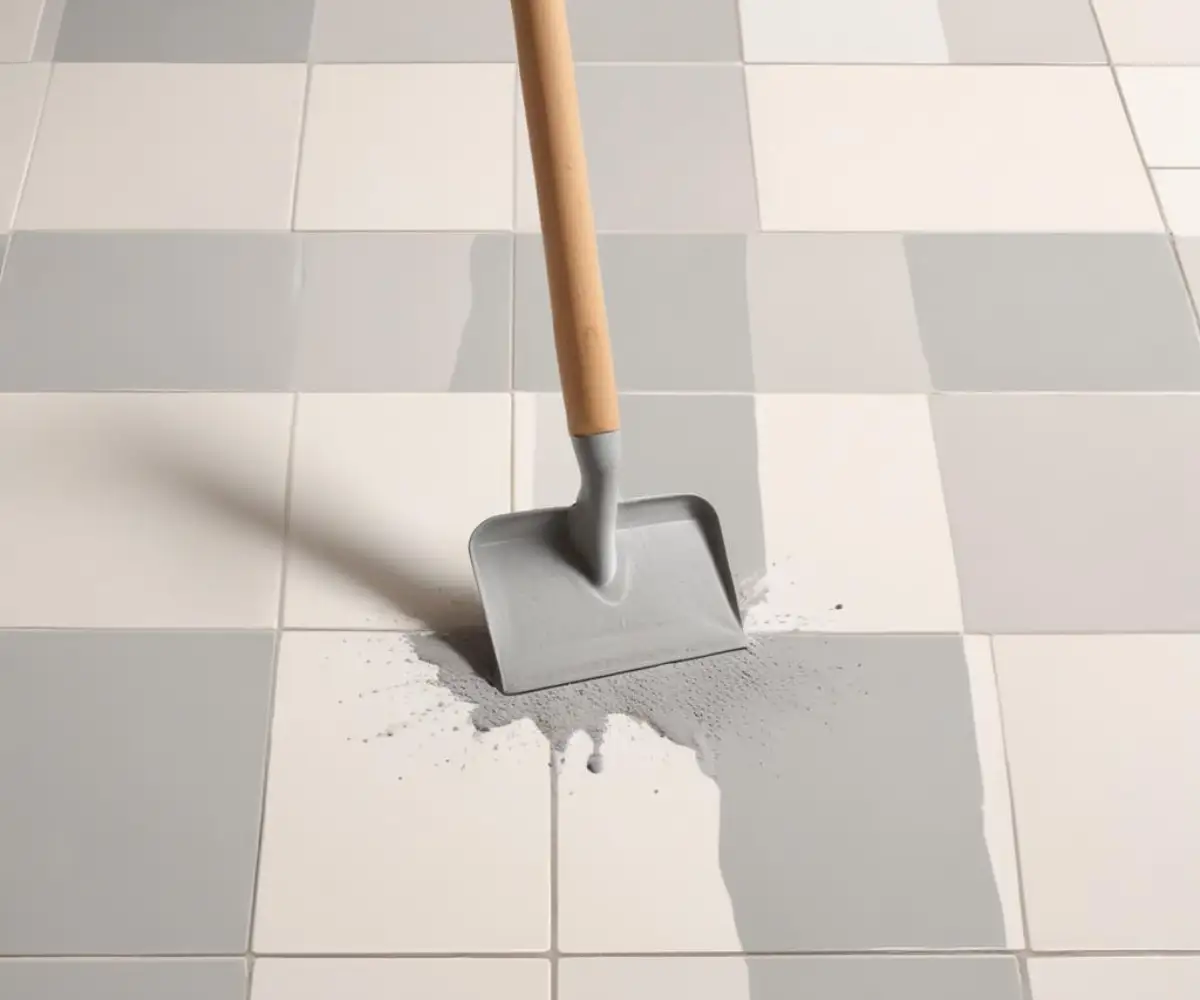
Self-leveling cement, also known as self-leveling underlayment (SLU), is a polymer-modified cement with high-flow characteristics. When mixed with water to the correct consistency, it flows across the floor, filling in low spots and creating a flat, smooth, and durable surface. This method saves immense time and labor compared to demolition.
The primary advantage is creating a perfect canvas for your new flooring. Modern floating floors like Luxury Vinyl Plank (LVP) require an extremely flat substrate to prevent the locking mechanisms from failing. Self-leveling cement provides this necessary foundation with precision, ensuring a professional and long-lasting installation.
The Critical First Step: Assessing Your Existing Tile
Before you even think about buying a bag of leveler, a thorough inspection of your existing tile floor is mandatory. Pouring over an unstable or improperly prepared surface is the #1 cause of failure. A new, flat floor is useless if it delaminates from the tile below.
Start by checking for loose or hollow tiles. Tap each tile with a screwdriver handle or a golf ball; a solid “thud” indicates a good bond, while a hollow sound points to a loose tile. Any loose tiles must be removed, and the resulting void filled with a patching compound to be flush with the surrounding floor.
Most importantly, you must identify any existing expansion or control joints in the concrete slab beneath the tile. These joints are designed to allow the structure to move. Covering these joints will guarantee that your new self-leveling layer will crack. These joints must be honored and extended up through the new underlayment.
Prep is Everything: The Non-Negotiable Tile Preparation Protocol
The success of your project is determined by how well the self-leveling cement bonds to the old tile. This bond is entirely dependent on meticulous surface preparation. Skipping or rushing these steps will lead to delamination, cracking, and a complete waste of time and money.
First, the floor must be spotlessly clean. This means removing all dirt, grease, wax, and any sealers that may have been applied over the years. Use a strong degreasing cleaner and scrub the floor, especially the grout lines. After cleaning, rinse the floor thoroughly with clean water and let it dry completely.
Next comes the most critical step for non-porous surfaces like ceramic or porcelain tile: mechanical abrasion. The glossy, glazed surface of the tile must be scuffed to create a profile for the primer to grip. Renting a floor buffer with a sanding screen attachment is an effective way to dull the tile’s surface, ensuring a tenacious bond.
Choosing Your Primer: The Single Most Important Decision
Primer is the essential bridge between the old tile and the new leveler. On a non-porous, glazed surface, the primer’s job is to create a powerful chemical and mechanical bond that the leveler can adhere to. Using the wrong primer is a recipe for disaster.
Standard acrylic primers are often suitable for porous concrete, but they can fail on slick tile. For the best results, an epoxy-based primer is highly recommended. Epoxy primers create an incredibly strong bond on difficult surfaces and provide a “tacky” surface that the self-leveling compound can lock onto permanently.
Below is a comparison to help you understand the critical differences between primer types for this specific application.
| Feature | Standard Acrylic Primer | Two-Part Epoxy Primer |
|---|---|---|
| Bonding Mechanism | Forms a film on the surface. Relies on moderate surface texture to grip. | Creates a chemical and mechanical bond, penetrating micro-pores and locking onto the surface. |
| Best For | Porous surfaces like concrete or gypsum underlayments. | Non-porous, dense surfaces like glazed tile, terrazzo, or power-troweled concrete. |
| Application | Single component, easy to roll on. Typically dries in 1-3 hours. | Two components must be mixed. Often requires sand broadcasting for maximum grip. Longer cure time. |
| Potential Failures | Can peel or delaminate from glossy surfaces if the bond is insufficient. | Extremely durable bond. Failures are rare and usually due to improper surface prep (grease, dust). |
| Cost | Lower initial cost. | Higher initial cost, but provides critical insurance against failure. |
The choice is clear: while more expensive, an epoxy primer provides the necessary assurance that your underlayment will not delaminate from the tile surface.
The Pour: Mixing and Applying for a Glass-Smooth Finish
With your prep work complete and the primer fully cured, it’s time for the pour. This stage moves very quickly, as most self-leveling compounds have a working time of only 10-20 minutes. Being organized is crucial for a successful outcome.
Always follow the manufacturer’s instructions for the precise water-to-powder ratio. Using too much water will weaken the final product and can cause it to crack or crumble. Use a powerful drill with a paddle mixer to ensure the compound is smooth and lump-free. Mix for the full time recommended on the bag.
Start pouring in the corner of the room furthest from your exit. Pour the mixture in ribbons and use a gauge rake to spread it to the desired depth. A smoothing trowel can then be used to gently guide the material into corners and break the surface tension, helping it flow and level out perfectly.
Curing and Finishing: Don’t Rush the Final Stage
Once the floor is poured, you must let it cure undisturbed. Avoid walking on it for at least 4-6 hours, and check the manufacturer’s guidelines for when it can accept floor coverings, which can be anywhere from 12 hours to several days. Curing time is affected by temperature, humidity, and airflow.
After it has cured, you can check the floor for flatness with a long straightedge. Any minor high spots or tool marks can be gently scraped or sanded down. The result should be a perfectly flat, strong, and stable new substrate, ready for any type of flooring you wish to install. This level surface is especially critical for intricate installations like a pebble epoxy shower floor, where every imperfection can be magnified.
Troubleshooting Common Disasters: What to Do When Things Go Wrong
Even with careful planning, issues can arise. If you notice the leveler is not bonding and sounds hollow or is flaking off, it’s almost certainly a prep or primer failure. The only solution is to mechanically remove the failed sections, re-grind the tile, and re-prime before attempting another pour.
Cracks are another major concern. If you see cracks forming as the leveler cures, it often means an expansion joint was covered, or the existing tile floor had too much movement. Addressing this often requires cutting a new joint into the leveler to match the one in the slab below.
The Unspoken Rule: Honoring Expansion Joints
It cannot be stressed enough: buildings are designed to move. Expansion and control joints are intentionally placed in concrete slabs to manage this movement. When you pour a layer of self-leveling cement over the top, you are creating a new, rigid layer that is bonded to this moving foundation.
If you cover an expansion joint, the tremendous force of the slab’s movement will transfer directly into your new underlayment, causing a crack to form exactly where the joint is. To prevent this, you must identify these joints before you pour and install a flexible filler. After the pour, the joint must be re-cut through the new layer and filled with a flexible sealant, ensuring the entire floor system can move as one.
Your Questions Answered: Self-Leveling Cement FAQ
How thick can I pour self-leveling cement over tile?
Most standard self-levelers can be applied from 1/8 inch up to 1.5 inches in a single pour. For thicker applications, some products can go up to 5 inches when mixed with a specific aggregate. Always check the product’s technical data sheet.
Do I need to fill the grout lines first?
For most standard grout lines (1/4 inch or less), there is no need to fill them beforehand as the self-leveling compound will do this. For very deep or wide grout lines, a preliminary pass with a patching compound can save on the amount of leveler needed.
Can I use self-leveling cement in a bathroom or wet area?
Yes, most self-leveling compounds are suitable for wet areas once cured. However, it’s critical to apply a topical waterproofing membrane over the leveler before installing tile in a shower or bathroom floor to protect the substrate from water.
How long until I can install my new floor?
Drying times vary based on the product, thickness, and ambient conditions. Many rapid-setting levelers are ready for tile in as little as 4-6 hours, while others may require 16-24 hours before installing moisture-sensitive flooring like LVP or hardwood. Similar to ensuring a solid foundation when building up a floor with cement board over a plank subfloor, patience during the curing stage is essential for long-term success.
The Final Verdict: Is Leveling Over Tile the Right Move for You?
Using self-leveling cement over tile is an incredibly effective method to save time, and money, and avoid the mess of demolition. It provides a superior, flat substrate that ensures a professional finish for your new floor. However, it is not a project that tolerates shortcuts.
Success is 90% preparation. The stability of the existing tile, the thoroughness of the cleaning, the quality of the mechanical abrasion, and the choice of the correct primer are non-negotiable. By following these critical steps, you can confidently transform your old, uneven tile into a perfect foundation for the floor of your dreams.