Scotts Drop Spreader Problems? Your Ultimate Repair Guide
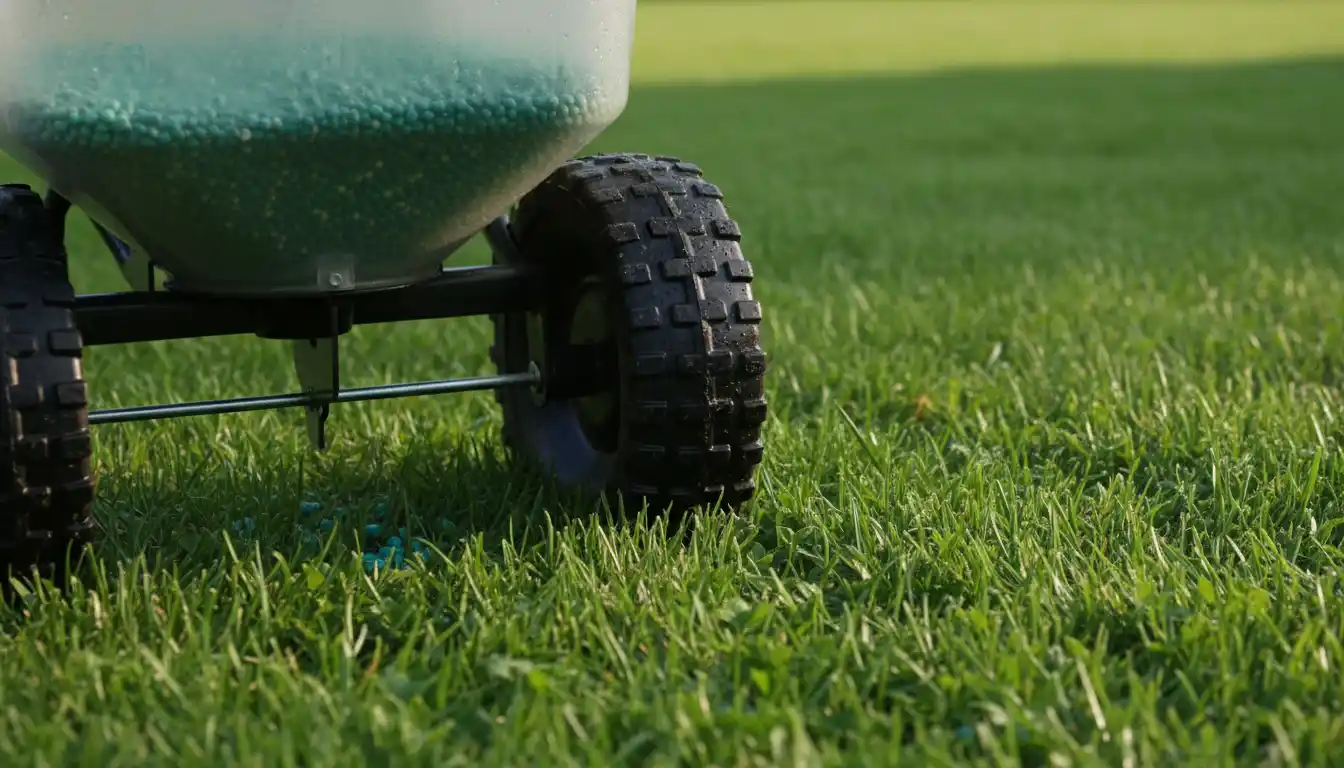
There’s nothing more satisfying than laying down the first lawn treatment of the season. Yet, that satisfaction quickly turns to frustration when your trusted Scotts drop spreader fails, leaving you with uneven patches, clogged granules, and a day’s work wasted. Understanding and fixing these common issues is key to achieving that perfect, uniform lawn.
Many homeowners face challenges ranging from inconsistent application to mechanical failures. These problems not only waste expensive fertilizer and seed but can also damage your lawn with burns or bare spots. This guide provides a comprehensive walkthrough to diagnose, solve, and prevent the most frequent Scotts drop spreader problems.
You'll Learn About
Decoding Common Scotts Drop Spreader Problems
Even the most reliable tools can encounter issues. For Scotts drop spreaders, problems typically fall into a few common categories that can disrupt your lawn care routine. Recognizing these issues is the first step toward a quick and effective solution.
From streaky, uneven lawns to wheels that refuse to turn, these problems are often simple to fix. Most issues stem from either improper maintenance, incorrect settings, or component wear. Addressing them promptly ensures your spreader operates at peak performance for years to come.
The Dreaded Stripe Effect: Uneven Spreading
One of the most visible spreader failures is the “zebra stripe” lawn—a pattern of dark green stripes next to lighter, underfed grass. This happens when the spreader applies product inconsistently, creating distinct lines across the yard. This issue defeats the purpose of a drop spreader, which is designed for precise, even coverage.
This uneven application can be caused by several factors, including an incorrect walking pace, improper overlap between passes, or a malfunctioning drop mechanism. Ensuring each pass slightly overlaps the last is crucial for uniform coverage.
Frustrating Clogs and Inconsistent Flow
A constantly clogging hopper is a major headache. When fertilizer, seed, or other lawn products clump together, they block the opening, leading to inconsistent or completely stopped flow. This is often caused by moisture, so always use a completely dry product in your spreader.
Static electricity can also cause lighter materials, like certain grass seeds, to cling to the plastic hopper, impeding flow. Debris left over from previous uses or irregularly shaped product granules can also contribute to blockages, making thorough cleaning an essential part of maintenance.
Mechanical Failures: Wheels, Cables, and Levers
Mechanical problems can bring your lawn care to a complete halt. Wheels that lock up or stick are a frequent complaint, often due to debris, rust, or damage to the gears and axle. Without smooth-rolling wheels, the agitator won’t turn correctly, leading to poor distribution.
The control cable, which connects the handle lever to the shut-off bar, can also be a source of trouble. Over time, this cable can stretch, rust, or break, preventing you from accurately opening and closing the hopper gate. A faulty lever mechanism can make it impossible to control the flow of material.
The Root Causes: Why Your Spreader Is Failing
Understanding the underlying cause of a problem is essential for a lasting fix. A locked wheel might be a symptom of a rusted axle, while uneven spreading could point to a calibration issue. Digging deeper helps you address the core problem rather than just the symptom.
Most failures can be traced back to one of three areas: maintenance, assembly, or operation. Proper care and correct usage are your best defenses against common spreader malfunctions.
The Impact of Poor Maintenance
The single biggest cause of spreader problems is inadequate maintenance. Leftover fertilizer is corrosive and can eat away at metal and plastic parts. Always wash your spreader after every use to prevent this buildup and corrosion.
Failing to lubricate moving parts like the axle and gears can lead to stiffness and seizing. Regular inspection for worn or damaged components, such as the agitator or shut-off bar, allows you to replace them before they cause a major failure.
Incorrect Assembly or Damaged Parts
If your spreader is new, problems can arise from incorrect assembly. Misaligned parts, loose bolts, or an improperly attached handle can affect the spreader’s balance and the function of the control mechanisms. Always double-check the assembly instructions.
Over time, parts naturally wear out. The agitator bar inside the hopper can become worn or bent, failing to properly break up clumps. Cracks in the hopper itself can lead to leaks and an uneven drop pattern, so a thorough inspection before each season is a wise investment of time.
Step-by-Step Solutions to Fix Your Spreader
Now for the practical fixes. Most common Scotts drop spreader problems can be resolved at home with basic tools and a little patience. Follow these step-by-step guides to get your spreader back in top working condition.
Before starting any repair, ensure the hopper is empty and the spreader is clean. This makes it easier and safer to work on the mechanical components.
Solving Uneven Application and Streaking
To fix an uneven spread, first check your technique. Maintain a steady, consistent walking speed and ensure each pass slightly overlaps the wheel track of the previous one. This simple adjustment often solves the problem.
If technique isn’t the issue, inspect the shut-off bar at the bottom of the hopper. Ensure it moves freely and closes completely when you release the handle. Debris or rust can prevent it from opening to the correct width, altering the flow rate.
Clearing Clogs and Ensuring Smooth Flow
To prevent clogs, only use fresh, dry product. If your fertilizer or seed has been stored in a damp garage, it has likely absorbed moisture. Break up any clumps by hand before adding them to the hopper.
For persistent clogging, check the agitator. This bar is supposed to spin as the wheels turn, breaking up product and feeding it through the openings. If it’s stuck or broken, it will need to be cleaned or replaced. A light spray of silicone lubricant on the axle can help ensure it spins freely.
Fixing Locked Wheels and Mechanical Jams
For stuck wheels, turn the spreader upside down and inspect the axle and gears. Remove any tangled grass, string, or caked-on mud. Applying a penetrating oil can help loosen rusted parts.
If a wheel is locked, gently try to move it back and forth to dislodge any debris in the gear mechanism. If that doesn’t work, you may need to remove the wheel to get a better look. This usually involves removing a cotter pin and washer from the axle.
Advanced Troubleshooting and Calibration
Sometimes, the problem isn’t as simple as a clump of dirt. Fine-tuning your spreader through calibration and cable adjustments can make a world of difference in its performance. These steps ensure the settings on your dial match the actual output.
Calibration is especially important when using a product for the first time or after replacing parts. It ensures you’re applying the correct amount of material per square foot, which is critical for lawn health and cost-effectiveness.
How to Calibrate Your Scotts Drop Spreader
Proper calibration ensures accuracy. To check your spreader, set the dial to the recommended number on the product bag. For many Scotts models, a standard calibration check starts with setting the micrometer dial to a specific number (e.g., 6 or 8, depending on the model) and then inspecting the alignment of the shut-off bar with a calibration line on the hopper’s underside.
If the bar and line don’t align when the trigger is pressed, you’ll need to adjust the control cable. This is typically done by turning a small nut at the base of the cable until the components line up correctly. Just as a small issue with a home’s foundation can cause bigger problems, getting this small adjustment right is crucial; if you’re ever concerned about the fundamental stability of a larger project, consulting a professional like an old house structural engineer is always a good idea.
The table below provides a quick reference for common issues and their likely calibration-related causes.
| Problem Symptom | Likely Calibration Issue | Quick Solution |
|---|---|---|
| Applying too much product (burning lawn) | Shut-off bar opening too wide for the setting. | Adjust cable to reduce the opening. Perform a test on a tarp. |
| Applying too little product (no results) | Shut-off bar not opening enough. | Adjust cable to increase the opening. Check for obstructions. |
| Product drops when stationary | Shut-off bar not closing completely. | Tighten the control cable or check for a weak return spring. |
| Setting dial is hard to turn or stuck | Mechanism is dirty or corroded. | Clean and lubricate the dial and linkage assembly. |
Adjusting and Replacing the Control Cable
A stretched or damaged control cable can render your spreader’s settings useless. If you’ve adjusted the calibration nut to its limit and the shut-off bar still doesn’t align, the cable may need replacement. This process typically involves detaching the cable from both the handle lever and the shut-off bar assembly.
When installing a new cable, ensure there is proper tension. There should be no slack when the lever is in the “off” position, but it shouldn’t be so tight that it prevents the shut-off bar from moving freely. After replacement, a full calibration is necessary.
The Secret to Longevity: Proactive Maintenance and Care
The best way to deal with Scotts drop spreader problems is to prevent them from happening in the first place. A consistent maintenance routine will dramatically extend the life of your spreader and ensure it works correctly every time you need it.
This isn’t just about cleaning; it’s about proper lubrication, inspection, and storage. Taking a few minutes after each use will save you hours of frustration later.
Your Post-Use Maintenance Checklist
Immediately after finishing your lawn application, empty any remaining product from the hopper. Thoroughly rinse the entire spreader with a garden hose, paying close attention to the hopper, wheels, and underside. Use a soft brush to remove any stubborn residue.
After washing, allow the spreader to dry completely in the sun to prevent rust. Once dry, lubricate all moving parts, including the axle, gears, and the pivot points on the shut-off bar, with a quality silicone or graphite spray. This is similar to how you’d care for high-quality home materials; understanding the needs of different surfaces, whether you’re comparing Flooret vs Coretec flooring or maintaining plastic and metal tools, is key to longevity.
Proper Storage and Annual Inspection
Store your spreader in a clean, dry location like a garage or shed, protected from the elements. To relax the tension on the control mechanism, store it with the hopper gate fully open (the highest setting). Hanging the spreader on a wall is a great way to protect it from damage.
At the beginning of each spring, perform a thorough annual inspection. Check for any cracks in the hopper, wear on the wheels, and ensure all nuts and bolts are tight. This is also the perfect time to check the calibration before your first application of the season.
Frequently Asked Questions (FAQ)
Here are answers to some of the most common questions about troubleshooting Scotts drop spreaders.
Why is my spreader leaving green stripes on the lawn?
This is almost always caused by improper overlap between passes. Ensure the wheel track of your current pass slightly covers the edge of the pattern from your previous pass. A drop spreader requires precision, unlike a broadcast spreader.
What setting should I use for my specific product?
The product bag is your best guide. Always check the packaging for the recommended setting for your specific model of Scotts spreader. If you’re unsure, it’s better to start with a lower setting and make a second pass if needed.
How do I stop my spreader from dropping product when I stop walking?
This indicates the shut-off bar is not closing completely. This could be due to a stretched control cable, a weak or broken return spring, or debris obstructing the gate. First, clean the mechanism thoroughly, then check the cable tension and spring.
Can I repair a cracked hopper?
For small cracks, a strong, waterproof epoxy designed for plastic may work as a temporary fix. However, a cracked hopper will compromise the spreader’s accuracy and structural integrity. For the best results, replacing the hopper or the entire spreader is the recommended solution.