Sagging Porch Overhang? Don’t Ignore This Hidden Danger
A beautiful porch can be a source of immense pride, adding curb appeal and a welcoming space to your home. But when the overhang begins to droop, it’s a critical warning sign that demands immediate attention.
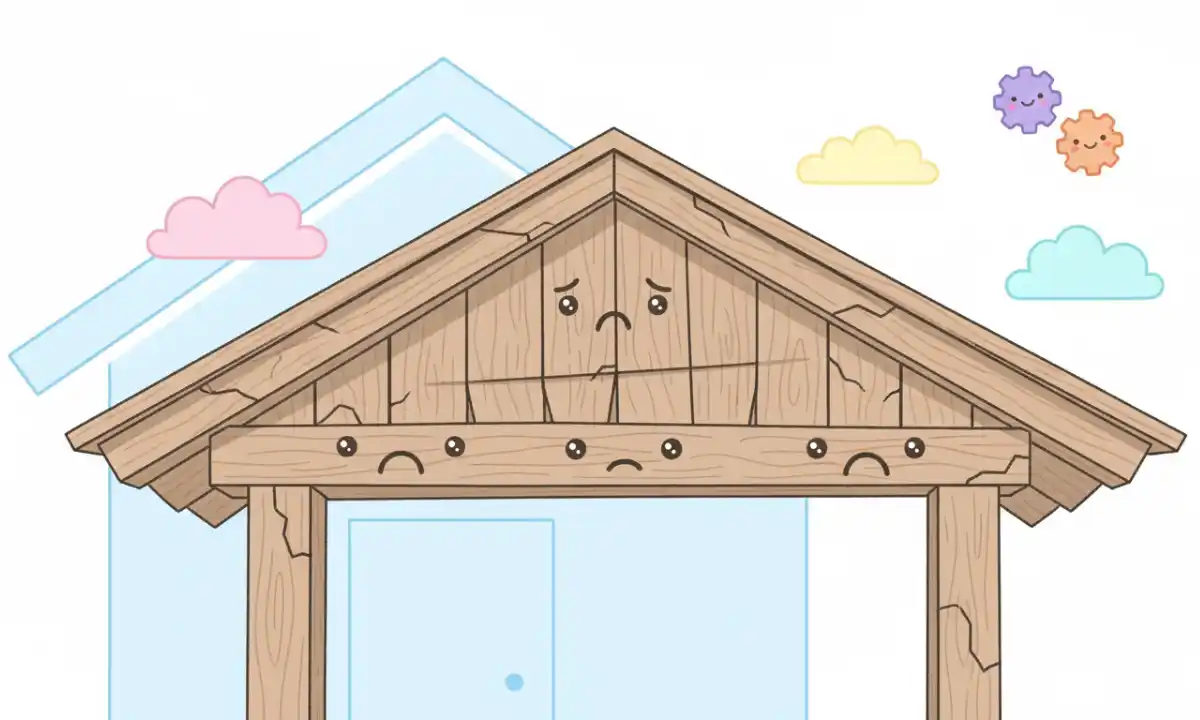
A sagging porch overhang is far more than a simple cosmetic flaw. It signals a potentially serious structural problem that could lead to catastrophic failure, expensive water damage, and a significant decrease in your home’s value.
You'll Learn About
Why Is Your Porch Overhang Sagging? Uncovering the Root Causes
Understanding why your porch overhang is failing is the first step toward a lasting repair. Several factors, often working in combination, can lead to a noticeable sag. Ignoring these underlying issues will only lead to recurring problems.
The Hidden Menace of Water Damage and Wood Rot
Persistent exposure to moisture is the number one enemy of any wooden structure. Rain, snow, and even high humidity can infiltrate the wood, creating the perfect environment for rot and decay to take hold. This process silently compromises the structural integrity of your porch’s support beams and joists.
A critical, yet often overlooked, contributor is clogged gutters. When gutters overflow, water cascades directly onto the fascia and soffit, saturating the wood and accelerating the rotting process from the inside out.
The Unseen Threat: Termites and Carpenter Ants
Wood-boring insects can cause devastating damage that remains completely hidden until the structure is on the verge of collapse. Termites and carpenter ants are drawn to moist, softened wood, hollowing out critical support members from within.
The presence of pests around your roofline can be an early indicator of a larger issue. If you’re noticing an increase in insect activity, such as learning why wasps are flying around your roof, it could be a sign that moisture has attracted them to vulnerable wood within your porch structure.
The Burden of Age and Gravity: Structural Fatigue
Over many years, the relentless force of gravity takes its toll on all building materials. Wood beams can begin to warp and bend under the constant load of the roof, a phenomenon known as “creep” or structural fatigue.
This process is often accelerated by what engineers call “load path deviation.” An initial, minor sag can shift the roof’s weight onto parts of the structure that were never designed to bear it, causing a domino effect of stress and accelerating the failure.
Flawed From the Start: Inadequate Design or Construction
Unfortunately, some porches are doomed from the start due to poor construction practices. Undersized beams, improper spacing between support posts, or the use of inadequate fasteners can create a weak structure that is destined to sag over time.
A seam or joint in a primary support beam over a long span without a post directly underneath is a major red flag. This creates an inherent weak point that will almost certainly sag under the roof’s weight.
The Essential Sagging Porch Overhang Inspection Checklist
Before you can plan a repair, you need to conduct a thorough inspection to understand the full extent of the problem. This checklist will guide you through assessing the damage safely and effectively. Safety should always be your top priority during any inspection.
Step 1: The Visual Assessment – What to Look For
Start with a simple visual check from the ground. Look for a clear dip or bow in the main roofline of the overhang. Also, scan for secondary signs of distress like cracked or split wood beams, peeling paint, and water stains on the ceiling, fascia, or support posts.
These visual cues are often the first indication that moisture has compromised the structure. Pay close attention to corners and any seams in the construction, as these are common failure points.
Step 2: The Probing Test – Gauging the Extent of Rot
To determine the severity of wood decay, carefully use a screwdriver or an awl to probe the support beams and posts, especially in areas that look discolored or damp. Healthy wood will be firm and resist the tool.
If the screwdriver sinks in easily or the wood feels soft and spongy, you have active rot. This test is crucial for identifying which structural members are compromised and must be replaced.

Step 3: Level and Line – Quantifying the Sag
To understand exactly how much the overhang has sagged, you need to take measurements. Place a long, straight level across the underside of the sagging area to see the gap. For a more precise measurement across a longer span, use a string line.
Tightly stretch a string from one end of the porch beam to the other. The distance between the string and the deepest point of the sag is your measurement. This data is vital for safely jacking the roof back to its correct height during the repair.
How to Fix a Sagging Porch Overhang: A Step-by-Step Guide
Fixing a sagging porch overhang is a significant structural repair that requires careful planning and execution. For severe sagging or widespread rot, hiring a professional contractor is the safest option. If you have the skills and experience, this guide outlines the fundamental steps.
Safety First: Preparing for the Repair
This is not a one-person job. You will need at least one other capable person to assist you. Before you begin, clear the entire porch area of furniture and decorations. If there are any electrical fixtures like lights or outlets on the porch, shut off the power at the circuit breaker.
Always wear safety glasses and heavy-duty gloves. The most critical aspect of preparation is building temporary support to hold the weight of the roof while you work.
Step 1: Temporary Support – The Key to a Safe Repair
The goal is to lift the sagging section slowly and safely back to a level position. This is typically done by building a temporary support wall using 2x4s or 2x6s and using one or more hydraulic bottle jacks for lifting.
Position a sturdy wood plank on the porch deck to distribute the jack’s pressure. Place your temporary post on the jack and a header beam across the top to support the ceiling joists. Lift the roof gradually, only a fraction of an inch at a time, to avoid causing more damage.
Step 2: Demolition and Damage Assessment
Once the roof is securely supported, you can begin carefully removing the soffit, fascia, and any ceiling materials. This will expose the underlying structural frame, including the joists and the main header beam.
With a clear view, you can now fully assess the damage. You may find more extensive rot or insect damage than was visible from the outside. Identify every piece of compromised wood that needs to be replaced.
Step 3: Replacing Compromised Structural Members
Carefully remove the rotted or damaged beams, joists, and posts one at a time, replacing them with new, pressure-treated lumber of the same dimensions. It is crucial that the new wood is rated for exterior, structural use.
For superior strength, use modern fasteners. Instead of relying solely on nails, secure new joists and beams with high-quality structural screws and galvanized metal hangers. This professional-grade technique creates a much stronger and more durable connection that will resist future sagging.
Step 4: Reinforcing the Structure for Long-Term Stability
Simply replacing the damaged wood may not be enough to prevent future problems. Consider adding reinforcements to strengthen the entire structure. A common and effective method is “sistering,” which involves attaching a new joist directly alongside an existing one.
If the original design was flawed, you may need to add a central support post or install stronger knee braces. This is the opportunity to correct any underlying issues and ensure the porch overhang remains stable for decades to come.
| Component | Inadequate Construction (Common Flaw) | Proper Construction (Recommended Spec) |
|---|---|---|
| Header Beam | Single 2×8 over a 12-foot span | Double 2×10 or LVL (Laminated Veneer Lumber) beam |
| Support Posts | 4×4 posts spaced more than 8 feet apart | 6×6 pressure-treated posts spaced 6-8 feet apart |
| Post Footings | Post set directly on a concrete slab without a base | Poured concrete footing below the frost line with a raised metal post base |
| Fasteners | Relying only on nails for structural connections | Galvanized joist hangers, hurricane ties, and structural screws |
| Joist Spacing | 24 inches on center | 16 inches on center for better load distribution |
Beyond the Fix: Preventing Future Sagging and Protecting Your Investment
After completing the repair, the focus shifts to long-term prevention. Proactive maintenance is the key to protecting your porch and avoiding a repeat of the problem. Simple, regular checks can save you from costly future repairs.
The Critical Role of Water Management
Controlling water is paramount. Ensure your gutters are cleaned at least twice a year, especially in the fall. Check that the roof flashing is intact and properly sealed to prevent water from getting behind the structure.
Direct all downspouts so that they discharge water several feet away from the porch foundation. This prevents soil erosion and keeps moisture away from the support posts.
A Proactive Approach to Pest Control
Schedule regular pest inspections to catch any termite or carpenter ant activity early, before they can cause significant structural damage. Seal any cracks or gaps in the porch structure where insects might find an easy entry point.
Pests are often a symptom of a moisture problem. If you notice persistent insect issues, like discovering that yellow jackets keep coming back to a specific area, it warrants a closer inspection for hidden water leaks or damp wood.
The Importance of Regular Painting and Sealing
A high-quality exterior paint or sealant is your porch’s first line of defense against moisture. It creates a protective barrier that stops water from soaking into the wood.
Inspect the paint and caulk on your porch annually. Scrape, sand, prime, and repaint any areas that are peeling or cracking to maintain a watertight seal and keep the wood protected.
When to Call a Professional: Knowing Your Limits
While some home repairs are suitable for a DIY approach, fixing a sagging porch overhang often falls into the category of jobs best left to professionals. A mistake during a structural repair can have severe consequences for your home’s safety.
Consider calling a qualified contractor if you encounter any of the following: the sag is more than a few inches, there is widespread and extensive wood rot, you are not comfortable or experienced with temporarily supporting a roof structure, or the issue appears to be related to the home’s primary foundation. A professional will have the engineering knowledge, proper tools, and insurance to do the job safely and correctly.
Protecting all of your home’s exterior features is a crucial part of homeownership. This same principle of preventative maintenance applies to everything from the roofline down to your outdoor equipment. For instance, taking steps to protect your outdoor washer and dryer can prevent costly damage from the very same elements that threaten your porch.
Don’t wait for a small sag to become a major collapse. Inspect your porch overhang today and take the necessary steps to address any issues. A proactive approach will ensure your porch remains a safe, beautiful, and valuable part of your home for years to come.

