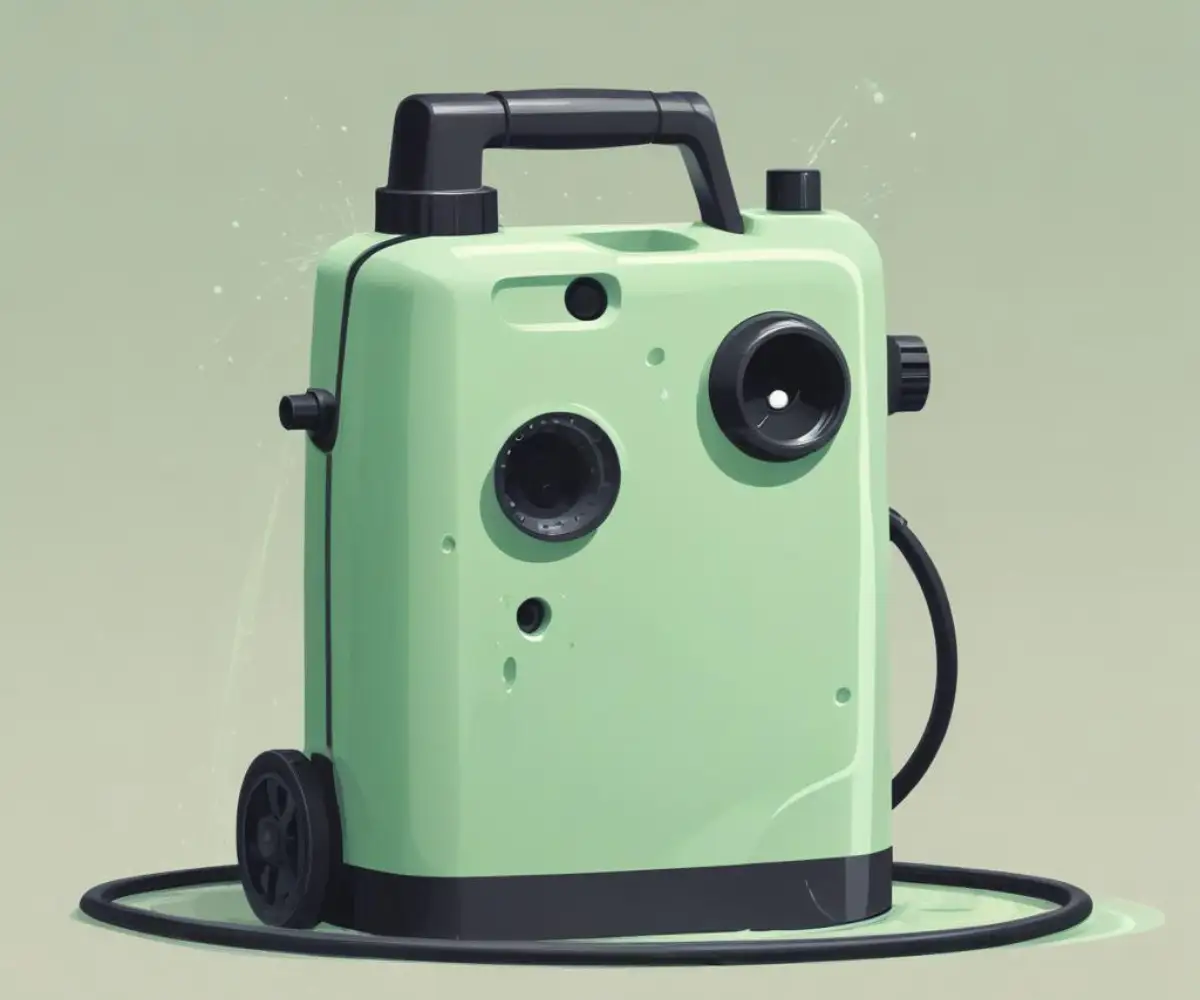
Ryobi Pressure Washer Soap Dispenser Not Working? Ultimate Fix Guide
A pressure washer is a powerful tool for blasting away grime, but its cleaning power is truly unlocked when paired with a good detergent. It is incredibly frustrating when you are ready to tackle a big cleaning project and discover your Ryobi pressure washer soap dispenser is not working. Suddenly, your efficient cleaning machine is only half as effective.
This common issue can halt your progress, turning a simple task into a complex puzzle. Understanding the root causes is the first step toward a solution. This guide provides a comprehensive breakdown of why your soap dispenser might be failing and offers detailed, actionable steps to get it working again.
You'll Learn About
Core Reasons Your Ryobi Soap Dispenser Fails
When soap isn’t being drawn into the water stream, the cause is almost always related to a lack of suction or a blockage. Several specific components can contribute to this problem. Identifying the correct one is key to a fast and effective repair.
The Black Soap Nozzle is Non-Negotiable
The single most frequent reason a Ryobi soap dispenser fails is operator error. Ryobi pressure washers will only draw soap when the dedicated low-pressure black soap nozzle is attached to the wand. This nozzle has a wider orifice, which reduces the water pressure significantly.
This drop in pressure creates a vacuum effect inside the pump, known as the Venturi effect, which is necessary to siphon detergent from the tank. Using any other high-pressure nozzle (like the red, yellow, or green tips) will prevent this suction from ever forming, and no soap will be dispensed.
Clogs and Blockages: The Silent Saboteurs
Dried soap, hard water deposits, and debris are the enemies of your pressure washer’s soap system. These materials can create blockages in several key areas, completely obstructing the flow of detergent. The most common points for clogs are the siphon tube, the filter, and the chemical injector itself.
Over time, if detergent is left in the tank or the system isn’t flushed after use, it can solidify into a thick sludge. This sludge will inevitably block the narrow passages required for the soap to travel from the tank to the pump.
Thick Detergent: When Soap is Too Soapy
Not all soaps are created equal. Using a detergent that is too thick or viscous can prevent the pressure washer from siphoning it effectively. The suction created by the low-pressure nozzle is only strong enough to pull fluids of a certain consistency.
Highly concentrated or gel-like detergents often need to be diluted with water before use. Referencing the detergent’s instructions is crucial, as many are designed to be mixed to a specific ratio, often around 4 parts water to 1 part soap.
Air Leaks in the Siphon Tube Connection
The soap siphoning process relies on a sealed, airtight system. If there are any cracks, splits, or loose connections in the siphon tube (the clear plastic hose running from the soap tank to the pump), air will be sucked in instead of detergent. This will completely disrupt the suction.
Inspect the full length of the siphon tube, paying close attention to where it connects to the soap tank and the pump inlet. Even a tiny, hairline crack can be enough to compromise the system and stop the soap flow.
A Deeper Problem: The Chemical Injector Valve
Inside the chemical injector is a small, critical component: a check valve, which usually consists of a tiny ball bearing and a spring. This mechanism allows soap to be drawn into the water stream but prevents water from flowing back into the soap tank. This is a detail many guides overlook.
If this ball bearing gets stuck due to hardened soap residue or corrosion, the injector cannot create the necessary suction. The spring can also weaken or break over time, leading to a complete failure of the soap dispensing system. This requires a more involved repair than simply clearing a clog.
A Step-by-Step Guide to Fixing Your Soap Dispenser
Now that you understand the potential causes, you can work through a logical troubleshooting process. Start with the simplest fixes first and progress to the more complex ones. You will need basic tools like a small brush, a bucket of warm water, and possibly a wrench.
Step 1: Always Start with the Black Soap Nozzle
Before you disassemble anything, double-check your setup. Ensure the black, low-pressure soap nozzle is firmly clicked into the end of your pressure washer wand. This simple step resolves the majority of “not working” complaints.
Once the black nozzle is attached, turn on the pressure washer and squeeze the trigger for at least 30-45 seconds. It can take some time for the soap to be drawn through the entire length of the hose and reach the nozzle.
Step 2: Inspect and Clean the Siphon Tube and Filter
Disconnect the clear siphon tube from the pump and the soap tank. At the end of the tube that sits inside the tank, there is usually a small filter. Pull this filter off and clean it thoroughly with warm water and a small brush to remove any grime.
Next, submerge the entire siphon tube in a bucket of warm water to flush out any internal blockages. While it’s submerged, inspect it for any cracks or damage. If you find any, the tube must be replaced.
Step 3: Check and Dilute Your Detergent
Examine the consistency of the detergent in your soap tank. If it appears thick, syrupy, or gel-like, this is likely your problem. Pour the detergent into a separate bucket and mix it with water according to the manufacturer’s directions.
A good rule of thumb for many concentrates is a 4:1 or 5:1 ratio of water to soap. After diluting, pour the mixture back into the soap tank. A properly thinned detergent is essential for the siphoning action to work correctly.
Step 4: Purge the System of Air and Debris
An effective but less-known trick is to “prime” the soap system. Disconnect the siphon tube from the soap tank. With the pressure washer running and the black nozzle attached, place your finger over the end of the siphon tube for a few seconds and then release.
You should feel suction on your finger. Repeat this a few times to help dislodge minor clogs and purge any trapped air from the line, then place the tube back into the diluted detergent.
Step 5: Advanced Cleaning of the Chemical Injector
If the above steps fail, the chemical injector valve is likely the culprit. To access it, you will need to locate where the siphon tube connects to the main pump body. It is typically a brass or plastic fitting that can be unscrewed with a wrench.
Be extremely careful when removing this fitting, as the small ball bearing and spring can easily fall out and get lost. Once removed, soak the fitting, ball, and spring in warm water or a descaling solution like vinegar to dissolve any buildup. Use a small wire or paperclip to gently clean the inside of the injector housing on the pump, ensuring the passage is clear before reassembling.
Troubleshooting Summary Table
Use this table for a quick reference to diagnose and solve the most common soap dispenser problems.
| Symptom | Most Likely Cause | Solution |
|---|---|---|
| No soap at all, only water spraying | Incorrect (high-pressure) nozzle is being used. | Switch to the black low-pressure soap nozzle. |
| Sputtering or inconsistent soap flow | Detergent is too thick or siphon tube has an air leak. | Dilute the detergent with water; inspect and replace the siphon tube if cracked. |
| No suction felt at the end of the siphon tube | Clogged filter or a blockage in the chemical injector. | Clean the siphon tube filter; perform an advanced cleaning of the injector valve. |
| Soap worked previously but stopped suddenly | A clog has formed from dried soap residue. | Flush the entire system by running a tank of only warm water through it on the soap setting. |
Preventative Maintenance for a Flawless Soap System
Preventing problems is always easier than fixing them. A few simple habits can ensure your Ryobi’s soap dispenser works reliably every time you need it. Consistent maintenance is a small price to pay for powerful performance.
Always Flush After Using Detergent
This is the most critical maintenance step. After you are finished applying soap, remove the siphon tube from the detergent tank and place it in a bucket of clean water. Run the pressure washer with the soap nozzle for a minute or two.
This process flushes all the residual soap out of the pump, injector, and hose, preventing it from drying and causing clogs. While Ryobi builds a range of powerful equipment, as seen in many tool comparisons like this DeWalt vs Ryobi lawn mower review, all tools require proper care.
Choose the Right Detergent
Always use detergents specifically designed for pressure washers. These formulas are created with the right viscosity and are less likely to cause clogs or damage the internal seals of your pump. Avoid using household soaps like dish soap, which can be too thick and may contain corrosive agents.
The efficiency of your machine depends on using the correct supplies, a principle that applies to many tools. Just as electric power has redefined yard work, making the debate over a reel mower vs electric model a common one, using the right soap transforms your pressure washer’s effectiveness.
Proper Off-Season Storage
If you plan to store your pressure washer for an extended period, especially in a cold climate, it’s vital to winterize it. Run a pump saver or antifreeze solution through the entire system, including the soap dispenser line. This prevents water from freezing and cracking the pump or injector components.
Proper utility setup is key in any workspace, including where you mix detergents or service your tools. For instance, having a utility sink at the right height, much like ensuring the correct laundry sink rough-in height during installation, makes these maintenance tasks much easier and safer.
When DIY Isn’t Enough: Seeking Professional Help
There are instances where the problem may be beyond a simple clog or a stuck valve. If you have followed all the troubleshooting steps and your soap dispenser still refuses to work, there might be a more significant internal issue with the pump itself.
If you suspect a cracked pump housing or a complete failure of the injector assembly that requires specialized parts, it may be time to contact a Ryobi authorized service center. Attempting complex internal repairs without the proper knowledge or tools could lead to further damage.
Conclusion: Restoring Your Washer’s Full Cleaning Power
A non-functional Ryobi pressure washer soap dispenser can be a significant setback, but it is rarely a permanent problem. By systematically checking the nozzle, clearing any blockages, using properly diluted detergent, and ensuring the system is airtight, you can resolve the issue in most cases.
Remember that the key to long-term reliability is preventative maintenance. Regularly flushing the system after each use will prevent the vast majority of soap-related problems from ever occurring, keeping your pressure washer ready for any cleaning challenge you throw at it.