RTA Cabinet Boxes Only: Your Secret to a Custom Kitchen on a Budget
The dream of a fully custom kitchen often feels out of reach for many homeowners. The high cost of bespoke cabinetry can quickly consume a renovation budget, forcing compromises on appliances, countertops, or other essential features. This financial barrier is a significant problem for those who desire a unique, personalized space.
Ready-to-assemble (RTA) cabinets offer a more affordable alternative, yet they often come with a limited selection of door styles and finishes. This can leave you feeling stuck with a generic look that doesn’t quite match your vision. What if there was a way to get the cost savings of RTA with the design freedom of custom? This is where purchasing RTA cabinet boxes only becomes a game-changing strategy.
You'll Learn About
What Exactly Are RTA Cabinet Boxes?
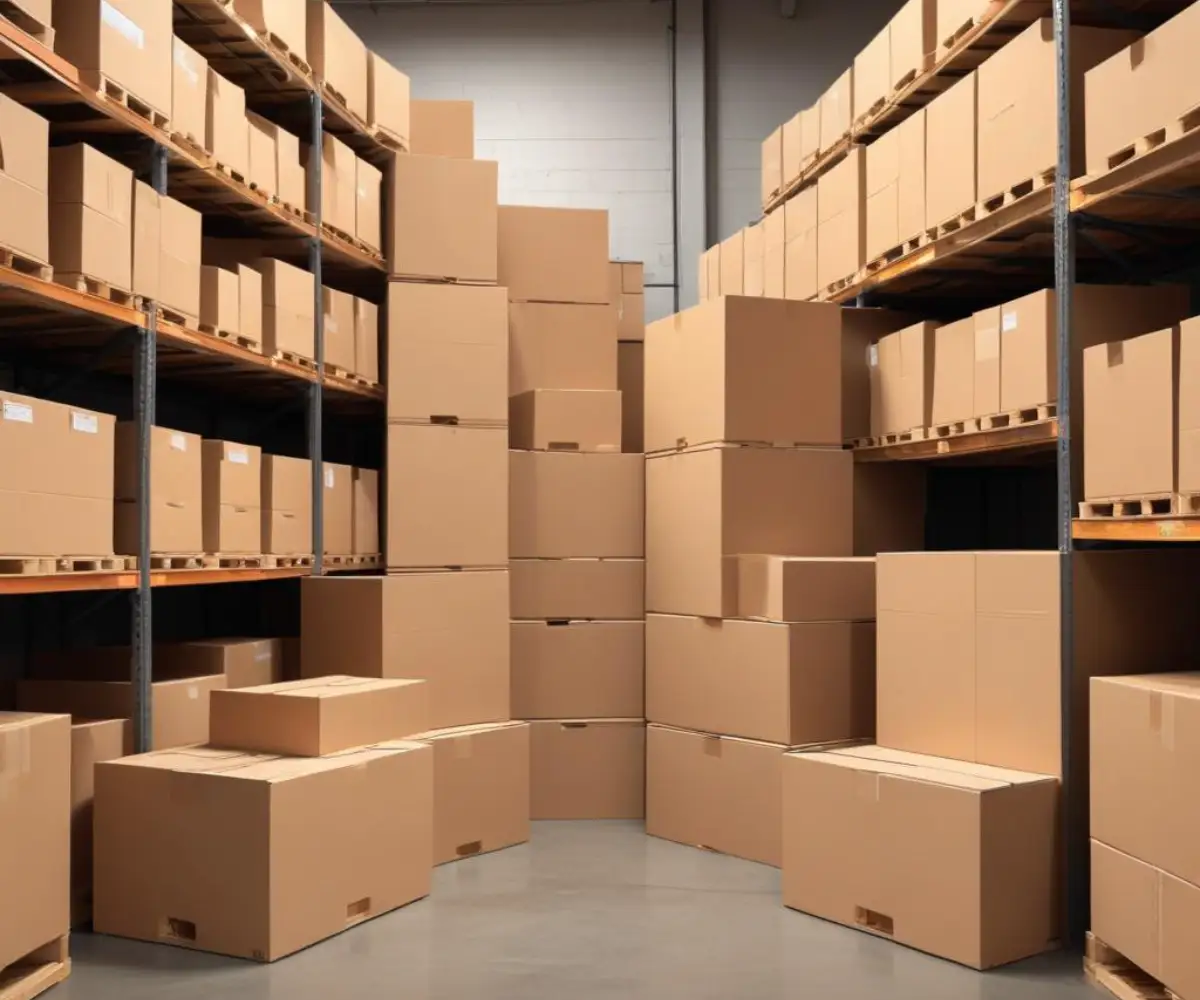
An RTA cabinet box, also known as a cabinet carcass, is the foundational structure of the cabinet. It includes the side panels, top, bottom, and back panels, along with the shelves and basic hardware needed for assembly. Think of it as the sturdy, functional skeleton of your kitchen storage.
When you purchase RTA cabinet boxes only, you are intentionally leaving out the most visible and style-defining elements: the doors and drawer fronts. This approach allows you to source these “face” components separately, opening up a world of possibilities. It’s the ultimate hack for achieving a high-end, custom look without the exorbitant price tag.
The #1 Reason People Fail With RTA Boxes: Ignoring Construction Quality
The biggest mistake in this process is focusing solely on the initial cost savings. The long-term success of your kitchen hinges on the durability of the cabinet boxes themselves. Understanding the materials and construction methods is not just important; it is absolutely critical to building a kitchen that lasts.
Too often, buyers get lured by a low price without investigating what’s “under the hood.” This can lead to wobbly structures, sagging shelves, and cabinets that are susceptible to moisture damage—costly problems that erase any initial savings. To avoid this, you must become an informed shopper.
Plywood vs. Particle Board: The Great Debate
The material of your cabinet box is the most significant factor in its quality. The two primary options are plywood and particle board, each with distinct advantages and disadvantages. There is no single “best” choice, but there is a right choice for your specific needs and budget.
Plywood is constructed from thin layers of wood veneer glued together, creating a strong, stable, and lightweight material. Its layered structure gives it excellent screw-holding power and greater resistance to moisture and sagging over time. For these reasons, plywood is often considered the premium choice for cabinet construction, especially for sink bases or in humid climates.
Particle board (or furniture board) is an engineered wood product made from wood chips, sawmill shavings, and resin. It is denser and heavier than plywood but typically more affordable. High-quality particle board offers a smooth, stable surface that is less prone to warping than plywood, making it a reliable and cost-effective option for many applications.
Joinery and Assembly: What Holds It All Together?
How the cabinet box is assembled is just as important as the material it’s made from. Most RTA cabinets use a system of cams, dowels, and screws for assembly. While effective, it’s wise to reinforce these joints with a bit of wood glue during assembly for added rigidity and longevity.
Look for cabinet boxes that offer robust joinery systems. Some higher-end RTA options may use metal L-brackets or pocket screws, which provide a stronger and more durable connection between panels. A well-constructed box will feel solid and square after assembly, with no racking or wobbling.
The Finish (Or Lack Thereof)
RTA cabinet boxes come with different interior and exterior finishes. Many have a clear-coated or maple-print melamine interior, which is durable and easy to clean. The exteriors, or sides of the cabinets that will be visible, may be unfinished, primed, or finished to match a specific color.
If you plan to have exposed cabinet sides, ensure you choose a box with a finishable exterior or order matching end panels. Unfinished boxes give you the flexibility to paint or stain them yourself, but this adds another step to your project timeline.
The Strategic Advantages of Buying Just the Boxes
Opting for RTA cabinet boxes only is more than a cost-cutting measure; it’s a strategic decision that empowers your design creativity and project management. This approach unlocks benefits that are simply not possible with standard cabinet packages, giving you unparalleled control over the final outcome of your kitchen.
From achieving a truly one-of-a-kind aesthetic to breaking your renovation into manageable phases, the advantages are compelling. By separating the structure from the style, you put yourself in the driver’s seat of your renovation.
Unmatched Design Freedom
The most significant benefit is the absolute freedom to choose any door and drawer front style you desire. You are no longer limited to the five or six options offered by a single RTA cabinet company. You can source your doors from a specialized online retailer, a local custom cabinet maker, or even an Amish artisan.
This means you can have that specific shade of green, a unique wood species, or a door profile that isn’t available anywhere else. You can mix and match, pairing sleek, modern boxes with traditional raised-panel doors for a transitional look. This level of customization is the true secret to a designer kitchen.
Significant Cost Savings (If You Plan Right)
Cabinet doors and drawer fronts can account for a substantial portion of a cabinet’s total cost. By sourcing your boxes from an affordable RTA supplier and your doors from a competitive door manufacturer, you can achieve significant overall savings compared to buying a complete semi-custom or custom cabinet set.
Proper planning is key. You must factor in the cost of the boxes, the doors, the finishing (if required), and all the necessary hardware like hinges and pulls. A detailed spreadsheet can help you track expenses and ensure your project stays on budget.
Phased Renovations: Build Now, Style Later
A lesser-known but highly practical advantage is the ability to phase your renovation. You can purchase and install the RTA cabinet boxes to create a functional kitchen layout. This allows you to install your countertops and use your kitchen while you save up for the more expensive, decorative doors and drawer fronts.
This approach breaks a large, overwhelming project into smaller, more manageable financial steps. It reduces the stress of having your kitchen out of commission for an extended period and allows you to make more considered decisions about your final style choices.
| Feature | Full RTA Cabinet Kit | RTA Cabinet Boxes Only |
|---|---|---|
| Cost | Moderate; all components bundled. | Lower initial cost for boxes; total cost depends on door selection. |
| Customization | Limited to the manufacturer’s door styles and finishes. | Virtually unlimited; pair boxes with any door from any supplier. |
| Complexity | Simpler ordering process; one-stop shop. | Requires more planning and sourcing from multiple vendors. |
| Project Timeline | Components arrive together for a single assembly phase. | Allows for phased installation (boxes first, doors later). |
| Ideal For | DIYers looking for a straightforward, budget-friendly solution. | Homeowners wanting a custom look with maximum control and flexibility. |
Your Blueprint for Success: A Step-by-Step Guide
Successfully executing a kitchen renovation using RTA cabinet boxes requires careful planning and attention to detail. Following a structured process will help you avoid common pitfalls and ensure a smooth, successful project from start to finish. This blueprint will guide you through the critical stages of the journey.
Step 1: Meticulous Planning and Measurement
This is the most crucial phase. Inaccurate measurements can lead to costly mistakes and significant delays. Measure your kitchen space carefully, noting the locations of windows, doors, plumbing, and electrical outlets. Double-check every measurement.
Create a detailed floor plan of your desired kitchen layout. Pay close attention to standard cabinet sizes and how they fit together. Understanding the nuances between different cabinet sizes is crucial; for instance, the choice between 30 vs 36 inch cabinets can dramatically impact your kitchen’s storage and workflow. Use online planning tools or graph paper to visualize the space.
Step 2: Sourcing Your Components
Once your plan is finalized, it’s time to shop. Research RTA cabinet box suppliers and compare their materials, construction methods, and pricing. Order a sample door or a small cabinet to assess the quality before committing to a large order.
Simultaneously, research custom door manufacturers. Companies that specialize in high-quality doors, like those sometimes discussed in Conestoga Cabinets reviews, often offer a vast selection of styles and finishes. Get quotes from multiple suppliers to ensure you’re getting the best value.
Step 3: Assembly and Installation
Assembling RTA cabinets is a straightforward process, but it requires patience and a clean, organized workspace. Follow the manufacturer’s instructions carefully. Using wood glue on all joints during assembly will create a much stronger and more durable cabinet box.
Installing the cabinets is a job that demands precision. Ensure the base cabinets are perfectly level and securely fastened to the wall studs and to each other. A properly installed base is essential for a flawless countertop installation and the correct alignment of your doors and drawers.
Step 4: Sourcing and Installing Doors and Hardware
With the cabinet boxes installed, you can take precise measurements for your doors and drawer fronts. You will need to decide on the overlay—how much the door covers the cabinet frame. This measurement is critical for ordering the correct size doors and selecting the right type of hinges.
Once your custom doors arrive, the final step is to drill for and install the hinges and handles. This is where your vision truly comes to life. Take your time with this step to ensure a professional-looking finish with perfectly aligned doors and drawers.
Common Pitfalls and How to Avoid Them
While the “boxes only” approach offers incredible benefits, it also presents unique challenges. Being aware of potential mistakes before you start can save you time, money, and frustration. Forethought is your best defense against common renovation headaches.
Mistake #1: Mismatched Measurements. A classic error is ordering doors that are slightly too large or too small for the cabinet openings. Solution: Wait until your cabinet boxes are fully assembled and installed before taking final measurements for your doors. Measure each opening individually, as there can be slight variations.
Mistake #2: Underestimating Total Cost. It’s easy to focus on the low price of the cabinet boxes and forget to budget for all the other components. Solution: Create a comprehensive budget that includes the boxes, doors, drawer boxes, hinges, drawer slides, pulls, and any shipping or finishing costs. Add a 10-15% contingency for unexpected expenses.
Mistake #3: Ignoring Compatibility. Not all hinges work with all doors and cabinet frames. Similarly, drawer slides must match the drawer boxes. Many renovators find that the quality and features differ greatly from pre-assembled lines, a common theme when making comparisons like Fabuwood vs. KraftMaid. Solution: Consult with your door supplier about the best type of hinge for your chosen door style and overlay. Purchase your hardware from a reputable source that provides detailed specifications and installation instructions.
Is Buying RTA Cabinet Boxes Only the Right Choice for You?
This strategy is not for everyone. It requires a higher level of involvement, planning, and DIY confidence than buying a standard cabinet package. However, for the right person, it is an unbeatable path to a truly custom, high-value kitchen.
This approach is ideal for the hands-on homeowner who enjoys the creative process and wants total control over the final aesthetic. It is also perfect for the budget-savvy renovator with a specific design vision that can’t be fulfilled by off-the-shelf options.
Final Checklist Before You Buy
Before placing your order, run through this final checklist to ensure you’ve covered all your bases. A few minutes of review now can prevent major issues later.
Confirm materials and construction. Double-check that the cabinet boxes are made from your chosen material (plywood or high-quality particle board) and have a sturdy assembly system.
Get firm quotes for all components. Have final, landed prices (including shipping and taxes) for your cabinet boxes, doors, drawer fronts, and all hardware.
Finalize your layout and measurements. Lock in your kitchen design and be absolutely confident in your measurements before ordering the non-refundable custom components.
Ultimately, purchasing RTA cabinet boxes only is a powerful method for breaking free from the limitations of standard kitchen offerings. It democratizes custom design, putting the power of choice and creativity firmly in the hands of the homeowner. With careful planning and a focus on quality, you can build the custom kitchen you’ve always dreamed of, on a budget that makes it a reality.