Replacing Arched Windows With Square: Your Ultimate Guide
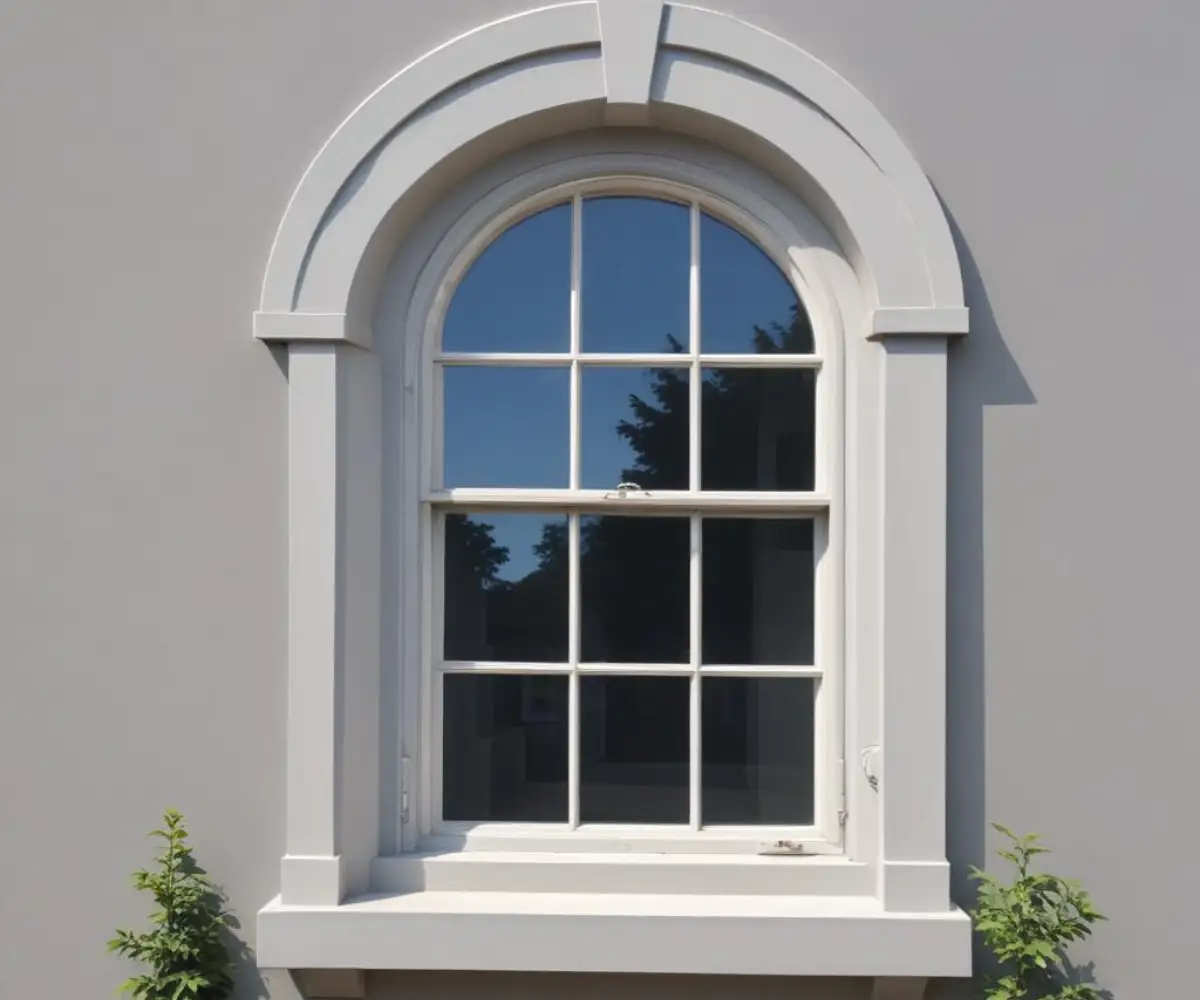
Arched windows possess a timeless elegance, adding a touch of classic architectural flair to any home. However, what was once a desirable feature can sometimes become a source of frustration for the modern homeowner. From dated aesthetics to practical daily challenges, many are now considering the switch to a more streamlined, contemporary look.
If you find yourself struggling with the downsides of arched windows, you’re not alone. The good news is that replacing arched windows with square ones is not only possible but is a common home improvement project that can significantly update your home’s appearance, improve functionality, and even boost energy efficiency.
You'll Learn About
The Problem with Arched Windows
While beautiful, arched windows present a unique set of challenges that often lead homeowners to seek a change. Understanding these pain points is the first step in deciding if a replacement project is right for you. Many homeowners find that the very feature that makes these windows unique also makes them impractical for modern living.
Common Frustrations and Issues
One of the most frequent complaints revolves around window treatments. Finding blinds, shades, or curtains for a curved window is notoriously difficult and expensive. Custom solutions are often the only option, and they can be costly and may not provide the desired level of light control or privacy. Many homeowners resort to makeshift solutions that detract from the window’s aesthetic appeal.
Another major issue is their age and efficiency. Many homes with arched windows were built decades ago, and the original windows may be single-pane and poorly sealed. This can lead to significant energy loss, drafts, and even moisture problems. Leaks can be a persistent problem, as the curved shape can make achieving a perfect, weatherproof seal difficult over the long term.
Why Go Square? The Benefits of Modernization
Opting to replace your arched windows with standard square or rectangular ones offers a host of advantages that go beyond just solving the problems above. This project is an opportunity to modernize your home’s exterior, improve your quality of life, and make a sound financial investment.
Aesthetic and Functional Advantages
The most immediate benefit is a cleaner, more modern aesthetic. Square windows offer crisp lines that can instantly update a home’s facade, aligning it with contemporary design trends. This change can dramatically improve your home’s curb appeal and even its resale value.
Functionally, square windows are far more practical. They are compatible with a vast array of affordable, off-the-shelf window treatments, giving you complete control over light and privacy. Furthermore, modern square windows are available with advanced features like double or triple-pane glass, Low-E coatings, and gas fills, leading to superior energy efficiency and lower utility bills.
The Big Question: Can It Actually Be Done?
Many homeowners assume that changing the shape of a window opening is a massive, complicated undertaking. While it requires careful planning and execution, it’s a very feasible project for a skilled contractor and, in some cases, an experienced DIYer. The key is understanding the structure of your wall.
In most residential constructions, the arched portion of the window is purely decorative. The actual structural opening in the wall is almost always rectangular, with a strong horizontal beam, known as a structural header, spanning the top. The arch is often created with infill framing above a standard rectangular window. This means the primary support system is already in place to accommodate a square window.
Structural Integrity: What You MUST Know
Before any work begins, it is crucial to determine if the wall is load-bearing. A load-bearing wall supports the weight of the roof and floors above it. Modifying an opening in a load-bearing wall without proper support can compromise your home’s structural integrity.
A professional contractor or a structural engineer can easily identify the structural header and confirm that the modification can be done safely. In most cases, the header is located well above the arched part of the window, making the conversion straightforward. The process involves removing the old window and the filler material in the arch and then framing a new, square opening beneath the existing header.
Step-by-Step: The Replacement Process Explained
Replacing an arched window with a square one is a multi-phase project that requires precision at every step. From the initial demolition to the final touches of paint, a systematic approach ensures a professional and durable result. Here’s a breakdown of what the process typically involves.
Phase 1: Planning and Preparation
This is the most critical phase. It starts with selecting the right replacement window. Consider materials like vinyl, wood, or fiberglass, each offering different benefits in terms of cost, maintenance, and aesthetics. Take precise measurements of the desired new opening to ensure the window will fit perfectly.
You’ll also need to gather all necessary tools and materials, including lumber for framing, insulation, drywall, siding, and all the appropriate fasteners and sealants. It’s also wise to check with your local building department to see if a permit is required for altering a window opening.
Phase 2: Removing the Old Arched Window
First, protect the surrounding area, both inside and out, with drop cloths. Carefully remove the interior trim and casing around the window to expose the frame. From the outside, you may need to cut through siding and exterior trim that is attached to the window unit.
Once the surrounding materials are cleared, the window unit itself can be cut free from its fasteners and carefully removed from the opening. This often reveals the original square structural header above.
Phase 3: Reframing the Opening
With the old window gone, the next step is to reframe the opening to the correct dimensions for the new square window. This involves building a new section of wall in the space where the arch used to be. This is typically done by installing new vertical studs (called cripple studs) on top of a new sill plate that defines the top of the new square opening.
It is absolutely essential that the new opening is perfectly square, level, and plumb. Meticulous measurements and constant checks with a level are non-negotiable for ensuring the new window fits and operates correctly.
Phase 4: Installing the New Square Window
Before final installation, “dry fit” the new window to ensure it slides into the opening without issues. Once you confirm the fit, remove it and prepare the opening with proper weatherproofing. This includes applying a waterproof flashing membrane around the opening to prevent any water intrusion.
Apply a bead of high-quality exterior caulk along the inside edge of the window’s nailing fin. Set the window into the opening, press it firmly against the caulk, and secure it to the house framing using the manufacturer’s recommended fasteners. Ensure the window is level and plumb before tightening all fasteners.
Phase 5: Finishing the Interior and Exterior
The final phase involves making everything look seamless. On the exterior, this means installing new siding or brickwork to fill the area where the arch was and adding new trim around the window. Proper integration with the existing exterior is key to a professional finish.
On the inside, fill any gaps between the window frame and the wall studs with low-expansion spray foam insulation. Then, install new drywall, apply tape and joint compound, and sand it smooth before priming and painting to match the existing wall. Finally, install new interior casing and a windowsill to complete the look.
DIY vs. Hiring a Professional
Deciding whether to tackle this project yourself or hire a professional depends on your skill level, tools, and comfort with construction. While a DIY approach can save money on labor, the risks are significant. Mistakes in framing, installation, or especially weatherproofing can lead to costly water damage and structural issues down the line.
Hiring a reputable contractor ensures the job is done correctly, efficiently, and is often backed by a warranty. They have the experience to handle unexpected challenges, like discovering hidden structural issues, and can ensure the final result is both beautiful and durable. For a project that involves your home’s protective envelope, professional installation is almost always the recommended path.
| Aspect | DIY Approach | Professional Installation |
|---|---|---|
| Cost | Lower initial cost (materials only) | Higher upfront cost (materials + labor) |
| Time Commitment | Significant; can take multiple weekends | Fast and efficient; often completed in 1-3 days |
| Skill Level Required | Advanced (carpentry, weatherproofing, finishing) | Expertise provided by experienced crew |
| Tools & Equipment | Requires purchase or rental of specialized tools | Professionals arrive with all necessary equipment |
| Risk Factor | High (risk of leaks, structural errors, poor finish) | Low (insured work, professional accountability, warranties) |
| Final Quality | Variable; depends entirely on individual skill | Guaranteed professional and seamless finish |
Understanding the Costs
The cost of replacing an arched window with a square one can vary widely based on several factors. The price of the new window itself is a major component, with vinyl being the most affordable and high-end wood or fiberglass windows costing significantly more.
Labor costs will depend on the complexity of the job and your geographic location. Expect to pay more if your home has a brick or stone exterior, as matching the masonry is more labor-intensive than patching siding. On average, you can expect the total project cost to be higher than a standard window replacement due to the additional framing and finishing work required. Getting multiple quotes from qualified contractors is the best way to understand the potential costs for your specific project.
Considering Other Home Improvements
A major window replacement project can be a great time to evaluate other aspects of your home’s exterior and systems. For instance, if you’re already doing significant work on an upper-story wall, you might also be thinking about your roof’s condition. Many homeowners ask themselves, “Am I too heavy to get on my roof?” before attempting even a basic inspection, and it’s a valid safety concern best left to professionals.
Similarly, this type of renovation often spurs a broader move toward modernization. A project like an oil furnace removal can be part of a larger strategy to improve your home’s energy efficiency, which pairs perfectly with installing new, high-performance windows. Sometimes, renovations can also uncover unrelated issues; for example, strange sounds might lead you to investigate what is making a loud banging noise in the chimney, another task best handled by an expert.
A Worthwhile Transformation
Swapping an outdated or impractical arched window for a modern square one is a transformative project. It enhances curb appeal, improves energy efficiency, and makes daily life easier with functional window treatments. While the process requires careful planning and skilled execution, the results are well worth the investment.
By understanding the structural considerations, the step-by-step process, and the value of professional installation, you can confidently move forward with a project that will modernize your space and add lasting value to your home.