Replaced Thermostat Now No Heat? Your Ultimate Fix-It Guide
You did everything right. You bought a new, efficient thermostat, carefully followed the installation steps, and now… your house is cold. It’s a frustratingly common scenario: you replaced the thermostat, but now there’s no heat.
Before you panic or call a costly professional, take a deep breath. The solution is often surprisingly simple, relating to a handful of common oversights in the installation and setup process. This guide will walk you through the essential checks to diagnose the problem and restore warmth to your home.
You'll Learn About
First Steps: The Simple Checks Everyone Forgets
Before diving into complex wiring, let’s cover the basics. These simple steps solve the problem more often than you’d think and can save you a significant headache.
1. Check the Power Source
Your entire HVAC system relies on electricity to function. During the installation, it’s possible a breaker was tripped or a switch was turned off and forgotten.
First, locate your home’s main electrical panel and check the circuit breaker dedicated to your furnace or HVAC system. If it’s tripped to the middle position, flip it fully to “Off” and then back to “On.” Many furnaces also have a dedicated power switch, often resembling a standard light switch, located on or near the furnace unit itself; ensure this switch is in the “On” position.
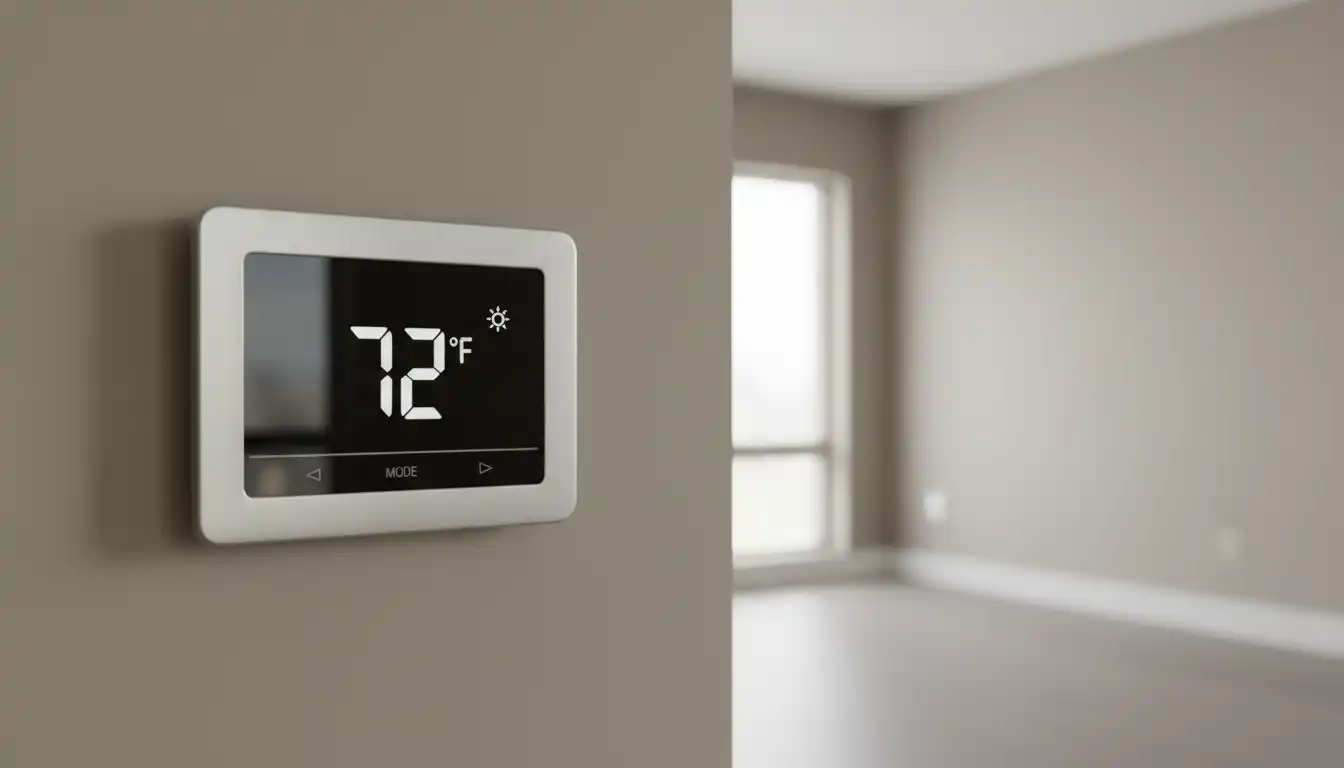
2. Confirm Thermostat Settings
Modern thermostats are powerful but can be confusing. It’s easy to overlook a basic setting that prevents the heat from activating.
Ensure your thermostat is set to “Heat” mode. Then, turn the target temperature up at least five degrees higher than the current room temperature to ensure it sends a clear signal to the furnace. Also, check that the fan is set to “Auto,” not “On,” which would cause the fan to run continuously even when the furnace isn’t producing heat.
The #1 Culprit: Simple Thermostat Wiring Mistakes
Improper wiring is the leading cause of heating failure after a thermostat replacement. A single wire in the wrong terminal can prevent the system from working correctly.
Even if you took a picture of your old setup, mistakes can happen. The most common errors involve the power (R), heating (W), and common (C) wires. Double-check that each wire is securely seated in the correct terminal according to your new thermostat’s manual.
Wires can be fragile. Ensure the copper tip of each wire is clean and making a solid connection inside the terminal. If a wire appears corroded or damaged, you may need to carefully trim and strip a fresh section.
Understanding Your Thermostat Wires
While wire colors are a helpful guide, they are not always standard. The letter on the terminal is what truly matters. Here is a breakdown of the most common thermostat wires and their functions.
| Terminal Letter | Common Wire Color | Primary Function |
|---|---|---|
| R, RH, RC | Red | Power from the transformer. RH is power for heating, RC is for cooling. |
| W or W1 | White | Controls the primary heating system. |
| Y or Y1 | Yellow | Controls the air conditioning compressor. |
| G | Green | Controls the fan blower. |
| C | Blue or Black | The Common wire, provides continuous power to the thermostat. |
| O/B | Orange or Dark Blue | Controls the reversing valve for heat pump systems. |
Is Your New Thermostat Compatible with Your System?
Not all thermostats are universal. Installing a model that is incompatible with your specific HVAC system is a frequent source of problems.
HVAC systems can be conventional (gas/oil furnace with AC), heat pump, dual fuel, or high-voltage. A smart thermostat designed for a standard 24V conventional system will not work with a high-voltage electric baseboard heater, for example. Always check the thermostat’s packaging and manual for compatibility information before purchasing and installing.
If you find that your home’s heating issues are more widespread, such as the heat not working on the first floor, it could point to a larger system problem beyond just the thermostat itself. Understanding your complete HVAC setup is key to effective troubleshooting.
Deep Dive: Thermostat Configuration and Installer Settings
A correctly wired thermostat still needs to be correctly configured. Modern digital thermostats require you to enter an “installer setup” or “advanced settings” menu to tell them what kind of HVAC system they are controlling. This is one of the most critical and often overlooked steps.
Accessing the Installer Menu
This menu is usually hidden to prevent accidental changes. Consult your thermostat’s manual for the specific button combination required to access it (e.g., holding down two buttons simultaneously for several seconds).
Crucial Settings to Verify
Once inside the installer menu, you must verify a few key settings. The most important is the “System Type” or “Equipment Type.” You must tell the thermostat if it’s controlling a gas furnace, an electric furnace, or a heat pump.
Setting this incorrectly can cause major issues. For example, telling a thermostat it’s connected to an electric furnace when you have a gas system may prevent the heat from ever turning on because the thermostat is trying to control the fan directly, a task the gas furnace’s own control board handles.
Advanced Troubleshooting: Beyond the Thermostat
If you’ve checked the power, wiring, compatibility, and settings, but the heat still won’t turn on, the issue may lie within the furnace itself. These are common issues that can be triggered during a thermostat installation.
Furnace Safety Features
Your furnace has built-in safety mechanisms that can cut power. The most common is the door safety switch. This switch, often a simple plunger, immediately cuts power to the unit when the main service panel is removed. Ensure the furnace door is securely back in place, fully depressing this switch.
Another critical component is a small fuse located directly on the furnace’s main control board. This is typically a 3-amp or 5-amp automotive-style fuse. If thermostat wires were accidentally touched together during installation while the power was still on, this fuse likely blew to protect the system. Carefully remove the fuse and inspect it; if the thin wire inside is broken, it needs to be replaced.
Resetting the System
Sometimes, the furnace’s control board can enter a “lockout” mode after a power interruption or a perceived fault. A simple power cycle can often resolve this. Turn the furnace off at its dedicated switch or at the circuit breaker, wait for five minutes, and then turn it back on. This allows the internal electronics to fully reset.
When to Call a Professional
While many post-installation heating issues are simple DIY fixes, there are times when you need professional help. If you have tried all the steps above and are still without heat, it’s time to contact a qualified HVAC technician.
Do not attempt to diagnose complex control board issues or handle internal furnace components if you are not comfortable and trained. A professional can safely test voltages, check sensors, and ensure your system is running correctly and efficiently. Once your primary heating is restored, you might even consider targeted solutions for chilly areas, like a toe kick heater in the bathroom vanity for extra comfort.
Replacing a thermostat should be a simple upgrade that improves your comfort and energy efficiency. By methodically checking for these common issues—from basic power and settings to wiring and advanced configurations—you can often solve the problem of “no heat” yourself and get your home warm again in no time.
Frequently Asked Questions
Why is my new thermostat not turning on the heat?
Several issues can prevent your heat from turning on after installing a new thermostat. Common problems include incorrect wiring, a tripped circuit breaker or blown fuse, and improper thermostat settings. Also, ensure the new thermostat is compatible with your specific HVAC system, as not all thermostats work with all types of heating systems.
What should I check first if my house has no heat after thermostat replacement?
First, verify that the thermostat is set to “heat” mode and the set temperature is higher than the current room temperature. Next, check your home’s circuit breaker or fuse box to ensure the power to your HVAC system hasn’t been interrupted. Sometimes, a simple reset is all that is needed to restore power to the furnace and thermostat.
Could I have blown a fuse while changing the thermostat?
Yes, it is possible to blow a fuse or trip a breaker if the power to the HVAC system was not turned off before the installation. If wires touched during the process, it could have created a short circuit. Check your furnace’s control board for a small automotive-style fuse and replace it if it appears burnt out.
What are some common thermostat wiring mistakes?
Improper wiring is a frequent cause of heating problems after thermostat replacement. Common mistakes include mixing up wires, not inserting them securely into the terminals, or stripping too much insulation which can cause wires to touch and short out. Always label wires before removing the old thermostat and carefully follow the new thermostat’s wiring diagram.
Does the location of the new thermostat matter?
Yes, the placement of your thermostat is crucial for it to function correctly. It should be installed on an interior wall, away from direct sunlight, drafts, doorways, and heat sources like lamps or kitchen appliances. Incorrect placement can lead to inaccurate temperature readings, causing your heating system to run improperly or not at all.
What should I do if I’ve checked everything and still have no heat?
If you have checked the power, wiring, and thermostat settings and your heat is still not working, it may be time to call a professional. There could be a more complex issue with your HVAC system that requires expert diagnosis. An HVAC technician can safely identify and fix the problem to get your heat running again.