Replace Metal Shed Doors: Your Ultimate DIY Success Guide
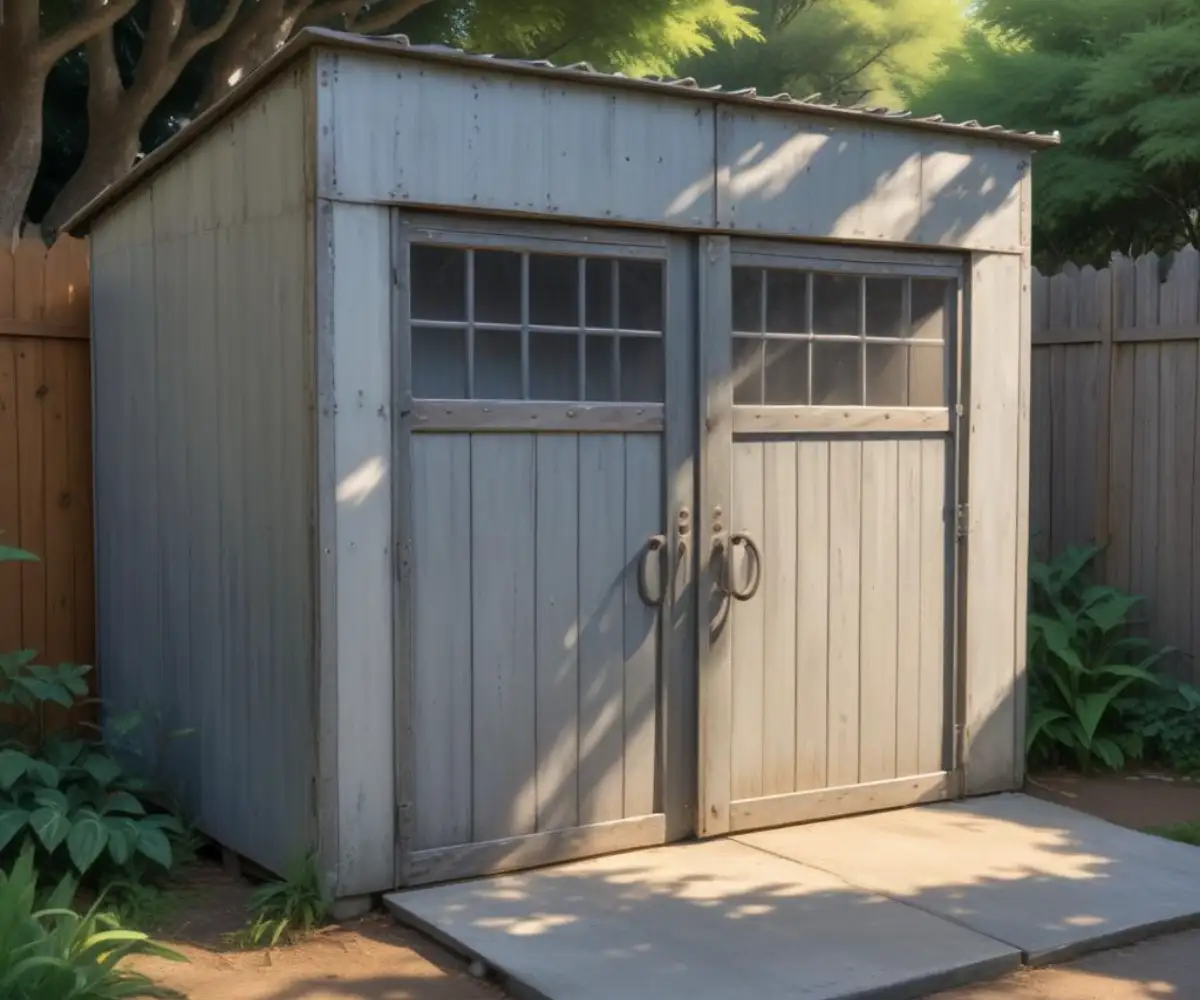
Your metal shed is a trusty backyard workhorse, but its doors are often the first point of failure. After a few years of battling rain, wind, and sun, those once-functional doors become a source of immense frustration. They jam, they rust, they refuse to align, and they leave your valuable tools and equipment vulnerable.
This isn’t just a minor annoyance; it’s a problem that compromises your shed’s security and functionality. A warped, rusted, or ill-fitting door is an open invitation for pests, moisture, and even thieves. Before you consider replacing the entire shed, know that there is a straightforward and cost-effective solution: replacing the doors themselves.
This comprehensive guide will walk you through every step of the process, from diagnosing the problem to installing brand-new doors that will restore your shed’s integrity and your peace of mind. We’ll cover everything you need to know to tackle this project with confidence and achieve a professional-quality result.
You'll Learn About
Why Your Metal Shed Doors Are Failing (And What to Do About It)
The flimsy, lightweight doors that come standard on many metal sheds are simply not built to last. They are constantly exposed to the elements, leading to a host of common problems that plague shed owners. Understanding the root cause of these issues is the first step toward a permanent fix.
Common culprits include rust, which eats away at the thin metal, causing holes and weakening the structure. Physical damage from accidental impacts can lead to dents and bends that prevent the doors from operating smoothly. Over time, the constant opening and closing wears down hinges and sliding tracks, leading to misalignment and frustrating jams.
The Problem with Sliding Doors
Sliding doors are a popular, space-saving option for metal sheds, but they come with their own unique set of headaches. The plastic glides and rollers are notorious for wearing out, cracking, or getting clogged with debris. This causes the doors to chatter, stick, and eventually jump off the track entirely.
These persistent issues not only make accessing your shed a daily struggle but also create significant security vulnerabilities. A door that won’t close or lock properly is a major liability. Upgrading to a more robust system is often the best long-term solution.
Hinged Doors Have Problems, Too
While often sturdier than their sliding counterparts, hinged doors are not immune to problems. The constant swing and weight can cause hinges to loosen from the frame, leading to sagging and misalignment. This makes the door difficult to close and latch correctly.
Rust can seize the hinge pins, making the door stiff and noisy. Just like a strange banging noise from your chimney indicates a problem, a squealing or grinding shed door is a clear sign that the hardware needs attention or replacement.
Planning Your Shed Door Replacement Project
Before you start removing the old doors, a little planning goes a long way. Proper preparation ensures you have the right materials and a clear strategy, making the installation process much smoother. This phase is all about measuring twice to ensure you only have to cut (and install) once.
Your first and most critical task is to accurately measure the door opening. Use a tape measure to record the height and width of the frame at multiple points (top, middle, and bottom for width; left and right for height). Shed frames can settle and become uneven over time, so always use the largest measurement to ensure your new door will have enough clearance.
Choosing Your Replacement Doors
With your measurements in hand, you can decide on the best type of replacement door for your needs. You have several options, each with distinct advantages.
- Pre-made Replacement Kits: Many manufacturers offer door tune-up or replacement kits specifically for their shed models. These kits are often the easiest solution, as they come with all the necessary hardware and are guaranteed to fit.
- DIY Wooden Doors: Building your own doors from wood offers maximum customization and durability. You can build them to your exact specifications and use pressure-treated lumber for excellent weather resistance.
- Upcycled Doors: An old solid-core exterior house door can be cut down to size for a highly durable and unique shed door. This is a fantastic, budget-friendly option if you can find a suitable secondhand door.
- Material Choices: Beyond wood, you can find replacement doors made of steel, fiberglass, or vinyl. Steel and fiberglass offer excellent durability and low maintenance, making them great choices for a long-lasting repair.
Gather Your Tools and Materials
Having all your tools and supplies ready before you begin will prevent unnecessary interruptions. A well-organized workspace makes the job safer and more efficient. Refer to the table below for a comprehensive list of what you’ll need.
| Tool/Material | Purpose | Notes |
|---|---|---|
| Tape Measure & Pencil | Accurate measurements and marking | Essential |
| Drill/Driver with Bits | Removing old screws and driving new ones | Ensure you have both Phillips and hex bits. |
| Wrench Set or Pliers | Removing nuts and bolts from old hardware | Helpful for seized or rusted hardware. |
| New Shed Doors | The core of your project | Pre-made kit, DIY wood, or upcycled door. |
| Heavy-Duty Hinges & Latch | Securing the new door | Choose exterior-grade hardware to prevent rust. |
| Wood Screws/Metal Screws | Attaching hinges and frame components | Use screws appropriate for your door and frame material. |
| Level | Ensuring the door is hung straight | Crucial for proper swing and alignment. |
| Safety Glasses & Gloves | Personal protection | Essential |
Step-by-Step Guide to Replacing Your Metal Shed Doors
With your planning complete and tools at the ready, it’s time to get to work. This process is straightforward, but attention to detail is key. Working with a helper is highly recommended, as doors can be heavy and awkward to handle alone.
Step 1: Remove the Old, Damaged Doors
The first step is to carefully remove the existing doors. For sliding doors, you’ll typically need to lift them up and out of the bottom track. You may need to remove a top guide or stopper first. Be cautious, as they can be heavier than they look once freed from the track.
For hinged doors, start by propping the door open so it doesn’t fall once the hinges are disconnected. It’s often easiest to unscrew the hinges from the door itself rather than the frame. Once the doors are off, remove any remaining old hardware from the shed frame.
Step 2: Prepare the Door Frame
Now is the perfect opportunity to inspect and reinforce the door frame. Many metal sheds have flimsy frames that contribute to door problems. If you’re switching from sliding to hinged doors, you’ll almost certainly need to add a solid wood frame.
Cut 2×4 lumber to fit snugly inside the metal frame on both sides and across the top. Secure these wooden supports by driving screws from the outside of the shed’s metal wall into the wood. This provides a strong, stable surface to mount your new hinges and ensures your doors will hang securely for years to come.
Step 3: Install the New Hinges and Hang the Door
This is where precision matters most. Lay your new door on a flat surface and position the new hinges. A good rule of thumb is to place the top hinge about 5-7 inches from the top of the door and the bottom hinge about 10-12 inches from the bottom. Mark the screw holes with a pencil and attach the hinges securely to the door.
Next, with the help of a friend, lift the door into the prepared frame. Use shims or wood blocks to raise the door to the correct height, leaving a small, consistent gap at the bottom. Use your level to ensure the door is perfectly plumb (vertically straight) before attaching the hinges to the wooden frame with long screws.
Step 4: Attach Hardware and Make Adjustments
Once the door is hanging, install the handle and latch mechanism according to the manufacturer’s instructions. Test the door by opening and closing it several times. Check for any sticking or misalignment.
If the door doesn’t close smoothly, you may need to make small adjustments. Sometimes, slightly loosening the hinge screws, repositioning the door, and retightening can solve minor alignment issues. A properly hung door should swing freely and latch securely without any force.
Upgrading Security and Weatherproofing
A new door is a perfect opportunity to boost your shed’s overall utility and protection. With the main installation complete, a few finishing touches can make a world of difference. These final steps will enhance security, prevent drafts, and protect your investment.
Improving the seal around your new door directly contributes to the shed’s internal environment. Much like considering if you can insulate a plastic shed, sealing the entry point is a crucial step in temperature and moisture control. This small effort helps protect your stored items from the elements.
Improving Security Features
The standard locks on many sheds offer minimal protection. Upgrade to a heavy-duty hasp and a high-quality padlock for a significant security boost. For even greater protection, install a deadbolt if you’ve built a solid wood frame.
Consider adding a shed door security bar, which braces across the inside of the door, making it nearly impossible to force open. Reinforcing the hinges with longer screws that go deep into the frame also adds a substantial layer of defense against break-ins.
Weather-Stripping for a Tighter Seal
To keep out rain, wind, and pests, apply self-adhesive foam or rubber weather-stripping around the inside of the door frame. This creates a tight seal when the door is closed, preventing drafts and water ingress. It’s an inexpensive addition that greatly improves the shed’s interior environment.
A tight seal not only protects your belongings but can also make the space more comfortable if you use it as a workshop. Upgrading your shed with well-sealed doors can be the first step in a larger project, similar to how one might tackle finishing an unfinished room inside the home to create a more functional space.
Final Thoughts on Your New Shed Doors
Replacing your metal shed doors is a rewarding DIY project that solves a common frustration and dramatically improves your shed’s functionality, security, and appearance. By following these steps, you can confidently tackle the job and enjoy the benefits of a smooth-operating, secure, and weather-tight shed for years to come.
Don’t let faulty doors diminish the value of your outdoor storage space. With the right plan and a weekend of work, you can give your shed a new lease on life.