Replace Your Garden Tub: The Ultimate Freestanding Tub Upgrade
That oversized, deck-mounted garden tub was once the pinnacle of bathroom luxury. Now, it often feels like a relic, consuming valuable square footage and dictating a dated design aesthetic. Many homeowners find themselves stuck with a tub that’s difficult to clean around, awkward to get out of, and simply too bulky for modern tastes.
The core problem is that these tubs, with their expansive tiled surrounds, create a massive footprint that locks your bathroom into a decades-old layout. The desire for a more open, airy, and spa-like environment is growing, and that clunky garden tub is the biggest obstacle. The solution is a strategic replacement with a sleek, elegant freestanding tub, a project that revitalizes your space but requires careful planning.
You'll Learn About
Why That Bulky Garden Tub Has to Go
The shift away from built-in garden tubs is more than just a fleeting trend; it’s a practical response to their inherent downsides. Their large, permanent structures are difficult to clean, requiring you to awkwardly reach across wide tile decks. Aesthetically, they lock you into a specific style, making it difficult to update your bathroom without a major demolition project.
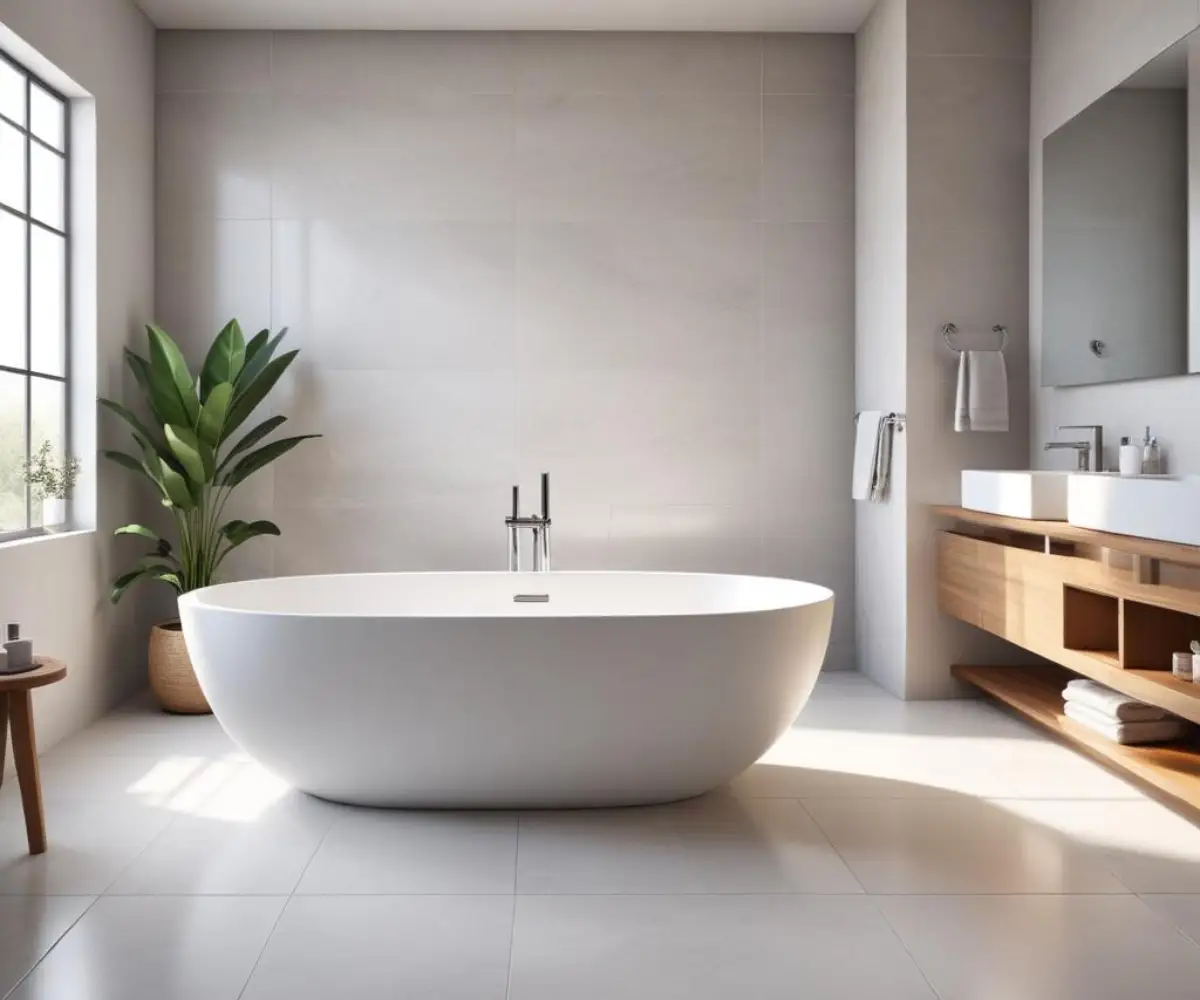
Freestanding tubs, by contrast, offer unparalleled design freedom. They create an illusion of more space by exposing more of the floor and wall, turning your tub from a cumbersome built-in into a stunning sculptural centerpiece. This conversion is one of the most impactful upgrades you can make to your home’s value and your daily enjoyment.
The Hidden Challenge: Plumbing and Flooring
The most significant hurdle in this upgrade is what lies beneath the old tub. Garden tubs often have plumbing and drains set into a deck or against a wall, while freestanding tubs require a floor-mounted drain and, typically, a floor-mounted or wall-mounted faucet. This fundamental difference means you aren’t just swapping fixtures; you’re re-engineering a portion of your bathroom’s core systems.
Removing the old tub will also expose a large, unfinished patch of your floor. This “footprint” issue necessitates a flooring plan from the very beginning. You will need to either find matching tiles—a near-impossible task—or retile the entire bathroom floor for a seamless, professional finish.
Planning Your Freestanding Tub Transformation
A successful replacement project hinges on meticulous planning. Before you pick up a single tool, you need a clear roadmap that addresses measurements, plumbing, flooring, and the structural integrity of your bathroom.
Measure Twice, Buy Once
Start by measuring your bathroom’s total dimensions. As a general rule, you need at least 6 inches of clearance around all sides of a freestanding tub for cleaning and accessibility. Use painter’s tape to mark the exact footprint of your desired tub on the floor to visualize its scale and ensure you have comfortable walking paths around it.
Don’t forget to measure doorways, hallways, and stairwells. A beautiful new tub is useless if you can’t get it into the bathroom. This is especially true for heavy materials like cast iron or solid stone.
Confronting the Plumbing Puzzle
This is where most DIY enthusiasts should consult a professional plumber. Your garden tub’s drain is likely positioned incorrectly for a freestanding model. Moving the drain line often requires cutting into the subfloor or even the concrete slab, a task that demands expertise to avoid costly mistakes.
You’ll also need to decide on a faucet style. Floor-mounted fillers offer a dramatic, modern look but require running new hot and cold water lines up through the floor. Wall-mounted faucets are another option but depend on the tub’s placement and require opening the wall for installation.
Choosing Your Perfect Freestanding Tub
Selecting the right tub involves balancing aesthetics, budget, and practicality. The material is the most important factor, as it dictates the tub’s weight, heat retention, and maintenance requirements. Understanding the differences is key, and some homeowners wonder why is Kohler so expensive; often, it comes down to superior materials and design.
A freestanding tub can be a fantastic way to replace a standard tub with a soaking tub, elevating the entire experience. Consider the various materials available to find the best fit for your bathroom.
Material Comparison
The material of your tub impacts everything from its weight and durability to its ability to keep your bathwater warm. Acrylic is the most popular choice for its lightweight nature and affordability, while cast iron offers unmatched durability and heat retention.
| Material | Pros | Cons | Average Weight (Empty) |
|---|---|---|---|
| Acrylic | Lightweight, affordable, wide variety of shapes, non-porous and easy to clean. | Can feel less substantial, can be scratched more easily than other materials. | 100-200 lbs |
| Cast Iron | Extremely durable, excellent heat retention, classic high-end look. | Extremely heavy, often requires floor reinforcement, higher cost. | 300-500+ lbs |
| Solid Surface | Stone-like feel, excellent heat retention, durable, can be repaired if scratched. | Heavy, can be expensive. | 250-400 lbs |
| Copper | Naturally antimicrobial, develops a unique patina, superior heat retention. | Very expensive, requires specific cleaning methods to maintain its finish. | 100-250 lbs |
The Step-by-Step Guide to a Flawless Installation
With your plan in place and materials selected, the transformation can begin. This process is intensive and involves demolition, plumbing, flooring, and installation. While some steps can be handled by a skilled DIYer, the plumbing and structural work are best left to licensed professionals.
Step 1: Demolition and Removal
First, turn off the water supply to the bathroom. Carefully demolish the tile surround of your garden tub using a hammer and pry bar. Once the frame is exposed, you can disconnect the old plumbing and work with a helper to lift the old tub out and remove it from your home.
Step 2: Assess and Repair the Subfloor
With the old tub gone, you’ll have a clear view of the subfloor. Inspect this area carefully for any signs of water damage or rot, which are common under old, improperly sealed tubs. Any damaged sections of the subfloor must be cut out and replaced before you proceed.
Step 3: The Critical Plumbing Rough-In
This is the most crucial technical step. A plumber will need to move the drain to the correct location for your new tub’s centered drain. They will also run the new water supply lines through the floor for a freestanding faucet or through the wall for a wall-mounted one.
Step 4: Flooring and Waterproofing
After the plumbing is set, it’s time to install the new floor. Ensure a proper waterproof membrane is installed under the tile, especially around the tub area, to prevent any future water damage. The new flooring should be completely installed and grouted before the tub is brought in.
Step 5: Setting the Freestanding Tub
Carefully move the new tub into place, aligning its drain with the rough-in plumbing in the floor. Most tubs have adjustable feet that allow you to level it perfectly. Once level, connect the drain assembly, ensuring all gaskets are properly seated to create a watertight seal.
Step 6: Faucet Installation and Final Sealing
Install your chosen tub filler, connecting it to the water supply lines. After testing all connections for leaks, apply a bead of 100% silicone sealant around the base of the tub where it meets the floor. This prevents water from splashing underneath and provides extra stability.
The Unspoken Requirement: The Structural Check
Here is a critical point often overlooked in online guides: you must verify your floor can handle the tub’s weight. A filled cast iron tub with a person in it can easily exceed 1,000 pounds. This weight, concentrated in a small area, can put immense stress on your floor joists, especially on a second floor.
Before purchasing a heavy tub, it is wise to consult a structural engineer or a highly experienced contractor to assess your floor’s load-bearing capacity. They can determine if your joists are sufficient or if they need reinforcement. Ensuring your home is built on a solid foundation is just as critical for indoor projects as it is for outdoor ones, like when considering a product from a Titan Deck Foot Anchor review for a new deck.
Budgeting for Your Bathroom Upgrade
Replacing a garden tub with a freestanding tub is a significant investment. Costs can vary widely based on the materials you choose, the complexity of the plumbing work, and regional labor rates. A realistic budget should account for the tub, the faucet, plumbing labor, demolition, and new flooring materials.
Generally, you can expect the total project cost to range from $3,000 to over $10,000. While an acrylic tub can keep costs down, a high-end cast iron or solid surface model, combined with extensive plumbing relocation, will be at the upper end of that range.
Conclusion: A Worthwhile Transformation
Swapping a dated garden tub for a modern freestanding model is more than an aesthetic upgrade; it’s a fundamental change to the way you experience your bathroom. It transforms a purely functional room into a personal sanctuary, creating a sense of luxury and open space that was impossible with a bulky, built-in fixture.
While the project involves significant challenges—particularly with plumbing and flooring—the result is a stunning focal point that increases your home’s value and your daily satisfaction. By planning carefully, consulting professionals for critical tasks, and understanding all the hidden steps, you can successfully reclaim your bathroom and create the spa-like oasis you’ve been dreaming of.