Removing Shutters From Your House: The Shocking Before and After
Are your home’s shutters looking faded, cracked, or simply outdated? You’re not alone. Many homeowners stare at their exterior, feeling that something is off, and often, those purely decorative shutters are the culprit. The idea of removing them sparks both excitement for a fresh look and anxiety about what lies beneath.
This guide provides a comprehensive look at the shutter removal process, from the initial decision to the final, transformative “after.” We’ll explore the reasons to go shutter-less, the step-by-step removal process, and, most importantly, how to handle the inevitable repairs to reveal a clean, modern facade you can be proud of.
You'll Learn About
Why Ditching Your Shutters Might Be the Best Upgrade You Make
Removing shutters is more than just a style choice; it’s an opportunity to inspect and improve the health and appearance of your home’s exterior. Many modern homes sport shutters that are merely placeholders, lacking the architectural authenticity of their functional ancestors.
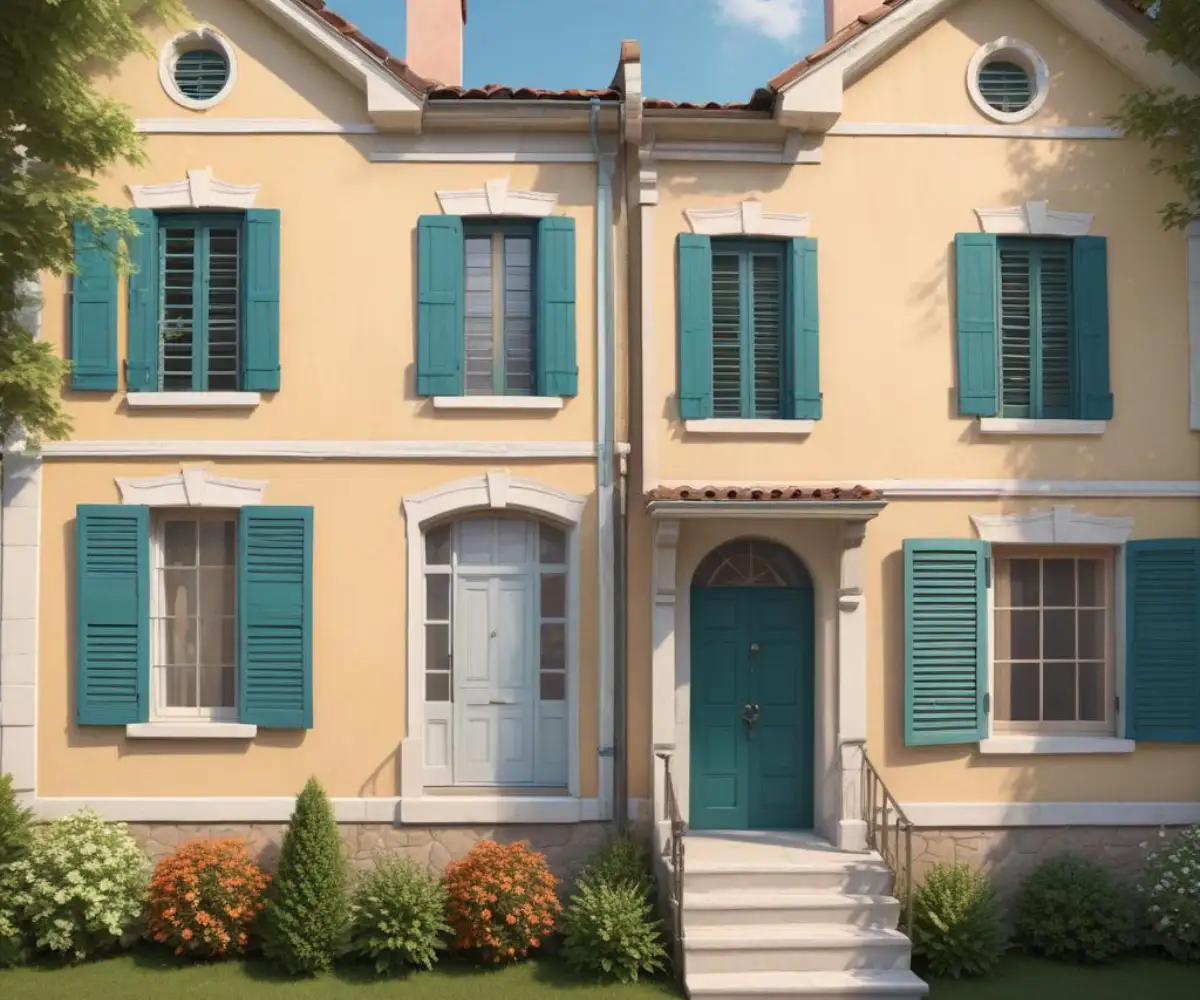
The Modern Aesthetic: A Cleaner, Bolder Look
Today’s design trends lean towards minimalism and authenticity. Removing improperly sized decorative shutters can instantly update a home, giving it a cleaner, more contemporary appearance. This simple change allows your home’s architectural lines and window trim to stand out, often making the entire house feel larger and more intentional.
Uncovering Hidden Problems: Rot, Pests, and Siding Damage
Shutters can be deceptive, hiding a multitude of sins. They create a sheltered environment against your siding that is notorious for trapping moisture, leading to mold, mildew, and even wood rot. Wasps and other insects love building nests in the dark, protected space behind shutters.
Removing them is a critical maintenance step. It forces you to confront potential water damage that, if left unchecked, could lead to far more extensive and expensive repairs down the line. What you find might be alarming, but it’s better to know and fix it than to let it fester out of sight.
Function vs. Fashion: When Shutters Don’t Belong
Historically, shutters were functional; they closed over windows to protect against storms and provide security. For this reason, authentic shutters are sized to perfectly cover the window they flank. Most modern shutters are simply screwed to the siding and are often comically undersized for the windows they’re next to, a dead giveaway that they are purely for show.
Before You Start: The Ultimate Shutter Removal Checklist
Proper preparation is the key to a smooth and successful shutter removal project. Before you grab a ladder, take the time to assess the situation and gather the necessary tools. This foresight will save you from multiple trips to the hardware store and prevent costly mistakes.
Planning for what comes “after” is just as important as the removal itself. Will you need to paint? Do you have the right materials to patch holes in your specific type of siding? Thinking through these steps now will ensure your home isn’t left in a state of disrepair.
Assessing Your Shutters and Siding
First, identify what you’re working with. Vinyl shutters attached to vinyl siding is the most common and generally easiest scenario. Wood or composite shutters, especially on brick or stucco homes, may be attached with more substantial hardware like lag bolts, requiring a different approach. Look closely at the fasteners to determine the best removal method.
| Tool/Material | Purpose | Siding Type |
|---|---|---|
| Drill/Driver | Removing screws | Wood, Stucco, Brick |
| Pry Bar or Flat Tool | Gently prying shutters away from the wall | All Types |
| Hammer & Chisel/Cutter | Cutting plastic fasteners (Shutter-Loks) | Vinyl, Wood |
| Ladder | Safely reaching upper-story shutters | All Types |
| Safety Glasses | Protecting eyes from debris | All Types |
| Exterior Filler/Caulk | Patching holes after removal | Specific to Siding Type |
| Cleaning Supplies | Washing the siding underneath | All Types |

The Step-by-Step Guide to Removing Shutters Like a Pro
With your tools gathered and a plan in place, you’re ready to begin. Remember to prioritize safety, especially when working on a ladder. Ensure the ladder is on stable, level ground and always maintain three points of contact.
While removing shutters, be mindful of hidden dangers like wasp nests. It’s wise to have a can of insect spray handy just in case you disturb a hidden colony.
Removing Vinyl Shutters (The Easy Part)
Most vinyl shutters are held in place by plastic fasteners, often called “Shutter-Loks” or spikes. These are designed for permanent installation, meaning they must be cut or broken for removal. Do not try to pull them straight out, as this can damage both the shutter and your siding.
The most effective method is to slide a thin, flat tool like a chisel or a sharp painter’s tool behind the shutter, against the fastener’s shaft. A sharp rap with a hammer will shear the plastic fastener, releasing the shutter. For stubborn fasteners, diagonal cutting pliers can be used to snip the head off. After the shutter is off, cut the remaining fastener nub flush with the siding and carefully drill out the rest.
Tackling Wood or Composite Shutters (The Tricky Part)
Wood shutters are typically attached with metal screws or lag bolts. These can be straightforward to remove with a drill, but years of exposure to the elements can lead to rust or stripped heads. If a screw is spinning without backing out, you may need to apply gentle pressure behind the shutter with a pry bar while simultaneously using the drill.
For screws on a stucco or brick facade, the process is similar, but patching the remaining holes will require a masonry-specific filler or mortar to ensure a weatherproof seal.
The Big Reveal: Tackling What’s Left Behind
This is the moment of truth. With the shutters gone, you will almost certainly be faced with a few cosmetic challenges. Years of being covered have protected the siding underneath from sun, rain, and dirt, leaving a distinct outline.
This “after” stage is where the real transformation happens. Diligent repair work is what separates a sloppy job from a professional-looking curb appeal upgrade. Don’t be discouraged by what you see; every issue has a solution.
The Dreaded “Shutter Ghost”: Erasing Fading and Discoloration
The most common issue is the “ghosting” effect, where the siding behind the shutter is a different color than the surrounding, sun-faded siding. No amount of scrubbing will fix this UV damage. A thorough power washing of the entire wall is the first step to even out the appearance as much as possible.
Ultimately, painting the entire facade is the only way to completely eliminate these outlines and achieve a uniform finish. It’s a bigger project, but it guarantees a flawless result and dramatically boosts your home’s curb appeal.
Patching Like a Pro: How to Fill Holes in Any Siding
Properly sealing the fastener holes is crucial to prevent water intrusion. For vinyl siding, you can use color-matched caulk for a simple fix. Small holes can often be repaired with exterior filler, sanded smooth, and touched up with paint. When a top piece of vinyl siding keeps falling off, it often points to larger fastening issues, so ensuring all holes are sealed is critical for the integrity of the entire wall.
For wood siding, use a high-quality exterior wood filler, sand it flush once cured, and then prime and paint. For brick or stucco, use an appropriate mortar or stucco patching compound to match the existing texture as closely as possible.
Beyond the Basics: Advanced Considerations and Unique Solutions
Taking your project a step further can yield even more impressive results. This is an opportunity to not just remove something, but to add a new, more thoughtful architectural element to your home. Thinking beyond simple removal can elevate the final outcome from good to truly stunning.
Upgrading Your Trim for Maximum Impact
One of the most effective ways to create a polished look after removing shutters is to enhance the window trim. Many homes have very narrow, builder-grade trim. By replacing it with wider, more substantial trim (5.5 inches is a popular choice), you create a bold frame for your windows that adds depth and character. This single upgrade can make the entire house look more custom and high-end, providing a beautiful architectural statement without the need for shutters.
A Note on Historic Homes: Preservation vs. Modernization
If you own a historic home, exercise caution. The shutters may be original and functional, contributing to the home’s architectural and historical value. Removing them could inadvertently detract from its character and even lower its value. Before proceeding, it may be wise to consult with a local historical society or a preservation expert to understand the significance of your home’s features.
Creative Repurposing for Old Shutters
Don’t just toss your old shutters in the trash. With a little creativity, they can be upcycled into charming home and garden decor. A fresh coat of paint can turn an old shutter into a unique mail sorter, a rustic headboard, or a wall-mounted coat rack. In the garden, they can be repurposed as trellises for climbing plants or as decorative privacy screens.
Frequently Asked Questions About Shutter Removal
It’s natural to have questions before starting a project that will so visibly alter your home’s exterior. Addressing these common concerns can help you move forward with confidence.
Will removing shutters devalue my home?
When done correctly, removing dated or improperly sized shutters and properly finishing the siding underneath will almost always increase curb appeal and, therefore, value. A clean, well-maintained exterior is more attractive to potential buyers than a home with faded or damaged decorative elements. The key is the “after”—a clean finish is essential.
How much does it cost to have shutters professionally removed?
The cost for professional removal can vary widely based on location, the number of shutters, and the height of your home. Expect to pay a handyman anywhere from $25 to $100 per window, which typically includes removal and disposal. This price usually does not include the cost of repairing and painting the siding afterward, which would be an additional expense.
Can I use certain cleaning products to help with the “ghosting” effect?
While a good cleaning is necessary, some products can do more harm than good. For example, never follow viral “hacks” without proper research. Some homeowners have considered using certain lubricants to shine up old vinyl, but it’s important to know the facts. Using WD-40 on vinyl shutters or siding can attract more dust and dirt, creating a grimy film that is difficult to remove. Stick to approved siding cleaners.
Conclusion: A Fresh Start for Your Home’s Exterior
Removing your house shutters is a project that delivers a powerful before-and-after impact. It’s a chance to modernize your home’s look, address hidden maintenance issues, and redefine its character. While it requires careful planning and a bit of elbow grease to manage the aftermath, the result is a crisp, clean aesthetic that can make you fall in love with your home all over again.
Remember that the removal is only half the battle. The real transformation lies in the meticulous repair of what’s left behind—patching the holes, cleaning the siding, and applying a fresh coat of paint to erase the ghosts of shutters past. And when undertaking any project involving power tools, always prioritize safety; if a ground prong is stuck in an outlet, for instance, address that electrical hazard before proceeding. With a thoughtful approach, you can achieve a stunning, shutter-free facade that will stand the test of time.