Remove Walk In Tub: Your Ultimate Guide to a Modern Bathroom
That walk-in tub seemed like a great idea once, but now it feels like a bulky obstacle in your bathroom. Whether your mobility needs have changed, you’re looking to sell your home, or you simply want a more modern, spacious bathroom, the task to remove a walk-in tub can feel overwhelming.
Many homeowners feel stuck, fearing a complex, messy, and expensive demolition project. This guide is here to solve that problem, breaking down the process into manageable steps for a confident and successful removal.
You'll Learn About
Before You Begin: The Crucial Planning Stage
Proper planning is the most important step in this entire process. Rushing into demolition without a clear plan can lead to costly mistakes, damage to your bathroom, and a lot of frustration. Take the time to prepare thoroughly before you pick up a single tool.
Assessing Your Walk-In Tub Model
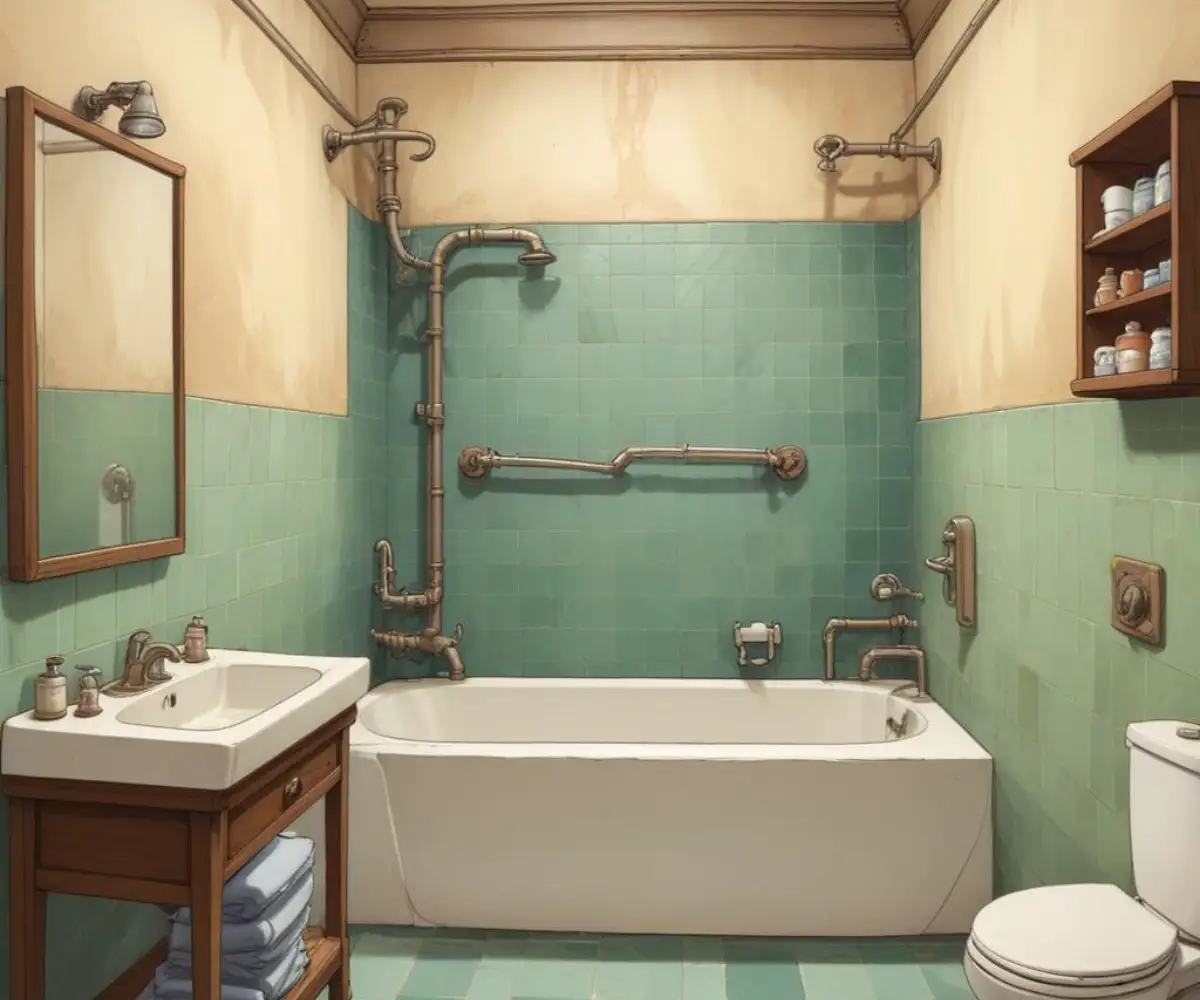
Not all walk-in tubs are created equal. Some are simple soaking tubs, while others are complex units with whirlpool jets, air jets, heaters, and lights. Understanding your specific model is key to a safe removal.
Carefully inspect your tub for any electrical components. You will need to ensure all power is disconnected from the source, not just unplugged. This often involves shutting off a dedicated circuit breaker.
Essential Tools and Safety Gear Checklist
Having the right tools on hand will make the job significantly smoother and safer. You don’t want to be halfway through the project and realize you’re missing a critical piece of equipment. Prepare your toolkit in advance to avoid delays.
Safety should be your top priority. Demolition can create sharp edges and airborne dust, so proper personal protective equipment (PPE) is non-negotiable.
| Category | Item | Purpose |
|---|---|---|
| Safety Gear | Safety Glasses | Protects eyes from flying debris. |
| Heavy-Duty Gloves | Protects hands from sharp edges. | |
| Dust Mask/Respirator | Prevents inhalation of fiberglass or acrylic dust. | |
| Steel-Toed Boots | Protects feet from heavy, falling objects. | |
| Disconnecting | Adjustable Wrench | For plumbing fittings and supply lines. |
| Tub Drain Wrench | A specialty tool for removing the drain flange. | |
| Screwdriver Set | For removing fixtures and overflow covers. | |
| Demolition | Utility Knife | For cutting caulk and sealant. |
| Pry Bar | To separate the tub from walls and flooring. | |
| Reciprocating Saw (Sawzall) | For cutting the tub shell into manageable pieces. | |
| Sledgehammer | For cast iron tubs (use with extreme caution). |
Measuring and Planning for What’s Next
Removing the tub is only half the battle. You need a clear plan for what will replace it. Will you install a sleek, modern walk-in shower, a standard bathtub, or repurpose the space entirely?
Measure the alcove’s dimensions—width, depth, and height—carefully. This will determine the size of the new fixture you can install. Remember to account for the location of the existing drain and water supply lines, as moving these can add significant cost and complexity to your project.
Step-by-Step Walk-In Tub Removal Guide
With your planning complete and tools at the ready, it’s time to begin the removal process. Work methodically and prioritize safety at every stage. This is a project that requires patience and precision, not brute force.
Step 1: Shutting Off Power and Water
This is the most critical first step. Before doing anything else, you must completely shut off the water supply to the bathroom. You can usually do this via shutoff valves for the tub itself or by turning off the main water supply to your house.
If your walk-in tub has jets, lights, or a heater, you must also shut off the electricity. Locate the correct circuit in your home’s breaker box and switch it to the “OFF” position. Test that the power is off by trying to turn on the tub’s features.
Step 2: Disconnecting All Plumbing and Electrical
Once the utilities are off, you can safely disconnect the plumbing. Start by removing the faucet handles and spout. Next, tackle the overflow cover plate and the drain flange in the bottom of the tub, using your specialized tub drain wrench.
If you have an access panel behind the tub, open it to get to the main drain assembly. Use an adjustable wrench to disconnect the tub’s drain pipes from your home’s plumbing. Be sure to have a bucket ready to catch any residual water in the pipes.
Step 3: Removing Doors, Faucets, and Fixtures
Carefully remove the walk-in tub’s door from its hinges and set it aside. This will make the tub lighter and less awkward to handle. Unscrew and remove any grab bars, faucets, and other fixtures attached to the tub or the surrounding walls.
Taking off these components first prevents them from getting damaged during demolition and makes the tub shell easier to cut and remove.
Step 4: Detaching the Tub from Walls and Floor
Your tub is sealed to the walls and floor with caulk. Use a utility knife to score and cut through all of these sealant lines. This is an important step to break the bond holding the tub in place.
Most walk-in tubs have a flange that is screwed or nailed directly to the wall studs. You will need to remove the drywall or tile surround for about six inches above the tub’s edge to expose this flange. Once exposed, use a pry bar and drill to remove all the fasteners securing the tub to the framing.
Step 5: The Demolition – Breaking Down the Tub
A walk-in tub is almost always too large and heavy to be removed in one piece. You will need to cut it into smaller, manageable sections. Most walk-in tubs are made of fiberglass or acrylic, which can be cut with a reciprocating saw.
Put on your safety glasses and dust mask. Start by cutting the tub shell vertically in the corners and then horizontally across the middle. The goal is to create pieces you can safely lift and carry out of the bathroom without damaging walls or doorways.
Step 6: Removing the Debris and Cleaning the Area
With the tub cut into pieces, you can now remove them from the bathroom. Be careful, as the cut edges can be very sharp. Work with a helper if possible to carry the pieces out of the house.
Once the tub is gone, you’ll be left with an empty alcove. Use a shop vacuum to thoroughly clean the area of all dust and debris. This is your chance to inspect the subfloor and wall studs for any signs of water damage that may have been hidden by the old tub.
Common Problems and How to Solve Them
Even with careful planning, you might encounter a few surprises. Knowing how to handle them can keep your project on track. Don’t let a minor setback derail your entire renovation.
Dealing with Unexpected Water Damage
It’s not uncommon to find soft spots in the subfloor or discolored, moldy drywall after removing an old tub. If you find damage, it must be repaired before you proceed. Cut out and replace any rotted wood or compromised drywall to ensure a solid, healthy foundation for your new installation.
Properly addressing these issues now prevents much bigger problems in the future. Ensure the area is completely dry before installing any new materials.
What If the Tub is Too Big to Get Out the Door?
This is precisely why cutting the tub into pieces is a standard part of the process. A reciprocating saw with a demolition blade is your best tool for this job. It allows you to systematically break the unit down into sections that can easily fit through your bathroom door and hallways.
Handling Complex Wiring for Jets and Heaters
If you are not 100% confident in your ability to handle electrical work, hire a licensed electrician. Incorrectly disconnecting or capping wires is a serious safety hazard. An electrician can ensure the circuit is safely terminated, which is especially important if you aren’t immediately installing a new powered feature.
Properly handling electrical components is a crucial part of home safety, much like knowing how to hang Christmas lights outside without an outlet requires specific safety knowledge for outdoor wiring.
After the Removal: Preparing for Your New Bathroom Feature
With the old tub gone, you now have a blank slate. This is the exciting part where you get to transform your bathroom into the space you’ve envisioned. Proper preparation of the alcove is key to a professional-looking and long-lasting installation.
Assessing and Repairing the Subfloor and Walls
Now that the space is open and clean, conduct a thorough inspection. Check that the floor is perfectly level. If not, you may need to use a self-leveling compound to create a flat base for your new shower pan or tub.
Repair the walls where you cut away the drywall to access the tub flange. This is also the time to install new cement backer board, which provides a waterproof foundation for new tile.
Plumbing Adjustments for a New Shower or Tub
The drain location for your old walk-in tub might not be in the perfect spot for a new shower. A licensed plumber can easily move the drain or adjust the water supply lines to fit your new fixture. This is a worthwhile investment to ensure your new setup functions perfectly and is code-compliant.
Considering a Modern Shower System
Replacing a bulky walk-in tub with a spacious, modern shower is a popular and valuable upgrade. Shower systems offer a wide range of features, from rainfall showerheads to sleek, easy-to-clean wall surrounds. This upgrade can dramatically improve both the functionality and aesthetics of your bathroom.
If you’re upgrading to a sleek new shower, understanding the Kohler LuxStone price can help you budget for a high-end, durable, and stylish finish. These systems often provide a complete solution, simplifying the renovation process.
The Big Question: DIY vs. Hiring a Professional
Deciding whether to tackle this project yourself or hire a professional is a major consideration. It depends on your skill level, budget, and timeline. Both paths have distinct advantages and disadvantages.
Cost Breakdown: DIY Savings vs. Professional Guarantees
The primary benefit of a DIY removal is cost savings, as you will only pay for tools and materials. However, a professional contractor brings experience, efficiency, and the proper insurance. Hiring a pro can prevent costly mistakes and damage to your home, providing peace of mind.
Professionals can often complete the job in a fraction of the time it would take a novice, minimizing the disruption to your household.
When You Absolutely Should Call a Pro
There are several situations where hiring a professional is strongly recommended. If you discover significant water damage, mold, or structural issues, you need an expert to assess and repair the problem correctly. Likewise, any major plumbing or electrical modifications should be handled by licensed professionals to ensure safety and compliance with building codes.
Disposing of Your Old Walk-In Tub
You’ve successfully removed the tub, but now you have several large pieces of fiberglass or acrylic to get rid of. Proper disposal is the final step in the project. You have a few options to consider.
Eco-Friendly Disposal and Recycling Options
Check with your local waste management facility about their policies for construction debris. Some facilities have specific recycling programs for materials like fiberglass and acrylic. Renting a small dumpster is often the most convenient method for disposal during a bathroom remodel.
If the tub is still in good condition, you could also consider donating it to a place like Habitat for Humanity ReStore. This keeps a large item out of the landfill and helps a good cause. Finally, managing demolition waste is a skill in itself, sometimes as challenging as dealing with a tough home issue like a fireplace ash pit with no cleanout door; both demand a smart removal strategy.
Conclusion: Reclaiming Your Space with Confidence
Removing a walk-in tub is a significant but achievable project that can completely transform your bathroom. By breaking the process down into clear, manageable steps—from meticulous planning and safety preparations to methodical demolition and smart disposal—you can successfully reclaim your space.
Whether you choose the DIY route or hire a professional, the result is a more modern, functional, and valuable bathroom. You’ve now replaced an outdated fixture with an opportunity for a fresh start, tailored to your current lifestyle and needs.