Why is There Rain on My New Roof? Here’s What to Expect & How to Handle It
You’ve just made a significant investment in a new roof. The crew has packed up, and it looks fantastic, but then you see them: dark, ominous clouds rolling in. It’s a homeowner’s nightmare: rain right after a new roof installation.
Is your brand-new roof ruined? Should you panic? In most cases, the answer is no. A professionally installed roof is designed to handle the elements from day one. However, understanding what to expect and what to look for can give you peace of mind.
You'll Learn About
Why Rain on a New Roof Usually Isn’t a Catastrophe
Modern roofing systems are built in layers for maximum protection. While the final layer of shingles, tiles, or metal is the primary barrier, the layers underneath play a crucial role, especially during and immediately after installation.
The most critical of these is the roofing underlayment. This water-resistant or waterproof barrier is installed over the roof deck before the final roofing material. It acts as a secondary line of defense, designed to protect your home from water intrusion even before the shingles are on.
The Role of Underlayment: Your Roof’s Secret Weapon
A high-quality synthetic underlayment can be left exposed to the elements, including rain, for an extended period without issue. It’s specifically engineered to shed water and keep the underlying wood structure of your roof dry.
So, if a sudden shower pops up during the installation process, this layer provides robust protection. It’s one reason you might wonder, why did my roofer leave my roof exposed? Often, it’s because the underlayment is doing its job.
Shingle Sealing and Rain
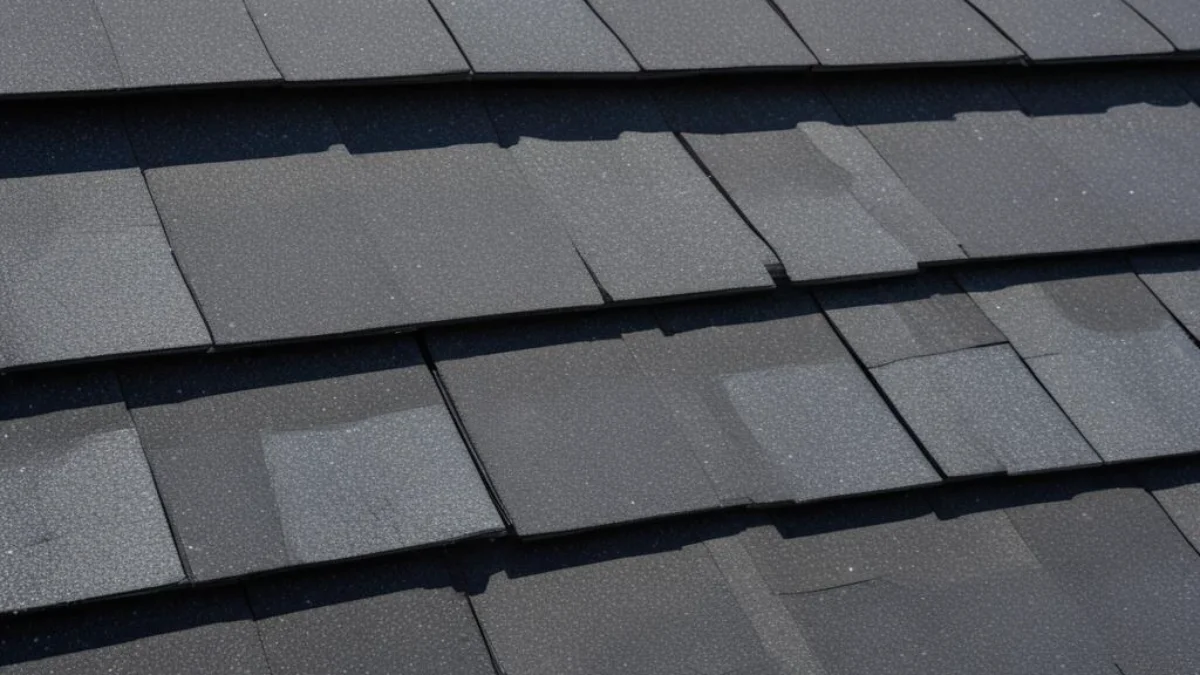
Asphalt shingles have a thermally activated sealant strip. This strip requires heat from direct sunlight to fully adhere to the shingle below it, creating a monolithic, wind-resistant surface. Rain itself won’t harm the shingles, but it can delay this sealing process.
It can take several days or even a couple of weeks of warm temperatures for the shingles to seal completely. A rainstorm shortly after installation doesn’t stop this process; it just puts it on pause until the sun comes out again.
What to Do When the Rain Starts: A Homeowner’s Action Plan
While your roof is likely fine, being proactive is always a good idea. Taking a few simple steps can ensure your home remains dry and your investment is secure. Panicking isn’t necessary, but being observant is.
Your first step should be a quick check inside your home. Look for any immediate signs of water intrusion, which are rare but possible if there was a mistake during installation.
Immediate Interior Inspection
The most critical area to check is your attic. Use a flashlight to carefully inspect the underside of the roof deck. Look for any dark spots, drips, or dampness on the wood or insulation.
Also, check the ceilings and walls on your top floor, especially around chimneys, skylights, and ventilation pipes. These are common areas for leaks to first appear.
Exterior Visual Check (From the Ground)
Safety first: Do not go up on your new roof, especially when it’s wet. You can perform a thorough visual inspection from the ground with a pair of binoculars.
Look for any shingles that appear lifted or out of place. Check that the flashing around chimneys and vents looks secure and properly installed. Observe how the water is flowing off the roof and through the gutters, ensuring it’s being directed away from your foundation.
Signs of Trouble: When to Call Your Roofer
Even with the best contractors, issues can arise. Knowing the difference between normal post-installation observations and genuine red flags is crucial. Some roofing companies may have questionable practices, so it’s important to know who you’re working with; some homeowners even worry about things like a Best Choice Roofing pyramid scheme, highlighting the need for due diligence.
If you spot any of the following issues after it rains, contact your roofing contractor immediately. A reputable roofer will stand by their work and address any concerns promptly.
Red Flags to Watch For
The most obvious sign of a problem is an active leak inside your home. Any sign of water in the attic or on your ceilings is an urgent issue that requires immediate attention from your roofer.
From the outside, look for missing shingles or visible damage to the new materials. Also, if you see water getting behind your gutters or dripping from the soffits, it could indicate an issue with the drip edge installation. Dealing with a sagging roof overhang is a separate structural issue, but water management problems can exacerbate it.
| Symptom | Location | Severity | Action to Take |
|---|---|---|---|
| Damp Spots or Stains | Attic or Ceilings | High | Call your roofer immediately. Place a bucket to catch drips. |
| Visible Drips | Interior of Home | Critical | Call your roofer’s emergency line. Protect furniture and floors. |
| Lifted or Missing Shingles | Roof Surface | Moderate to High | Contact your roofer for inspection and repair. |
| Water Behind Gutters | Eaves/Fascia | Low to Moderate | Inform your roofer; may indicate improper drip edge installation. |
| Clogged Gutters/Downspouts | Gutters | Low | Check for construction debris and clear it carefully if safe to do so. |
Long-Term Peace of Mind: Warranty and Workmanship
Your new roof comes with two types of warranties: one for the materials from the manufacturer and one for the workmanship from your contractor. Understanding both is key to protecting your investment.
The workmanship warranty is your first line of defense against installation errors that might lead to leaks. Most issues related to rain right after a new roof will fall under this category.
Trust Your Contractor, But Verify
A professional roofing contractor anticipates weather challenges. They use high-quality materials and follow specific installation protocols to mitigate the risk of rain during a project. They should have provided a clear explanation of their process and warranty.
Don’t hesitate to communicate with your contractor. Ask them about their rain-readiness procedures before the job even starts. A confident and transparent roofer will gladly explain how they protect your home throughout the entire process.
How to Stop Rain Noise on Your Roof?
The soothing sound of rain falling on your roof can be comforting for some, but for others, it can become an annoying distraction, especially if you’re trying to sleep or concentrate. If you’ve noticed rain noise echoing through your home and you’re looking for ways to reduce or stop it, there are several steps you can take to soundproof your roof and minimize the impact of this natural sound.
Here are some practical tips to help you reduce rain noise on your roof:
1. Add Insulation to the Attic or Ceiling
One of the most effective ways to reduce rain noise is by adding insulation to your attic or ceiling. Insulation acts as a barrier to sound waves, preventing them from traveling through your roof and into your living spaces. There are different types of insulation materials that can be used:
-
Fiberglass Insulation: Commonly used in attics, fiberglass batt or rolled insulation helps to reduce sound transmission. It’s relatively easy to install and can be an affordable option.
-
Spray Foam Insulation: This is a more advanced option, but it’s incredibly effective at sealing gaps and providing both thermal and sound insulation. Spray foam creates a tight seal that blocks out noise.
-
Blown-in Insulation: This type of insulation can be applied to hard-to-reach areas and is great for reducing sound. It’s also effective for filling gaps and voids in attics.
2. Seal Gaps and Cracks
Even small gaps and cracks in your roof or walls can amplify rain noise. Over time, your roof may develop leaks or tiny holes that allow sound to penetrate the structure of your home. Here are some areas you should focus on:
-
Roof Edges and Eaves: Check for any gaps between the roof and the eaves or soffits. These areas are often overlooked, but they can let rain sounds travel into your home.
-
Attic Vents: Vents are essential for airflow, but they can also be a source of sound transmission. Consider adding foam or acoustic sealant around vents to block out sound.
-
Window and Door Frames: If you have windows or doors near your roofline, make sure there’s a proper seal around the frames to reduce sound leakage.
3. Use Acoustic Foam or Soundproofing Panels
Acoustic foam panels or soundproofing boards can help reduce noise transmission from the roof into your home. These materials are designed to absorb sound, minimizing the reverberation of rain noise inside. They can be installed on the ceiling of rooms directly beneath the roof, or in the attic if you have a space where sound is echoing.
For best results, consider using high-density acoustic foam that is designed for soundproofing purposes. These panels come in various thicknesses and can be installed easily with adhesive or by screwing them into the ceiling.
4. Install a Roof Deck or Sound Barrier
If you live in a particularly noisy environment, you may want to consider installing a secondary layer of soundproofing materials directly on the roof. This can be done by placing a roof deck or a sound barrier membrane over the existing roofing material.
These soundproofing barriers can be made of rubber, cork, or fiberglass, which help absorb rain noise before it even hits your roof. Installing such a deck or barrier may require professional help, but it can provide long-term relief from external noise, including rain.
5. Upgrade Your Roof with a Thicker, Soundproofing Material
If you’re in the process of replacing your roof, it’s an excellent time to consider a material that naturally reduces noise. Some roofing materials are better at soundproofing than others. For example:
-
Asphalt Shingles: Asphalt shingles are fairly common and provide some degree of soundproofing. However, upgrading to a multi-layered asphalt shingle system can help to further reduce sound.
-
Metal Roofing with Soundproofing Underlayment: Metal roofs are often louder than other types of roofing when it rains, but by installing a soundproofing underlayment, you can significantly reduce the noise.
-
Clay or Concrete Tiles: These materials tend to absorb more sound than metal or asphalt, making them a good choice for reducing rain noise.
6. Install a Ceiling Suspension System
In areas where rain noise is particularly troublesome, installing a suspended ceiling can further reduce sound transmission. This involves adding a secondary ceiling beneath the existing one, which creates an air gap that helps dampen sound. This system is often used in commercial spaces but can be adapted for residential use as well.
Conclusion: A New Roof Is Built for Rain
Seeing rain in the forecast right after a roof replacement is understandably stressful. However, remember that your new roof is a robust system designed specifically to handle precipitation from the moment it’s installed.
By staying calm, performing safe inspections, and knowing the warning signs, you can be confident in your new roof. Trust in the protective layers, the quality of the materials, and the expertise of your chosen contractor. Your home is well-protected, rain or shine.