Rafter Tails and Gutters: Stop This Hidden Problem Now!
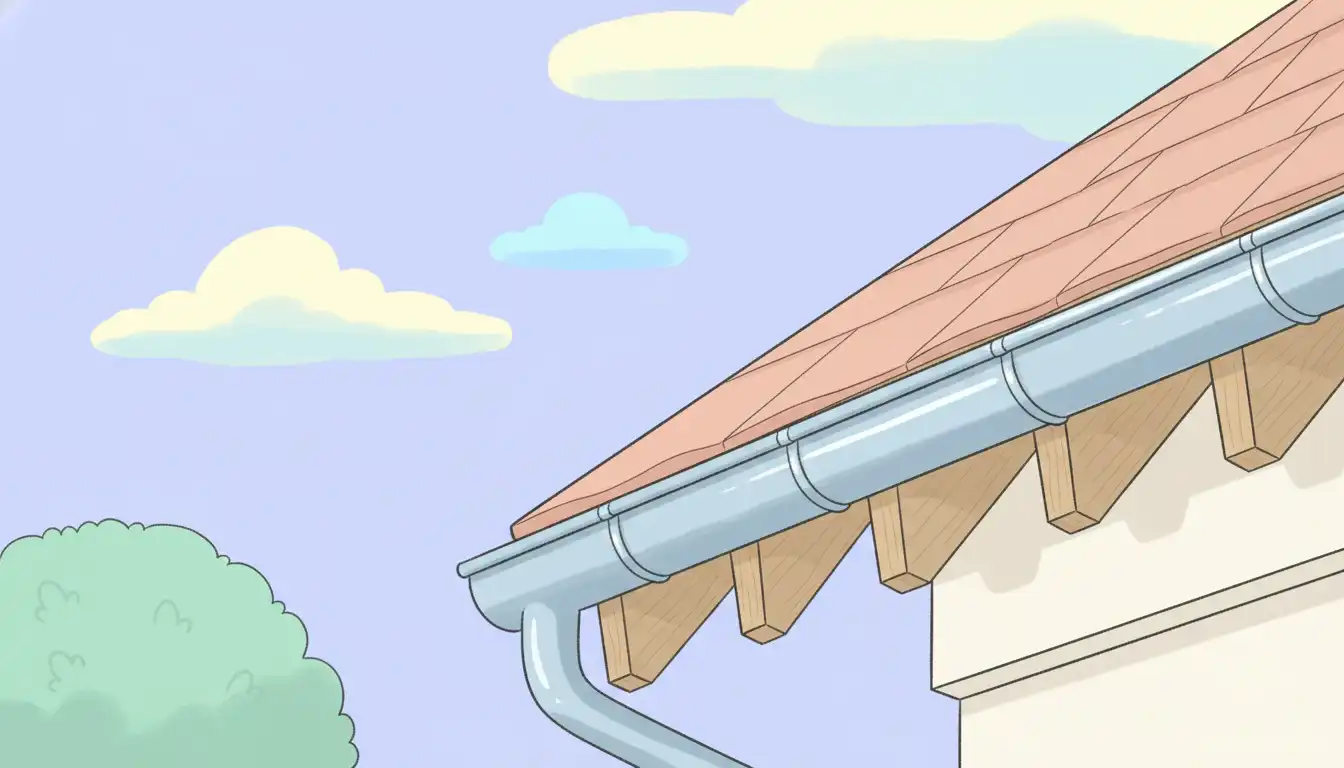
Exposed rafter tails are a hallmark of classic architecture, lending a timeless, crafted charm to homes from Craftsman bungalows to rustic farmhouses. This design feature, showcasing the “bones” of the house, adds character and visual depth. However, this aesthetic choice introduces a significant challenge that many homeowners overlook until it’s too late: proper gutter installation.
The core issue arises because modern gutters are designed to attach to a flat, continuous fascia board, which is absent in homes with exposed rafter tails. This complication isn’t just a minor inconvenience; a poorly executed gutter system on exposed rafters can lead to concentrated water damage, wood rot, and costly structural repairs. Understanding how to correctly marry function with form is critical to preserving both your home’s beauty and its integrity.
You'll Learn About
Why Exposed Rafter Tails Create a Gutter Installation Crisis
The fundamental conflict between exposed rafter tails and standard gutters creates a series of problems that can compromise your roof, overhang, and even your foundation. Ignoring these issues transforms a beautiful architectural detail into a liability for expensive water damage and decay.
The Missing Fascia Board Dilemma
Standard gutter systems rely entirely on a solid, flat fascia board for mounting. This board provides a continuous, stable surface to attach hangers and, most importantly, to set a consistent slope for proper drainage. Without a fascia board, you are left with the individual, often uneven, ends of the rafter tails.
This forces a choice between several less-than-ideal mounting methods. Directly attaching hangers to each rafter tail can be difficult and may not provide the stability needed to support a gutter filled with water and debris. This is where the initial challenge begins, and incorrect choices can quickly lead to further complications.
The Challenge of Achieving Proper Gutter Slope
For a gutter to function correctly, it must have a slight, continuous slope—typically about a quarter-inch drop for every 10 feet—towards the downspout. Achieving this precise angle is straightforward on a flat fascia board. On exposed rafter tails, however, it becomes a complex puzzle.
Rafter tails may not be perfectly aligned, especially on older homes. Decorative cuts or natural variations in the wood can create an uneven surface, making it nearly impossible to maintain a consistent slope. This often results in sections of the gutter that are level or, worse, sloped away from the downspout, causing water to pool and overflow.
The Hidden Threat: Concentrated Water Damage and Rot
When gutters fail to drain properly, the consequences are severe. Pooled water will overflow, often spilling directly back onto the very rafter tails supporting the gutter. The end grain of wood is especially vulnerable to moisture absorption, acting like a straw that wicks water deep into the timber.
This constant exposure to moisture creates the perfect environment for wood rot, which can quickly compromise the structural integrity of your roof’s overhang. What starts as a small patch of decay can spread, leading to a sagging roof overhang and attracting destructive pests like termites and carpenter ants.
Early Warning Signs: How to Spot a Failing Gutter System
Before catastrophic failure occurs, a poorly installed gutter system on rafter tails will show subtle but clear signs of distress. Recognizing these early warnings allows you to intervene before minor issues escalate into major, expensive repairs. Stay vigilant for peeling paint, stains, and any signs of gutters pulling away from the roofline.
Peeling Paint and Wood Stains
One of the first indicators of a moisture problem is the condition of the paint on your rafter tails. Constant dampness will cause paint to blister, peel, and flake away, exposing the bare wood underneath. Look for dark stains or discoloration on the wood, which signals that water is being absorbed.
These stains are not just a cosmetic issue; they are a clear sign that the wood’s protective barrier has failed. Once water begins to penetrate the end grain, the process of decay accelerates rapidly, weakening the wood from the inside out.
Gutter Sagging and Misalignment
Visually inspect your gutter line from a distance. Does it appear straight and properly sloped, or are there visible dips and sags? A gutter filled with standing water is incredibly heavy, and this weight can cause mounting hardware to loosen and pull away from the rafter tails.
You may notice gaps appearing between the back of the gutter and the roofline. This is a critical failure point, as it allows water to run down the rafter tails and behind your siding, potentially causing damage to the wall structure itself.
Pest and Insect Infestations
Damp, decaying wood is an open invitation for pests. Carpenter ants, termites, and even carpenter bees are drawn to soft, moist wood as an ideal place to nest and forage. If you notice an increase in insect activity around your roofline, it’s a strong indicator of underlying moisture issues.
Check the rafter tails for small, perfectly round holes, which are a telltale sign of carpenter bees. Sawdust-like material, known as frass, below the rafters can indicate the presence of carpenter ants or termites. Addressing the rot is the first step in eliminating these damaging pests.
The Right Way: Solutions for Installing Gutters on Rafter Tails
Successfully installing gutters on exposed rafter tails requires abandoning standard techniques in favor of specialized solutions. The goal is to create a secure, properly sloped system that protects the rafter tails while complementing your home’s architectural style. Each method has its own benefits and aesthetic considerations.
Solution 1: Install a Faux Fascia Board
One of the most effective and protective solutions is to install a “faux fascia” or spacer board. This involves attaching a continuous board—typically a 1×4 or 1×6—directly to the ends of the rafter tails. This creates the flat, stable surface needed for standard gutter installation.
This approach not only simplifies the process of achieving the correct slope but also adds a crucial layer of protection for the rafter tails themselves. The faux fascia shields the vulnerable end grain from direct water exposure. For a seamless look, the board can be painted or stained to match the existing trim.
Solution 2: Use Strap-Style or Roof-Mounted Hangers
When preserving the visual separation between the gutter and the roofline is a priority, strap-style hangers are an excellent choice. These metal straps attach to the top of the gutter, run up under the shingles, and are nailed directly to the roof deck. This method suspends the gutter in front of the rafter tails rather than attaching to them directly.
This approach allows for precise height adjustments at each strap, making it easier to set the proper slope. It also ensures the rafter tails remain fully visible. However, it’s crucial that this installation is done correctly to avoid compromising the integrity of your roofing material.
Solution 3: Specialized Rafter Tail Brackets
A variety of specialized brackets are designed specifically for homes without fascia boards. These include side-mounted rafter brackets and decorative hangers that can enhance the home’s aesthetic. These brackets attach to the sides of the rafter tails, providing a secure mounting point for the gutter.
The key advantage here is flexibility. Different bracket designs can accommodate various rafter shapes and sizes while offering adjustability for slope. Choosing a high-quality, corrosion-resistant bracket is essential for long-term stability and performance.
| Gutter Mounting Method | Pros | Cons | Best For |
|---|---|---|---|
| Faux Fascia Board | Provides maximum protection for rafter tails; simplifies gutter installation and slope adjustment. | Slightly alters the aesthetic by covering the rafter ends. | Homes where long-term wood preservation is the top priority. |
| Strap-Style Hangers | Preserves the full visibility of rafter tails; highly adjustable for achieving proper slope. | Installation can be more complex; risk of roofing damage if not installed correctly. | Maintaining the architectural integrity of Craftsman or historic homes. |
| Specialized Brackets | Offers a direct and secure attachment; many decorative options are available. | Requires careful selection to match rafter style; less protection for end grain. | Homes with uniquely shaped or decorative rafter tails. |
Long-Term Protection for Your Rafter Tails
Installing the gutters correctly is only half the battle. To ensure the longevity of your exposed rafter tails, you must create a comprehensive water management system. This involves integrating proper flashing, choosing the right materials, and ensuring your entire roof system is healthy.
The Critical Role of Drip Edge and Flashing
A gutter system is incomplete without a properly installed drip edge. This L-shaped piece of metal flashing is installed at the edge of the roof deck, under the shingles, and extends out over the gutter. Its job is to direct water cleanly into the gutter, preventing it from running behind the gutter and down the rafter tails.
Many water damage issues stem from a drip edge installed wrong or one that is missing entirely. Ensure this component is a non-negotiable part of your roofing and gutter system to provide a crucial line of defense against moisture intrusion.
Choosing the Right Materials and Finishes
If you need to repair or replace rafter tails, choose wood species with natural resistance to rot and insects, such as Cedar or Redwood. Alternatively, modern composite materials like cellular PVC offer the look of wood without any of the maintenance concerns, as they are completely impervious to moisture.
Proper finishing is essential for wood rafter tails. Always prime all six sides of the wood—including the end grain—before painting. Use a high-quality exterior acrylic latex paint, and plan on regular inspections and touch-ups every few years to maintain a protective seal.
Integrating with Soffit and Ventilation
The health of your rafter tails is connected to the overall health of your roof overhang. If your home has soffits between the rafters, ensure they are properly ventilated. Good airflow helps prevent moisture buildup that can lead to rot and mold.
For homes with complex rooflines, such as those with an angled soffit, ensuring proper drainage and ventilation is even more critical. A holistic approach that considers the entire roof system is the best way to protect your home’s structural and aesthetic features.
Advanced Solutions: Preserving Architectural Integrity
For architecturally significant or historic homes, the challenge extends beyond mere function. The solution must respect and preserve the home’s original design intent. This requires a deeper understanding of material harmony and installation techniques that blend seamlessly with the existing structure.
The Form vs. Function Debate in Heritage Homes
On a true Craftsman or heritage home, covering exposed rafter tails with a faux fascia may be considered an unacceptable compromise. In these cases, the aesthetic imperative to keep the structural elements visible often outweighs the simplicity of a fascia board. The goal is to make the drainage system appear as an integrated, intentional part of the design, not a modern afterthought.
This is where half-round gutters paired with decorative strap hangers or custom-fabricated brackets can shine. These elements can be selected in materials like copper or dark-finished aluminum to complement the home’s color palette and historic character, turning a functional necessity into a beautiful architectural detail.
Rethinking Water Management on Complex Structures
Not all water management solutions need to be conventional. For structures where traditional gutters are particularly challenging, such as a pergola attached to the house, alternative drainage strategies may be necessary. Learning how to add a pitch for a perfect, leak-proof roof on an adjacent structure can inform the overall drainage plan for your home.
Ultimately, protecting your home from water damage is paramount. Exposed rafter tails present a unique challenge, but with the right knowledge and a thoughtful approach, you can install an effective gutter system that enhances your home’s beauty and ensures its structural integrity for decades to come. Don’t let this hidden problem compromise your beautiful home.