Radon Mitigation System Without a Sump Pump: Your Ultimate Guide
You’ve tested your home for radon, and the results are high. Now, you face a new problem: every guide you find talks about using a sump pump for mitigation, but your home doesn’t have one. This common issue leaves many homeowners feeling stuck and worried about their family’s health and safety.
Don’t panic. The absence of a sump pump does not mean you’re out of options. In fact, installing a highly effective radon mitigation system in a home without a sump pit is a standard and routine procedure for qualified professionals.
You'll Learn About
Why Sump Pits Are Common, But Not Essential
Many radon mitigation systems utilize a sump pit because it provides a convenient, pre-existing access point below your home’s foundation. The pit, designed to collect water, naturally creates a location where radon gas can also accumulate. By sealing the sump pit with a special cover and applying suction, a mitigation system can easily draw radon-laden air from beneath the slab and vent it safely outside.
However, the sump pit is merely a point of convenience. The core principle of radon mitigation is creating negative pressure under your foundation, and this can be achieved in any home with a concrete slab or crawl space, regardless of whether a sump pump is present.
Understanding Sub-Slab Depressurization
The most common and reliable method for radon reduction is called active sub-slab depressurization (ASD). This technique involves creating a small suction point in your foundation, which allows a specialized radon fan to pull radon gas from the soil before it can enter your home. The entire system is sealed, creating a permanent vacuum that constantly protects your indoor air quality.
When no sump pump exists, a radon technician will simply create a new suction point. This process is straightforward, minimally invasive, and is the standard approach for millions of homes across the country.
The Solution: Creating a New Radon Suction Point
Installing a radon mitigation system without a sump pump involves a precise, multi-step process designed to ensure maximum effectiveness and efficiency. A certified professional will tailor the system to your home’s unique characteristics.
Step 1: Professional Diagnostics and System Design
Before any drilling occurs, a professional will perform crucial diagnostic tests. This involves drilling one or more small test holes in your basement slab and using a micromanometer to measure pressure field extension. This test determines how easily air moves under your foundation and helps identify the optimal location for the permanent suction point.
Factors like soil density, sub-slab aggregate (gravel), and the presence of footings all influence where the suction point should be placed. Proper diagnostic testing is the key to designing an effective system that might only need a single penetration point to lower radon levels throughout the entire house.
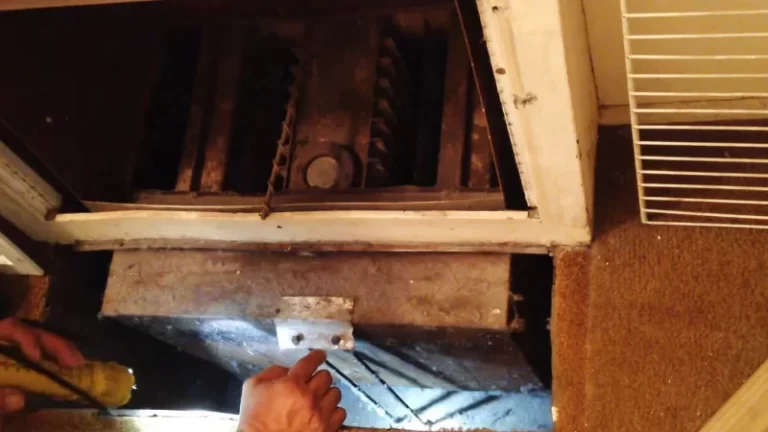
Step 2: Core Drilling the Suction Hole
Once the ideal location is identified, the technician will core drill a clean, typically 5-inch diameter hole through your concrete slab. This is often done in an unfinished area like a utility room or storage closet to minimize aesthetic impact. This process is controlled to manage dust and debris, leaving a neat opening for the system.
This is a critical step where precision matters. While the process is relatively straightforward, ensuring the integrity of the surrounding slab is important. It’s a task best left to professionals with the right equipment.
Step 3: Excavating the Suction Pit
After drilling the hole, the technician will excavate a small pit beneath the slab. Typically, 5 to 15 gallons of soil, sand, or gravel are removed from directly under the hole. This small cavity acts as a collection chamber or plenum, creating more surface area for the radon fan to draw gas from, significantly improving the system’s efficiency.
The amount of material removed depends on the sub-slab soil conditions. Looser material like gravel requires a smaller pit, while denser clay or sand may require a larger one to achieve the same airflow.
Step 4: Installing the PVC Vent Pipe
A solid PVC vent pipe (typically 3 or 4 inches in diameter) is inserted into the newly created suction point. This pipe is then carefully sealed to the concrete slab using a durable, airtight urethane caulk. This seal is crucial to prevent any loss of suction and to stop radon gas from leaking into the basement around the pipe.
The pipe is then routed upwards and outwards. It may run through an unfinished basement, inside a closet, through a garage, or along the home’s exterior to a suitable exhaust point.
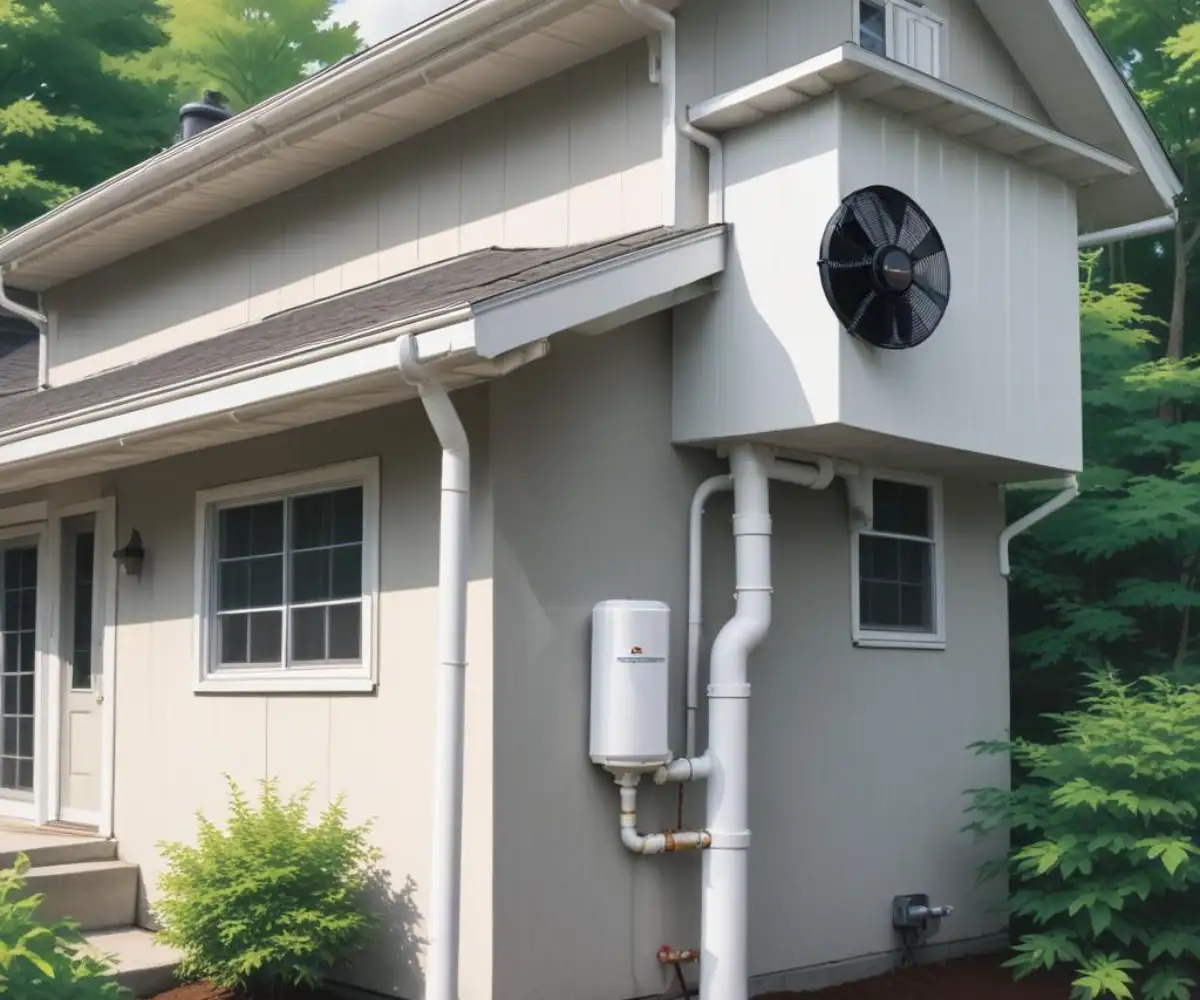
Step 5: Mounting the Radon Fan and Exhaust
The heart of the system is the radon fan. This specially designed, continuously running fan is installed in a non-living space like an attic, garage, or on the exterior of the home. The fan must be placed in a vertical section of the pipe and is responsible for creating the vacuum that pulls radon from the soil.
The vent pipe continues from the fan and terminates at least 10 feet above the ground and above the edge of the roof, away from windows and other openings. This ensures the radon gas is safely dispersed into the atmosphere and cannot re-enter the home. If you ever notice your radon fan is loud when cold, it might indicate an issue with the fan motor or debris in the housing, which requires immediate attention.
Step 6: System Monitoring and Sealing
A U-tube manometer is installed on the basement pipe. This simple gauge provides a visual confirmation that the system is operating and creating suction. The liquid in the U-tube will be at different levels, indicating the fan is working. If the levels are even, it signals a problem with the fan or system.
Additionally, the technician will seal any accessible cracks in the basement floor and openings around utility penetrations. This helps improve the system’s efficiency by preventing the loss of conditioned air from your home into the system.
Mitigation Options for Different Foundation Types
Not all homes are the same. The right approach depends on your foundation type. While the core principle of depressurization remains, the application is slightly different.
| Foundation Type | Primary Mitigation Method | Key Installation Details |
|---|---|---|
| Basement or Slab-on-Grade | Sub-Slab Depressurization (SSD) | A 5-inch hole is cored through the concrete slab to create a suction point. A small pit is excavated beneath the hole to improve airflow before the PVC pipe is installed and sealed. |
| Crawl Space (Dirt/Gravel) | Sub-Membrane Depressurization (SMD) | The entire dirt or gravel floor is covered with a heavy-duty, sealed plastic vapor barrier. A perforated pipe is laid underneath the barrier, which is then connected to the fan system to pull radon from the entire area. |
| Combination Foundation | Hybrid System | Homes with both a basement and a crawl space may require a hybrid approach. This often involves creating a suction point in the basement slab and also running a pipe to the crawl space to perform sub-membrane depressurization. |
What About Homes with a Crawl Space?
If your home has a crawl space instead of a full basement, the process is called sub-membrane depressurization. Instead of drilling through concrete, a heavy-duty plastic liner (vapor barrier) is laid down over the exposed earth. This liner is sealed airtight against the foundation walls and any support piers.
A perforated pipe is placed underneath the liner, which connects to the radon fan. The fan then pulls the radon gas from the soil beneath the plastic and vents it outside, preventing it from ever entering the crawl space and rising into your home’s living areas.
Frequently Asked Questions About Radon Mitigation
Navigating the world of radon mitigation can bring up many questions. Here are answers to some of the most common concerns for homeowners without a sump pump.
How much does a radon mitigation system cost without a sump pump?
The cost is generally very similar to a system that uses a sump pit. The national average for a professionally installed active sub-slab depressurization system is typically between $800 and $2,500. Creating a new suction point does not significantly add to the overall expense, as it is a standard part of the installation process for many homes.
Can I install a radon mitigation system myself?
While DIY kits are available, radon mitigation is a project best left to certified professionals. The EPA strongly recommends hiring a qualified contractor. Professionals have the diagnostic tools to design the most effective system, understand local building codes, and ensure the system is installed safely and correctly to protect your family.
Undertaking major home projects requires careful planning. While focusing on air quality is vital, remember that physical security is also a top priority. Learning about basic home security, such as understanding how certain mechanisms work, is a part of responsible homeownership. For instance, knowing how to jam a lock can provide insight into securing vulnerable points of entry.
How do I know if the system is working?
Every active radon mitigation system must have a system indicator. The most common is a U-tube manometer, a simple pressure gauge installed on the PVC pipe in your basement. If the two columns of liquid are uneven, it confirms the fan is creating a vacuum. You should also perform a follow-up radon test 24 hours after the system is activated to confirm that the radon levels have been successfully reduced.
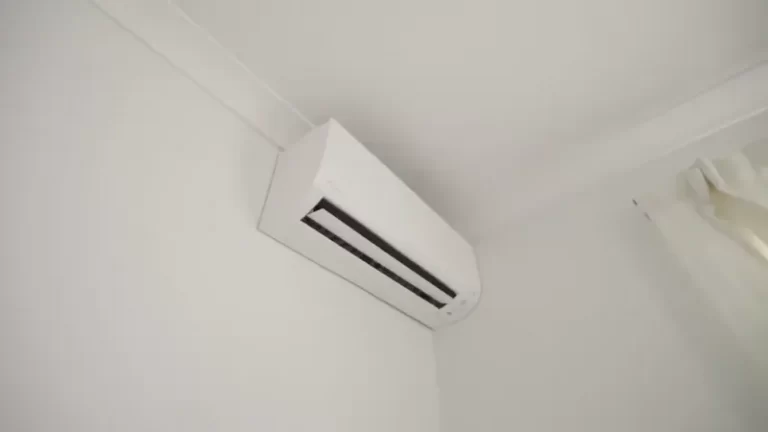
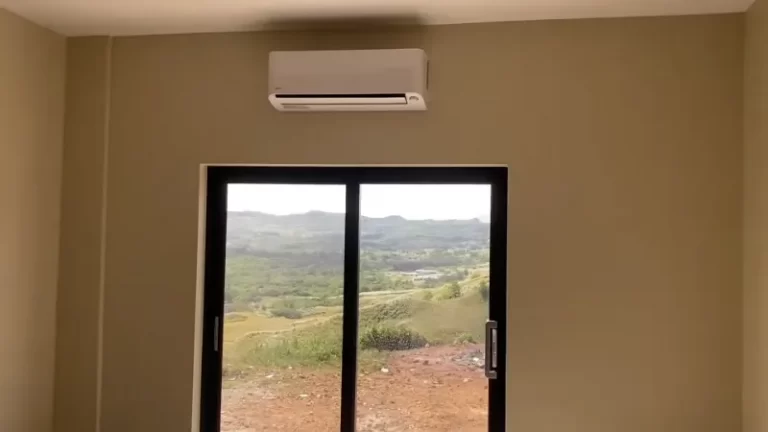
Will the system be noisy or unsightly?
Modern radon fans are engineered to be very quiet, often comparable to the hum of a refrigerator. When installed properly in an attic or garage, they are typically inaudible from the living areas of the home. Technicians also work to route the piping in the most discreet way possible, often along the back or side of a house, to minimize visual impact.
For larger home renovation projects that might involve exterior work, such as landscaping or utility trenching, you might find yourself managing heavy equipment. If you’re ever in that position, understanding the basics of machinery operation can be helpful. For example, knowing how hard it is to operate a mini excavator can prepare you for the scale of such tasks.
Your Path to a Safer Home
Discovering high radon levels in your home is alarming, but finding a solution shouldn’t be. A sump pump is not a requirement for effective radon mitigation. Through the proven process of sub-slab depressurization, a certified professional can install a system that creates a safer living environment for you and your family.
The key is to act. Don’t let the absence of a sump pit delay you from addressing a serious health risk. Contact a qualified radon mitigation specialist to perform diagnostics and design a custom system that will protect your home for years to come.