Power to Kitchen Island from Ceiling: Your #1 Code-Compliant Fix
You have the perfect kitchen island vision: a sprawling countertop, ample storage, and a central hub for cooking and gathering. But one major obstacle stands in your way—getting power to it. For homes with concrete slab foundations or pristine hardwood floors, tearing up the flooring is a non-starter.
The challenge then becomes how to deliver electricity to this crucial workspace safely and without creating an eyesore. Running power to a kitchen island from the ceiling is a clever and effective solution, but it requires careful planning to meet electrical codes and match your kitchen’s aesthetic. This guide breaks down everything you need to know.
You'll Learn About
Why Run Power from the Ceiling? The Problem Solved
The most common method for wiring a kitchen island is running electrical conduit under the floor from a nearby wall. However, this isn’t always feasible. Homes built on a concrete slab foundation make this process incredibly difficult, dusty, and expensive, requiring contractors to cut a trench into the concrete.
Likewise, homeowners with finished basements or cherished flooring materials are understandably hesitant to cut into their floors. Bringing power down from the ceiling bypasses these issues entirely, providing a direct and often simpler path from your home’s electrical system to the island.
Is Running Power from the Ceiling Against Code?
A common concern is whether this method is safe and legal. The short answer is yes, it is absolutely code-compliant when done correctly. The National Electrical Code (NEC) doesn’t prohibit this approach, but it does have strict rules about how the wiring is protected and installed.
The primary requirements involve using a proper conduit to shield the electrical cable from physical damage and ensuring all connections are made within approved electrical boxes. Recent updates to the NEC, specifically the 2023 version, have changed rules about outlet placement on islands, generally prohibiting outlets below the countertop to prevent cords from being accidentally pulled. Always consult a qualified electrician to ensure your project adheres to the latest local codes.
Methods for Getting Power from Ceiling to Island
There are two primary, professionally accepted methods for routing power from above. Each offers a different balance of aesthetics and installation complexity.
The Power Pole Method
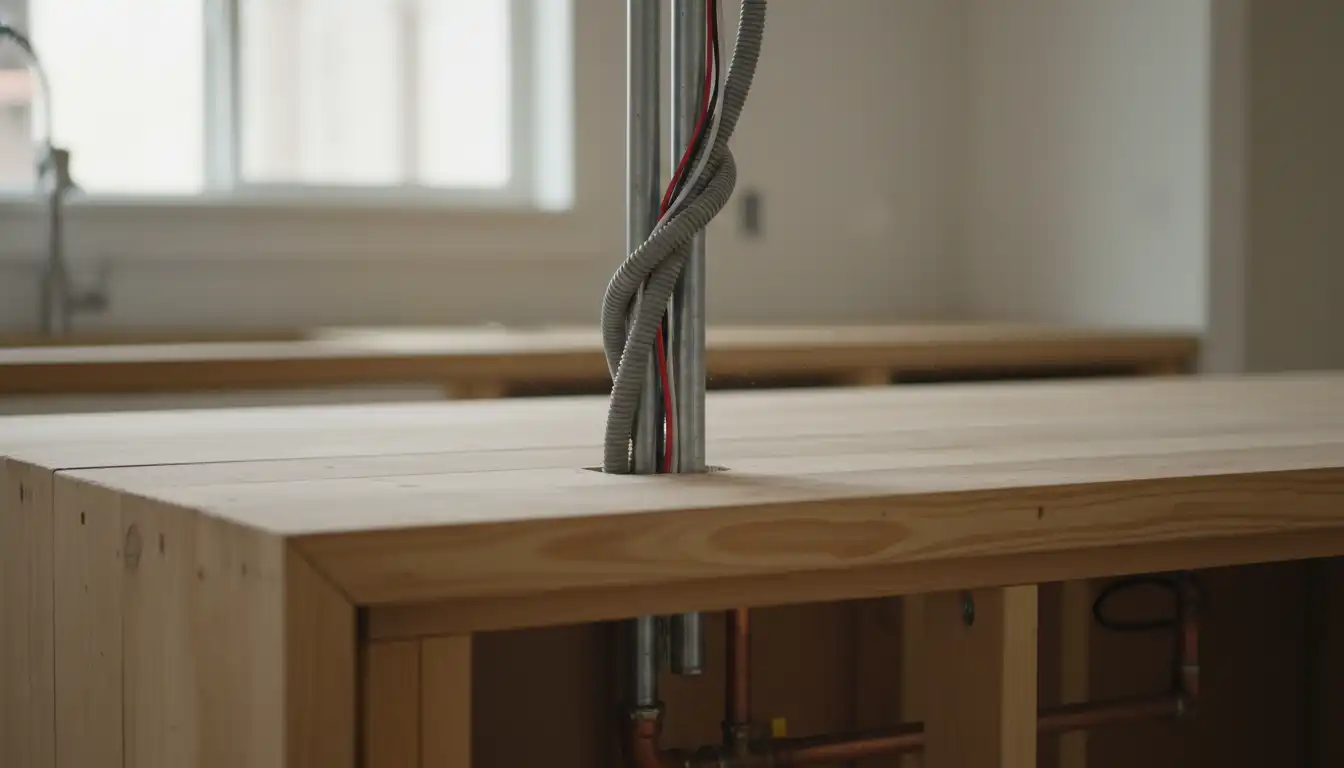
A power pole is a rigid metal or PVC conduit that runs vertically from a junction box in the ceiling directly to the island’s countertop or cabinet. The electrical cable is fed through this protective sleeve. While highly functional and straightforward, the main challenge is making it look intentional and not like an industrial afterthought.
This method is often chosen for its directness and relative ease of installation compared to more concealed options. The key to a successful power pole installation is integrating it into the island’s design from the beginning.
The Concealed Conduit Approach
For a more seamless look, the conduit can be hidden within a decorative element. This involves building a chase or pillar that extends from the ceiling to the island. This structure could be a simple drywall column, a custom wood pillar that matches your cabinetry, or even integrated into a feature like a pot rack.
While this requires more construction and finishing work, it completely hides the electrical mechanics, resulting in a polished, high-end look. This is the preferred method for homeowners who want to maintain a clean, uncluttered ceiling line.
Planning Your Island’s Electrical Needs: More Than Just Outlets
Before any wiring begins, it’s crucial to think beyond a single outlet. A modern kitchen island is a multifunctional workhorse. Consider what you’ll need now and in the future.
Will you be using small appliances like mixers and blenders? Do you want a dedicated charging station with USB ports for phones and tablets? Planning for multiple circuits or higher-capacity wiring from the start can save you a significant amount of money and hassle down the road. A 20-amp dedicated circuit is standard for kitchen island receptacles to handle the load from common appliances.
Choosing the Right Outlets
With new NEC regulations favoring countertop-level outlets, pop-up receptacles have become a popular and compliant choice. These units sit flush with the countertop when not in use and pop up with a simple press, providing access to power without permanently cluttering the surface. They are a safe and stylish solution that meets modern code requirements.
If you’re looking for solutions for other parts of your kitchen, such as hiding outlets for small appliances, consider how an appliance garage can help conceal clutter while keeping everything accessible.
Step-by-Step Installation Guide: The Power Pole
While hiring a licensed electrician is strongly recommended for safety and compliance, understanding the process is valuable for any homeowner. Here is a simplified overview of a typical power pole installation.
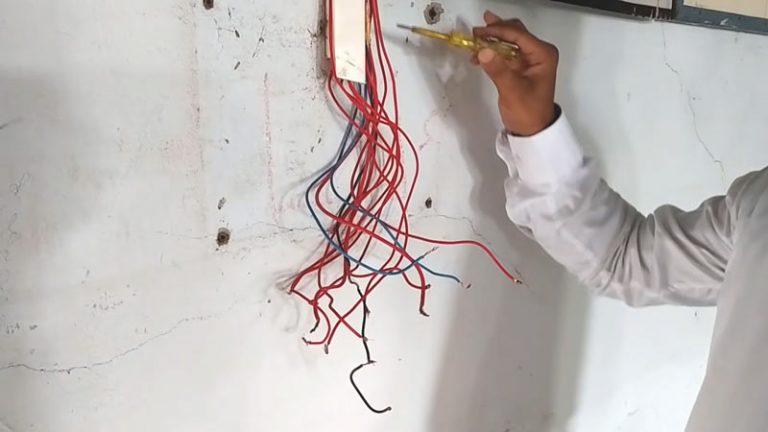
- Turn Off the Power: The absolute first step is to shut off the corresponding circuit at your main electrical panel. Verify the power is off using a voltage tester.
- Locate Ceiling Joists: Use a stud finder to locate the ceiling joists above your island. You’ll need to install a ceiling-fan-rated “pancake” electrical box securely to a joist to support the conduit.
- Run the Cable: A new electrical cable (typically 12/2 NM-B wire for a 20-amp circuit) is run from the main panel through the attic or ceiling space to the location of the new ceiling box.
- Mount the Ceiling Box & Conduit: The pancake box is installed on the ceiling joist. The power pole (conduit) is then securely attached to this box.
- Drill and Secure to Island: A hole is carefully drilled through the island countertop. The conduit is fed through this hole and secured to the island’s interior structure, and a junction box is installed inside the island cabinet.
- Wire the Outlets: The electrical cable is fed through the conduit. Inside the island, the cable is connected to your chosen receptacles, such as a pop-up outlet, which are then installed. All outlets must be GFCI-protected.
- Final Connections and Testing: The final connections are made in the ceiling box. Once everything is securely in place, the power is turned back on at the breaker, and the new outlets are tested.
This process involves working with your home’s main electrical system and requires a deep understanding of electrical codes. For these reasons, this project is best left to a professional.
Aesthetic Solutions: Making the Conduit Disappear
A visible power pole doesn’t have to be an eyesore. With some creativity, you can transform it from a purely functional element into a design feature.
Consider painting the conduit to match your ceiling or cabinetry, helping it blend in. For a more industrial or modern farmhouse look, you could use a metallic conduit like copper or black steel as an accent piece. Another popular option is to build a small decorative box or column around the conduit where it meets the island, making the transition feel more deliberate and integrated.
Properly aligning ceiling features is also key to a polished look. If you find your pendant lights are not centered over the island, that’s an issue to address during the planning phase of your electrical work to ensure a cohesive design.
Comparing Ceiling vs. Floor Installation Methods
Choosing the right method depends on your home’s construction, your budget, and your tolerance for disruption. Each approach has distinct advantages and disadvantages.
| Feature | Power from Ceiling | Power from Floor/Slab |
|---|---|---|
| Best For | Concrete slab foundations; homes with finished basements or valuable flooring. | Homes with crawl spaces or basements; new construction. |
| Disruption Level | Low to moderate. Involves work on the ceiling and island, but floors remain untouched. | High. Requires cutting into flooring and subfloor, or trenching concrete. Very dusty and messy. |
| Cost | Generally lower, as it avoids complex floor work and repair. | Can be significantly higher due to the cost of trenching, conduit installation, and floor repair/patching. |
| Aesthetic Challenge | Requires creative solutions to conceal the vertical conduit or power pole. | Completely hidden wiring, offering a cleaner look without ceiling obstructions. |
When to Absolutely Call a Professional
Any project involving running new electrical circuits should be handled by a licensed electrician. They have the expertise to ensure the work is done safely and meets all NEC and local building codes. Improperly installed wiring is a serious fire hazard and can lead to failed inspections that will halt your renovation project.
An electrician will also calculate the proper electrical load for your new circuit, select the correct wire gauge and breaker size, and ensure all outlets are properly protected with GFCI and AFCI as required. Investing in a professional for this job protects your home, your family, and the investment you’re making in your kitchen.