Plywood Garage Floor: Your Ultimate Guide to a Smart Upgrade
Is your concrete garage floor cold, stained, and relentlessly dusty? You’re not alone. For decades, concrete has been the default, but its drawbacks—cracks, stains from oil and chemicals, and being incredibly hard on your feet—leave many homeowners searching for a better solution.
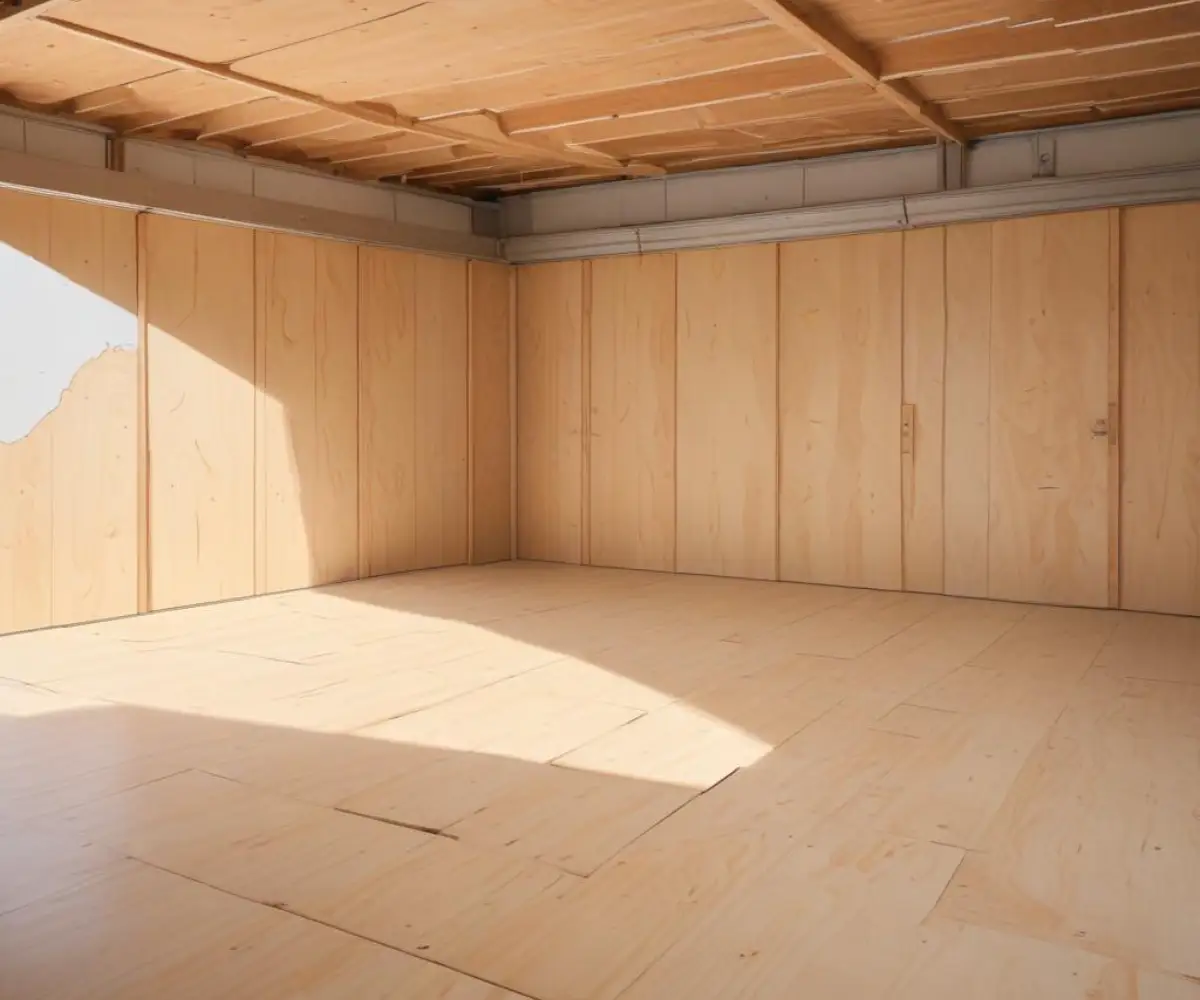
Enter the plywood garage floor. Often overlooked, installing a plywood floor over your existing concrete slab can transform your garage into a warmer, cleaner, and more comfortable space. This guide will walk you through everything you need to know, from deciding if it’s right for you to the final coat of sealant.
You'll Learn About
Why Even Consider a Plywood Garage Floor?
A plywood floor might sound unconventional for a garage, but it offers compelling advantages, especially for those who use their garage as a workshop or multipurpose space. The primary benefits are comfort and cost. Standing on wood for hours is significantly easier on your back and joints than standing on concrete.
However, it’s not a perfect solution for every situation. Plywood is susceptible to moisture damage and isn’t as inherently durable as concrete. Success depends entirely on proper preparation and installation, especially when it comes to moisture protection.
The Critical First Step: Understanding Your Concrete Slab
Before you buy a single sheet of plywood, you must assess your existing concrete floor. Is it prone to dampness? Moisture is the number one enemy of a plywood floor. An easy way to check is by taping a 2×2 foot square of plastic sheeting to the floor on all sides. After 24-48 hours, if you see condensation under the plastic, you have a moisture issue that must be addressed.
You also need to ensure the concrete is clean, free of oil and grease, and relatively flat. Minor cracks should be filled, and significant high or low spots may need to be ground down or filled with a leveling compound. Addressing an uneven surface is crucial, as it can affect the stability of the entire floor system, a principle that also applies if you ever need to fix an uneven second floor.
Choosing the Right Plywood and Materials
Not all plywood is created equal. For a garage floor, you need a material that is both strong and resistant to moisture. Using the wrong type of plywood is a recipe for failure, leading to delamination and rot.
Do not use OSB (Oriented Strand Board). While cheap, OSB swells irreversibly when it gets wet and lacks the structural integrity of true plywood for this application. You’ll need at least 3/4-inch thick plywood to provide the necessary strength and rigidity, especially if you plan to park a vehicle on it.
| Plywood Type | Best For | Moisture Resistance | Average Cost (per 4×8 sheet) | Key Features |
|---|
| CDX Plywood | Budget-conscious projects, general use | Good (with sealant) | $40 – $60 | Most common type of sheathing. The “X” means it’s made with exterior-grade glue. |
| Pressure-Treated Plywood | High-moisture areas, ground contact | Excellent | $50 – $75 | Chemically treated to resist rot and insects. Necessary for sleepers. |
| Marine-Grade Plywood | Ultimate durability, heavy-duty use | Superior / Waterproof | $100 – $150+ | Made with waterproof glue and high-quality veneers with no voids. |
| Tongue and Groove (T&G) Plywood | Creating a seamless, strong surface | Varies by type | $50 – $80 | Interlocking edges create a stiffer, more stable floor without gaps. |
How to Install a Plywood Garage Floor: A Step-by-Step Guide
A successful installation relies on creating a “floating subfloor” system. This involves laying a framework of boards (called sleepers) over a moisture barrier, which keeps the plywood elevated off the concrete, allowing for air circulation and preventing moisture damage.
Step 1: Prepare the Concrete Surface
Thoroughly clean and degrease the concrete. Use a concrete cleaner and a stiff brush to remove any oil, grease, or dirt. Fill any significant cracks with a concrete patch product and allow it to cure completely.
Step 2: Lay the Vapor Barrier
This is the most critical step for longevity. Cover the entire concrete floor with 6-mil polyethylene sheeting. Overlap the seams by at least 6-12 inches and run the plastic a few inches up the walls. Tape the seams with a quality construction tape to create a continuous barrier against moisture.
Step 3: Install the Sleeper System
Lay pressure-treated 2x4s flat on top of the vapor barrier. This network of sleepers will be the foundation for your plywood. Arrange them perpendicular to the direction you plan to lay your plywood sheets, spaced 16 inches on center. Secure the sleepers to the concrete using concrete screws or a powder-actuated nailer.
Step 4: Add Insulation (Optional but Recommended)
For added thermal insulation and sound dampening, cut rigid foam insulation panels to fit snugly between the sleepers. This will make the floor significantly warmer and more comfortable. This is similar to how you might think about insulating other areas of your home; for instance, understanding if it is ok to put plywood over attic insulation involves similar principles of airflow and material choice.
Step 5: Lay the Plywood Subfloor
Begin laying your 3/4-inch tongue-and-groove plywood sheets, starting in one corner. Apply a bead of construction adhesive to the top of the sleepers before placing each panel. Stagger the joints of the plywood sheets so they don’t line up, which creates a much stronger, more stable floor.
Fasten the plywood to the sleepers using 2-inch wood screws every 6 inches along the edges and every 12 inches in the field (the middle of the sheet). Ensure the screw heads sit just below the surface.
Finishing and Protecting Your New Floor
An unfinished plywood floor won’t last long in a garage environment. Spills, dirt, and vehicle traffic will quickly take their toll. You must apply a durable, protective finish to seal the wood and provide a tough wearing surface.
Sanding the Surface
Once the plywood is installed, you may want to lightly sand the surface, especially at the seams, to ensure it’s smooth. Use a pole sander with 80-grit sandpaper. Vacuum all the dust thoroughly before applying any finish.
Choosing a Finish
You need a coating that can stand up to chemicals, abrasion, and the weight of a vehicle. Standard interior polyurethane is not sufficient.
1. Heavy-Duty Polyurethane Floor Varnish: An oil-based floor poly is a good option. It penetrates the wood and creates a durable, moisture-resistant film. Apply at least three coats, allowing each to dry completely and lightly sanding between coats as directed by the manufacturer.
2. Epoxy Floor Coating: For the ultimate in durability, you can apply a garage floor epoxy kit directly to the plywood. Epoxy creates a thick, hard shell that is impervious to oil, gasoline, and most chemicals. You must first prime the wood with an epoxy primer to seal its pores and ensure proper adhesion.
3. Porch and Floor Enamel: This is a more budget-friendly option. While not as tough as epoxy, modern floor paints are durable and resistant to scuffs and stains. Choose a high-quality urethane-alkyd formula for the best results.
Frequently Asked Questions
Can You Really Park a Car on a Plywood Garage Floor?
Yes, you absolutely can, provided the floor is built correctly. Using 3/4-inch plywood over a properly spaced sleeper system (16 inches on center) creates a structure strong enough to handle the concentrated load of vehicle tires. The key is distributing the weight across the sleepers and into the concrete slab below.
How Do You Clean and Maintain the Floor?
Maintenance is simple. Sweep or vacuum the floor regularly to remove dirt and debris. For spills, wipe them up promptly with a damp cloth. For tougher grime, use a pH-neutral wood floor cleaner. Avoid soaking the floor with water.
Is a Plywood Floor Cheaper Than Epoxy?
The initial material cost for a basic plywood floor can be less than a professional epoxy installation. However, when you factor in the sleepers, vapor barrier, fasteners, and a high-quality finish, the costs can become comparable. A DIY plywood floor is almost always cheaper than hiring a professional for an epoxy coating.
Conclusion: A Worthwhile Upgrade for Your Garage
Installing a plywood garage floor is a transformative project that adds warmth, comfort, and usability to a typically utilitarian space. While it requires careful planning and a commitment to doing it right—especially concerning moisture protection—the result is a durable and forgiving surface that is far superior to cold, hard concrete.
By following the steps of proper preparation, using quality materials, and applying a robust finish, you can create a high-performance garage floor that will serve you well for years to come, whether you use the space for parking, projects, or play.