Picture Frame Molding on Textured Walls: Your Ultimate Guide
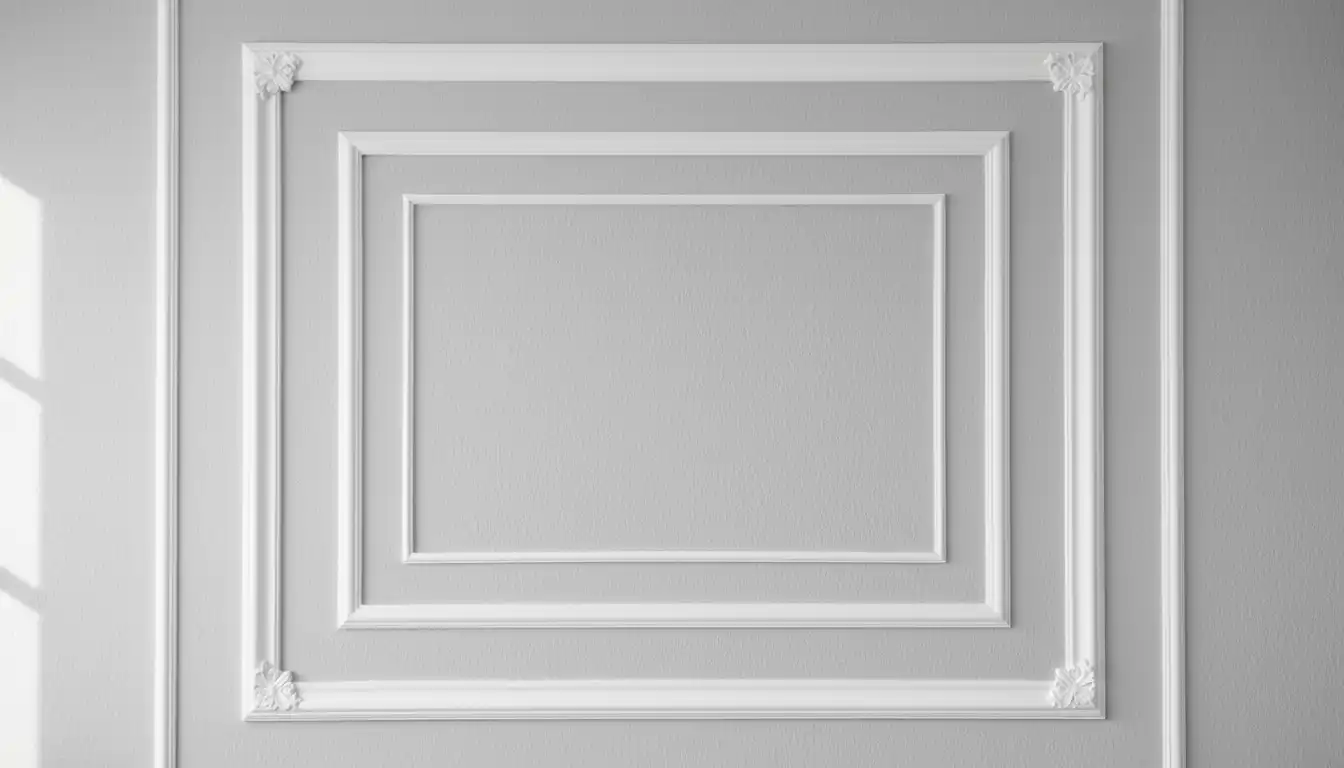
Picture frame molding on textured walls can transform a room from bland to beautiful, adding depth and character. Many homeowners hesitate, fearing the texture will ruin the elegant effect. This guide provides a comprehensive walkthrough to achieve a flawless finish.
Textured walls present unique challenges, but with the right techniques, a professional-looking installation is achievable. Follow these steps for a stunning result that elevates your home’s interior.
You'll Learn About
The Challenge of Textured Walls
Installing picture frame molding on textured walls is a popular DIY project, but it comes with specific hurdles. The uneven surface can create gaps between the molding and the wall, making a seamless look difficult to achieve. Many wonder if they must first smooth the walls, a messy and time-consuming task.
Whether your walls have a light orange peel or a heavier knockdown texture, the core problem remains the same: the molding won’t sit flush. This can lead to an unprofessional appearance, undermining the sophisticated look you’re aiming for. However, with careful preparation and the right application of caulk, these issues can be overcome.
To Skim Coat or Not to Skim Coat?
A common question is whether to skim coat the walls to create a smooth surface before installing molding. While skim coating provides an ideal flat base, it is a labor-intensive and messy process. For many homeowners, the effort and cost are significant deterrents.
The necessity of skim coating often depends on personal preference and the texture’s depth. For lighter textures like orange peel, many find that proper caulking is sufficient to hide gaps and create a clean look. For heavier textures, such as knockdown, smoothing the wall might be more desirable for a truly high-end finish.
An alternative to a full skim coat is to install a thin hardboard or backer board on the wall first. This creates a perfectly smooth surface for the molding. However, this adds an extra step and expense to the project.
Planning Your Picture Frame Molding Layout
Before making a single cut, meticulous planning is crucial for a successful outcome. A well-thought-out design ensures a balanced and visually appealing result. Rushing this stage is a common mistake that can lead to frustration later.
Start by sketching your design on paper, considering the scale of the room and furniture placement. A great tip is to use painter’s tape to create a mock-up of the boxes directly on the wall. This allows you to visualize the final look and make adjustments before committing.
Key Design Considerations
When planning your layout, maintain consistent spacing for a cohesive look. A good rule of thumb is to leave 3.5 to 4 inches of space between the molding and baseboards, crown molding, and door or window casings. The spacing between the boxes themselves should also be uniform.
Consider obstacles like light switches and outlets. It’s often best to adjust your box sizes to avoid them entirely. If avoidance isn’t possible, you may need to move the fixture or carefully cut the molding to fit around it.
The size of the boxes should be proportional to the wall. Large, open walls can accommodate larger boxes, while smaller walls may look better with smaller, more delicate frames. Don’t be afraid to mix sizes, such as having a larger set of boxes below a chair rail and smaller ones above.
Gathering Your Tools and Materials
Having the right tools and materials on hand will make the installation process much smoother. While this project is beginner-friendly, certain tools are essential for achieving professional-quality results. Investing in the right equipment will save you time and prevent costly errors.
The type of molding you choose will also impact the final look. Base cap molding is a popular choice for its decorative profile. For a more modern aesthetic, a simpler, flat trim can be used. PVC molding is a great option as it is lightweight and easy to cut.
Essential Toolkit
A miter saw is highly recommended for making precise 45-degree angle cuts. While a miter box and hand saw can work, a power miter saw ensures accuracy and speed. A brad nailer is another indispensable tool for attaching the molding to the wall securely and with minimal damage.
Other necessary tools include a tape measure, a level (a laser level can be particularly helpful), a pencil, and a caulk gun. For the finishing touches, you will need wood filler or spackle, fine-grit sandpaper, and high-quality paintable caulk. Making smart choices in home furnishings, like those discussed in our Ethan Allen Bennett sofa reviews, can complement your newly enhanced walls beautifully.
| Tool/Material | Purpose | Pro Tip |
|---|---|---|
| Miter Saw | Cutting precise 45-degree angles for corners. | A power miter saw offers the best accuracy and speed. |
| Brad Nailer | Attaching molding to the wall securely. | Use 1.5-inch to 2-inch brad nails for a strong hold. |
| Laser Level | Ensuring boxes are perfectly level and aligned. | A tripod-mounted laser level provides hands-free convenience. |
| Paintable Caulk | Filling gaps between the molding and textured wall. | Choose a flexible, paintable acrylic latex caulk for best results. |
| Wood Filler | Filling nail holes and corner gaps. | Apply slightly more than needed and sand smooth once dry. |
Step-by-Step Installation Guide
With your plan in place and your tools gathered, you’re ready to begin the installation. Working methodically and paying close attention to detail will ensure a beautiful result. Take your time with each step, as rushing can lead to mistakes that are difficult to correct.
A useful tip is to paint the walls before you install the molding. This makes the final painting process much easier, as you’ll only need to paint the molding and do minor touch-ups. A fresh coat of paint provides a clean canvas for your new architectural feature.
Cutting and Attaching the Molding
Measure and cut your molding pieces according to your layout. Remember the adage: measure twice, cut once. All corner cuts should be at a 45-degree angle. It can be helpful to label the back of each piece so you know where it goes.
Apply a bead of construction adhesive to the back of each piece of molding before nailing it to the wall. This will help ensure a secure bond, especially on an uneven surface. Use your level to position the first piece, then secure it with your brad nailer. For outdoor equipment maintenance, understanding why a Craftsman snowblower is not getting gas can be just as crucial as precise cuts in this project.
Work your way around each box, attaching the pieces one by one. Check for level and alignment as you go. Don’t worry if there are small gaps at the corners or against the wall; these will be filled later.
Achieving a Flawless Finish
The finishing touches are what elevate this project from a simple DIY to a professional-looking installation. This is where you will address the gaps and imperfections caused by the textured walls. Patience and a steady hand are key during this stage.
Properly filling nail holes and caulking the seams will create the illusion that the molding is an integral part of the wall. This step is non-negotiable for achieving a high-end, seamless look. A detail like topping potted plants with sand can surprisingly enhance a room’s overall aesthetic, just as meticulous finishing does for your walls.
The Magic of Caulk and Wood Filler
Use wood filler or spackle to fill all the nail holes and any gaps in the mitered corners. Once the filler is dry, lightly sand it smooth with fine-grit sandpaper. Be careful not to sand too aggressively, as you could damage the molding.
Next, apply a thin bead of paintable acrylic latex caulk along all the edges where the molding meets the wall. This is the crucial step for dealing with textured walls. Use a wet finger or a caulking tool to smooth the bead, pressing it into the gaps. Wipe away any excess with a damp cloth. The caulk will create a smooth transition from the molding to the textured wall, making the gaps disappear.
Painting for a Professional Look
Once the caulk is dry, you are ready to paint. Using a high-quality angled brush, carefully paint the molding. Apply two or three thin coats for the best coverage, allowing each coat to dry completely. If you painted the walls beforehand, be careful to stay on the molding.
A popular design choice is to paint the molding, walls, and baseboards all the same color and sheen. This “color drenching” technique creates a sophisticated, cohesive look that makes the texture less noticeable and emphasizes the architectural detail of the molding. A satin or semi-gloss finish is often recommended for trim as it is more durable and easier to clean.
Advanced Techniques for a Superior Finish
For those seeking an even more refined result, there are advanced techniques that can be employed. While not strictly necessary for a good outcome, these methods can further enhance the professional quality of your installation. They require a bit more skill and patience but can be well worth the effort.
These techniques focus on minimizing the visibility of imperfections from the very beginning. By addressing the challenges of textured walls at each stage of the process, you can achieve a truly flawless and integrated look. This attention to detail is what separates a good DIY project from a great one.
Back-Cutting and Scribing
For walls with significant bows or high spots, simply nailing the molding tighter can cause it to flex and look wavy. A more advanced technique is to “back-cut” or “scribe” the molding. This involves removing material from the back of the trim piece to allow it to sit flush against the wall’s contours.
To do this, hold the molding in place and identify the high spots on the wall that are causing gaps. You can then use a utility knife or a small plane to carefully shave away some of the material from the back of the molding in those areas. This custom fitting results in a much tighter join with the wall, reducing the amount of caulk needed for a seamless look.
Pre-Assembling Frames
Another technique for ensuring perfect corners is to pre-assemble the four pieces of a box into a frame before attaching it to the wall. This is done on a flat surface using wood glue and corner clamps. Once the glue is dry, you have a perfect, rigid frame that can be attached to the wall as a single unit.
This method eliminates the risk of corners shifting or becoming misaligned during installation on the wall. It requires precise measurements, but the payoff is perfectly square corners every time. You can then attach the entire frame to the wall using construction adhesive and a few strategically placed brad nails.
Conclusion
Ultimately, the key to mastering picture frame molding on textured walls lies in the preparation and the finishing touches. While the bumps and ridges of your drywall might seem like an obstacle, the strategic use of high-quality caulk and wood filler bridges the gap between the wood and the masonry, creating the illusion of a perfectly flat surface.
By taking the time to back-caulk every piece, you eliminate the shadows that highlight wall imperfections. This attention to detail ensures that your molding looks integrated rather than simply tacked on. With a fresh coat of paint to unify the materials, your textured walls won’t just support the trim—they will provide a rich, sophisticated backdrop that brings timeless architectural interest to your home.
![R-30 Insulation 2×8 [Everything You Need to Know]](https://fixitinthehome.com/wp-content/uploads/2023/01/R-30-Insulation-2x8-1-768x432.webp)