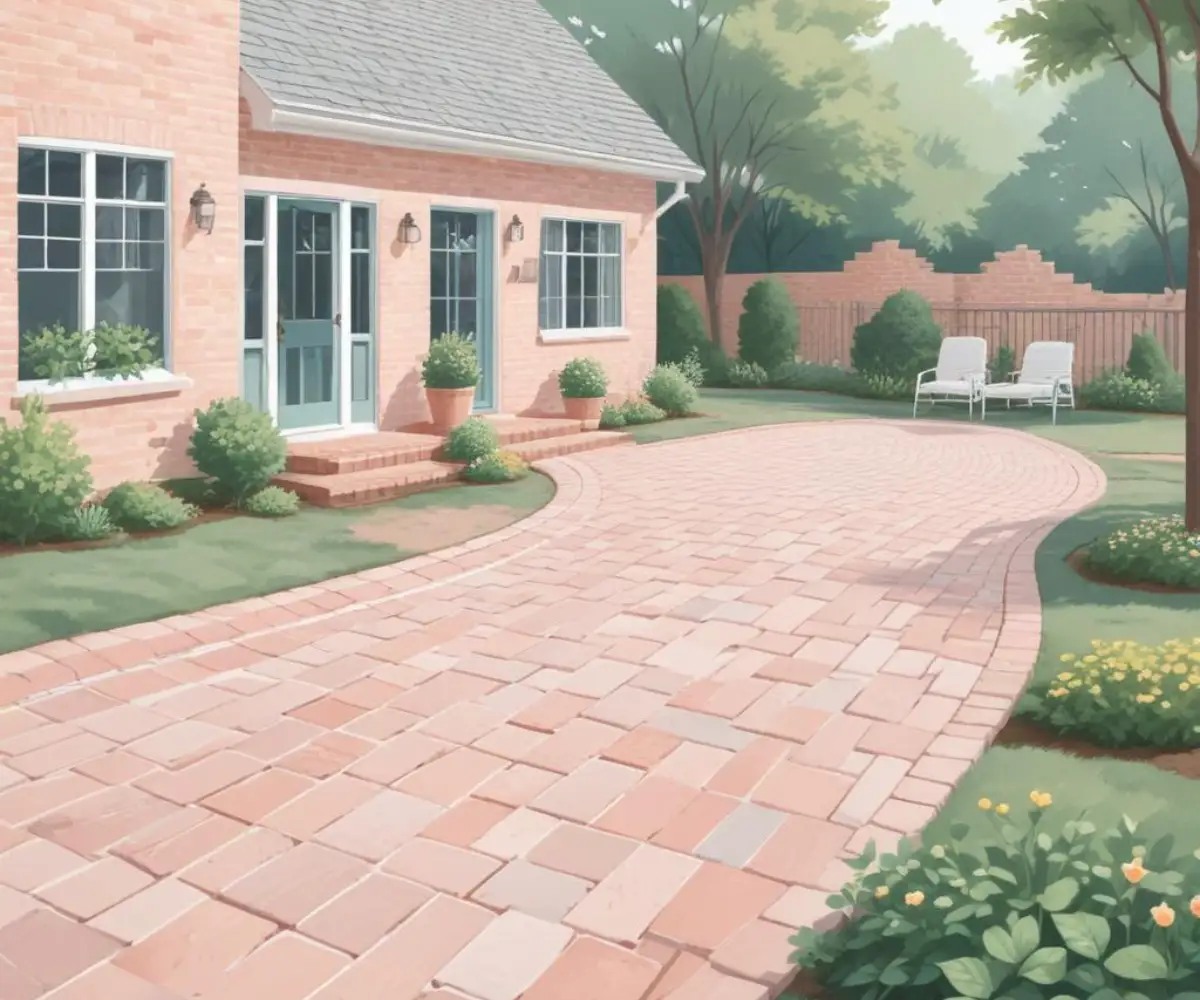
Patio Slope in Two Directions: Your Ultimate Drainage Solution
You’ve envisioned the perfect outdoor living space. The problem is, improper drainage can quickly turn that dream patio into a waterlogged nightmare, leading to costly damage and constant frustration.
Without a proper plan, your patio can become a reservoir for standing water. This moisture can compromise your home’s foundation, degrade the patio materials, and create hazardous icy spots in the winter.
You'll Learn About
Why a Simple, Single-Direction Slope Is Often Not Enough
For many small, simple patios, a gentle slope away from the house foundation is sufficient. This basic design directs water in one direction, usually towards the lawn.
However, this one-size-fits-all approach fails when dealing with larger patios, complex layouts, or challenging property grades. A single slope on a large surface can concentrate a massive volume of water in one area, overwhelming your lawn and creating a swampy mess.
When a patio is enclosed by walls, sits in a corner against the house, or is built on a very flat lot, there may be nowhere for the water to go. This inevitably leads to pooling water and a persistent wet spot on a concrete patio, which encourages mold, mildew, and material decay.
The Superior Solution: Understanding the Compound Slope
A patio slope in two directions, also known as a compound or multi-directional slope, is an advanced drainage strategy that provides unparalleled control over rainwater. It involves creating a high point or a ridge line on the patio surface from which the structure slopes down in multiple planes.
Think of it like a very shallow hip roof. Instead of a single flat plane, the patio is divided into sections that each direct water towards a predetermined exit point. This method prevents water from concentrating in one spot and allows for strategic management of runoff.
This design is not just about avoiding puddles; it’s about actively channeling water to locations where it can be safely and effectively managed. These exit points could be channel drains, lawn areas, or integrated garden beds.
Pre-Planning Your Two-Directional Slope: The Blueprint for Success
Meticulous planning is the most critical phase of this project. Before a single shovel of dirt is moved, you must have a clear and precise plan for how water will enter, travel across, and exit your patio surface.
Rushing this stage is a recipe for failure. A well-thought-out design ensures your patio will remain dry, safe, and structurally sound for decades.
Assessing Your Site and Defining Drainage Goals
The first step is a thorough analysis of your property. Identify the non-negotiable elements, chief among them being your home’s foundation. Every slope must begin by directing water away from your house.
Next, locate the best possible destinations for the water runoff. Ideal exit points are well-draining lawn areas, existing garden beds designed to handle moisture, or purpose-built drainage systems. Avoid directing water onto sidewalks, driveways, or your neighbor’s property.
Calculating the Perfect Slope: The Math Made Easy
The industry standard for effective patio drainage is a slope of 2%, which translates to a drop of 1/4 inch for every linear foot of patio. This grade is subtle enough to be unnoticeable when walking but effective enough to keep water moving.
To calculate the total drop for a section, multiply the length of that section (in feet) by 0.25. For example, a 12-foot patio section requires a total drop of 3 inches (12 feet x 0.25 inches/foot).
| Slope Percentage | Inches of Drop per Foot | Best Use Case | Key Considerations |
|---|---|---|---|
| 1% | 1/8 inch | Minimum for very smooth surfaces. | Can be insufficient for textured pavers or heavy rain. |
| 2% | 1/4 inch | The gold standard for most patios. | Provides an ideal balance of drainage and usability. |
| 3% | 3/8 inch | High-rainfall regions or highly textured surfaces. | The slope may become physically noticeable. |
| 4% or more | 1/2 inch or more | Not recommended for a patio; becomes a ramp. | Can pose a safety risk and make furniture unstable. |
Essential Tools for Achieving Precision Grade
Achieving a perfect compound slope is a game of inches, and the right tools are non-negotiable. While a simple bubble level on a straight board might work for a tiny slab, it is inadequate for this task.
For accuracy, you need a builder’s level or, ideally, a rotary laser level. This tool allows you to establish a consistent, level benchmark across the entire work area, from which you can accurately measure your slope’s drop. You will also need numerous wooden stakes, nylon string lines, a line level, and a tape measure.
A Step-by-Step Guide to Constructing a Two-Directional Slope
With your plan finalized and tools at the ready, you can begin the physical construction. This process demands patience and a commitment to checking your measurements at every stage. Precision is your best defense against future water problems.
Step 1: Excavation and Setting the Perimeter
First, use your stakes and string to mark the exact perimeter of your new patio. Excavate the entire area to the required depth, accounting for your base material (typically 4-6 inches), sand bedding (1 inch), and the thickness of your chosen pavers or stone.
Ensure the excavated area is uniformly deep and free of organic material. A solid, undisturbed subgrade is the foundation of your entire project.
Step 2: Establishing the High Point and Master Stakes
This is the most crucial step in the entire process. Based on your design, determine the location of your highest point or ridge line. Drive a master stake at this location.
Using your laser level, establish a level reference line on all your perimeter stakes. From this level line, you can measure down to set the final height of each stake, ensuring the calculated drop is accurately transferred to the worksite. Double-check every measurement.
Step 3: Running Your Guide Strings
Now, create a visual grid of your new patio’s surface. Run tight nylon strings from your high-point stakes down to the lower stakes along the perimeter. These strings represent the final height of your finished patio.
For large areas, it’s wise to create an intersecting grid of strings every 4-6 feet. This network of lines will be your infallible guide for grading the sub-base and screeding the sand, ensuring your compound slope is perfectly executed across the entire surface.

Step 4: Installing and Grading the Sub-Base
Begin adding your aggregate sub-base material, such as crushed stone with fines. Add the material in 2 to 3-inch layers, lightly misting it with water and compacting each layer thoroughly with a plate compactor.
Use your guide strings as a reference. Measure down from the string to the base material to ensure you are building it up to the correct, uniform depth below the final grade. A well-compacted, accurately graded base is essential for preventing future settling and low spots.
Step 5: Screeding the Sand Bedding
With the sub-base complete, it’s time to create the 1-inch sand bedding layer that your pavers will rest on. Place screed pipes or rails directly on the compacted base, ensuring the tops of the rails are at the correct height relative to your guide strings.
Drag a long, perfectly straight 2×4 (a screed board) across the rails to level the sand, creating a smooth and perfectly sloped surface. Work in sections, removing the rails and filling the voids as you go.
Step 6: Laying Pavers and Final Touches
Begin laying your pavers, starting from a stable edge like the wall of the house. Work your way outward, placing the pavers directly onto the screeded sand without twisting or pressing them down. Use string lines to keep your joint lines straight.
Once all pavers are laid, install a robust edge restraint around the entire perimeter to prevent them from shifting. Finally, sweep polymeric jointing sand into the gaps, and use a plate compactor to lock everything into place and activate the sand’s binding agents.
Integrating Advanced Drainage Solutions
For some sites, even a perfectly executed two-directional slope may need reinforcement. Integrating secondary drainage systems provides an extra layer of protection and ensures your patio can handle even the most torrential downpours.
These systems work in tandem with your slope, capturing and redirecting the water your patio surface has already collected. They are the final piece of a comprehensive water management strategy.
Channel and Trench Drains
A channel drain is an excellent solution for capturing a high volume of sheet flow. These long, narrow grates are installed flush with the patio surface at the low points of your slope, often against a garage slab or at the bottom of a long run.
They intercept water before it can pool and pipe it away to a safe discharge point. Managing water effectively is crucial for protecting all aspects of your home, much like ensuring proper water lines for appliances like a Kenmore dishwasher prevents problems indoors.
French Drains and Rain Gardens
If the area surrounding your patio is also prone to saturation, a French drain installed along the perimeter can be invaluable. This gravel-filled trench with a perforated pipe intercepts subsurface water, keeping the entire patio foundation drier.
For a more sustainable approach, you can direct your patio runoff into a rain garden. A rain garden is a specially designed depression filled with water-loving plants and porous soil that helps runoff slowly percolate back into the groundwater. A healthy landscape supported by good drainage and quality soil, perhaps amended with something like Miracle-Gro garden soil for grass seed, can turn a drainage feature into a beautiful landscape element.
Common and Costly Mistakes to Avoid
Building a multi-sloped patio is a complex project where small errors can lead to big problems. Being aware of common pitfalls is the first step toward avoiding them.
One of the most frequent mistakes is improperly preparing the sub-base. Skimping on excavation depth or failing to compact the base material in layers will lead to settling, creating low spots that trap water and ruin your perfect grade.
Another critical error is miscalculating the slope. A slope that is too shallow won’t move water effectively, while one that is too steep will be noticeable and uncomfortable to use. Stick to the 2% (1/4 inch per foot) rule unless site conditions absolutely demand otherwise.
Long-Term Maintenance for a Lasting Patio
Your work isn’t done once the last paver is in place. Proper maintenance will ensure your patio continues to drain effectively and look great for years to come. Regular cleaning is the most important task.
Keep the surface free of leaves and debris that can trap moisture and block drainage paths. If you installed channel drains, clean the grates and flush out the channels periodically to prevent clogs. A well-maintained patio is a long-lasting investment.
Conclusion: Master Your Outdoor Space with Perfect Drainage
Building a patio with a slope in two directions is undoubtedly a more challenging endeavor than creating a simple, single-plane surface. It requires careful planning, precise measurements, and a commitment to getting the foundation right.
However, the reward is a beautiful, functional, and incredibly durable outdoor living space. By mastering the principles of compound slopes, you create a patio that not only enhances your home’s value but also actively protects it from the persistent threat of water damage.

