Paint Melting? Here’s the Shocking Reason and How to Fix It
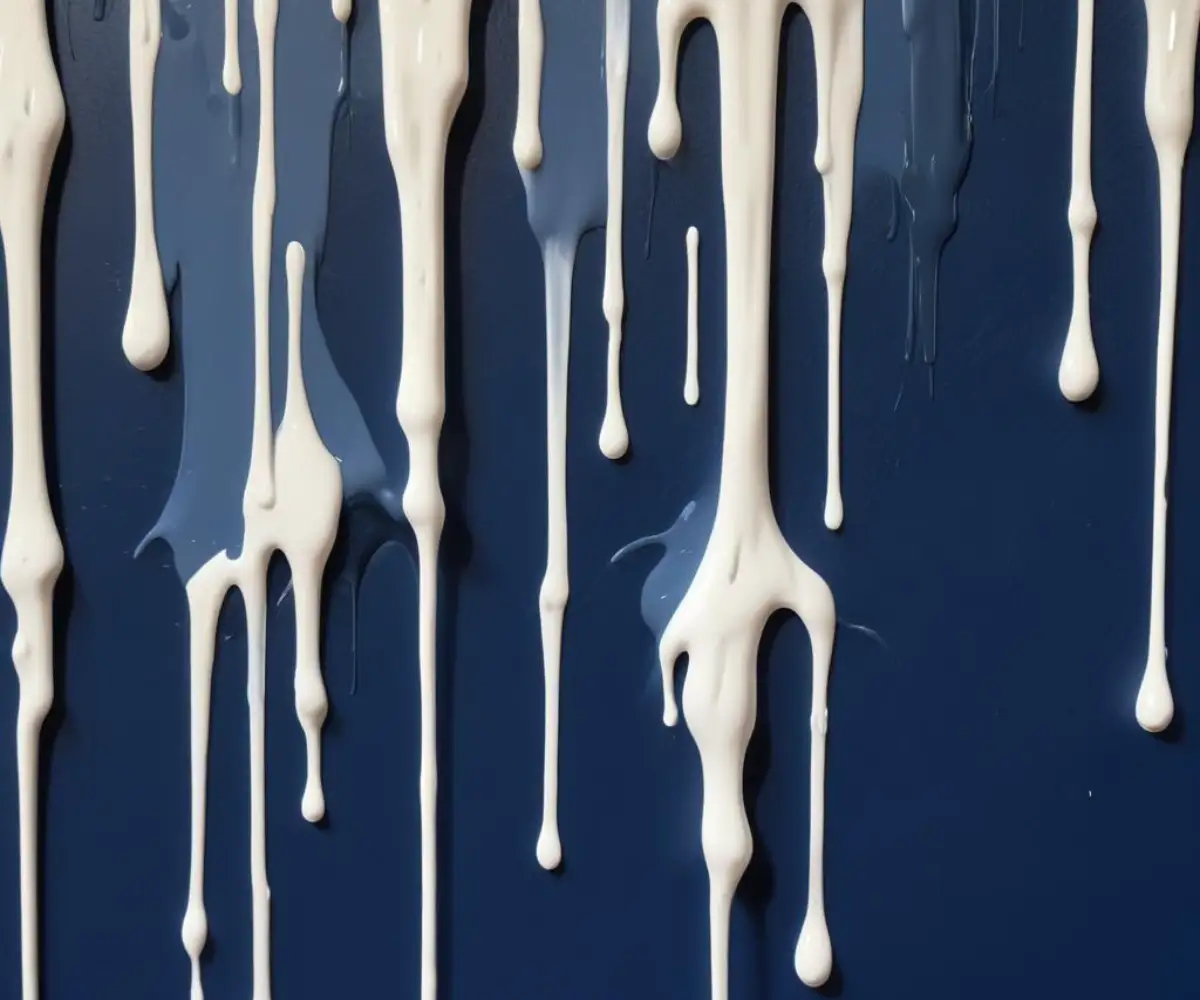
You’ve spent hours, maybe even days, perfecting a new paint job. The color is perfect, the lines are crisp, and the room feels brand new. But then you notice it: drips, sags, and what looks like your beautiful new paint job slowly melting down the wall. It’s a frustrating and disheartening sight for any homeowner.
This phenomenon, often called “paint melting,” “sagging,” or “running,” is a common problem with a variety of causes. Understanding why it happens is the first step toward preventing it and fixing a finish that has already failed. This comprehensive guide will walk you through the hidden culprits behind melting paint and provide actionable solutions for a flawless, long-lasting finish.
You'll Learn About
Uncovering the Root Causes of Melting Paint
Paint failure isn’t random; it’s a reaction to specific conditions. When paint sags or drips after application, it’s a clear sign that something has interfered with its ability to adhere to the surface and dry correctly. Let’s explore the most common reasons for this frustrating problem.
1. Applying Paint Too Thickly
One of the most frequent mistakes is applying too much paint in a single coat. It’s tempting to try and get full coverage in one pass, but this often backfires. A heavy coat of paint is too weighty for its own internal cohesion, causing gravity to pull it downwards before it can dry, resulting in drips and sags.
Think of it like this: a thin layer can defy gravity long enough to set, but a thick, heavy layer cannot. It’s always better to apply two or three thin, even coats rather than one thick, heavy one. This ensures each layer has adequate time to dry and bond properly to the surface underneath.
2. Environmental Saboteurs: Humidity and Temperature
The weather and climate inside your home play a huge role in how your paint dries. High humidity is a major enemy of a smooth paint job. When there’s too much moisture in the air, the water or solvents in the paint evaporate much more slowly. This extended drying time gives the paint more opportunity to sag and run.
Similarly, painting in excessively cool conditions can prevent the paint from curing properly, leading to adhesion problems. On the other hand, painting a hot surface in direct sunlight can cause the top layer of paint to dry too quickly, trapping solvents underneath and leading to blistering or peeling later on.
3. Improper or Skipped Surface Preparation
A successful paint job is built on a foundation of proper prep work. If the surface isn’t clean, the paint won’t stick. Walls can be covered in dust, grease, grime, or oils that you can’t always see. Painting over these contaminants is like building a house on sand; the paint adheres to the dirt, not the wall itself, leading to failure.
Likewise, painting over a glossy or semi-gloss surface without sanding it first is a recipe for disaster. These slick surfaces don’t have enough “tooth” for the new paint to grab onto, which can cause it to slide right off. Proper cleaning and scuff-sanding are non-negotiable steps for a durable finish.
4. Using the Wrong Type of Paint or Thinner
Not all paints are created equal, and using the wrong type for the job can lead to problems. For instance, applying a latex (water-based) paint over an old oil-based paint without the proper primer will likely result in poor adhesion and peeling. The two types of paint are fundamentally incompatible without a bonding primer to bridge the gap.
Over-thinning your paint can also be a major issue. While some situations, like using a paint sprayer, require thinning, adding too much thinner will break down the paint’s viscosity. This makes it watery and far more prone to running and dripping during application.
Your Step-by-Step Guide to Fixing and Preventing Melting Paint
Discovering melting paint is frustrating, but the good news is that it’s fixable. Whether the paint is still wet or has already dried, here are the steps you need to take to correct the problem and ensure it doesn’t happen again.
Step 1: Address Wet Paint Immediately
If you catch the drips and sags while the paint is still wet, you’re in luck. This is the easiest time to fix the issue. Use a high-quality brush or a small foam roller to immediately redistribute the excess paint. The key is to work quickly and gently.
Lightly brush or roll over the sagging areas, blending the excess paint into the surrounding surface. Be careful not to overwork the area, as this can create its own texture problems. The goal is simply to even out the heavy spots before they have a chance to set.
Step 2: Correcting Dried Drips and Sags
If the paint has already dried, you’ll need a bit more elbow grease. The process involves removing the imperfection and then recoating the area for a seamless finish.
First, use a paint scraper or a razor blade to carefully slice off the raised portion of the drip. After removing the bulk of the imperfection, use sandpaper (starting with a medium grit like 120 and moving to a finer grit like 220) to sand the area smooth. Your goal is to make the surface completely level with the surrounding wall.
Once you’re finished sanding, wipe the area clean with a damp cloth to remove all dust. You may need to apply a thin layer of spackle to fill any gouges, and then sand again once it’s dry. Finally, prime the patched area and apply a fresh, thin coat of paint.
Step 3: Master the Art of Prevention
The best way to deal with melting paint is to prevent it from ever happening. By following best practices, you can ensure your next paint job is your best one yet.
Always start by thoroughly cleaning your walls with a degreasing cleaner to remove any contaminants. If you’re painting over a glossy surface, remember to sand it first to create a rougher texture for the new paint to adhere to. When it comes to the actual painting, focus on applying multiple thin coats instead of one thick one. This is the golden rule of painting. Allow each coat to dry completely according to the manufacturer’s instructions before applying the next.
It’s also a good idea to pay attention to your environment. Avoid painting on extremely humid or cold days. Proper ventilation can also help control humidity levels and promote even drying. For tricky projects, understanding the tools of the trade is key. For example, if you’re undertaking a project that requires precision near a heat source, you might wonder, is painter’s tape heat resistant? Knowing the limits of your materials can prevent mishaps.
Understanding Paint Compatibility and Conditions
Choosing the right products and understanding the conditions they require is crucial for avoiding paint failures. This table breaks down common scenarios and the best practices to follow.
| Scenario | Problem Cause | Solution & Prevention |
|---|---|---|
| Painting in a Humid Bathroom | Excess moisture in the air slows drying time, leading to sags. | Use a high-quality bathroom-specific paint with mildewcide. Run a dehumidifier and ensure good ventilation during and after painting. |
| Applying Latex over Old Oil Paint | The new water-based paint cannot adhere to the slick, oil-based surface. | Scuff sand the entire surface, then apply a high-adhesion bonding primer. Allow the primer to cure completely before applying the latex topcoat. |
| Paint Drips on Trim and Doors | Applying too much paint, which then runs down the vertical surface. | Use a high-quality brush and apply thin, even coats. If possible, remove doors and paint them horizontally to eliminate drips. |
| Cool Basement Walls | Low temperatures prevent the paint from curing and bonding properly. | Wait for a warmer, drier time of year or use a space heater to bring the room to a suitable temperature (usually above 50°F or 10°C) before painting. |
When to Call a Professional
While most minor paint drips are a manageable DIY fix, there are times when calling in a professional is the smarter choice. If the sagging is widespread across multiple walls, it could indicate a larger issue, such as significant moisture seeping through the walls or a fundamental incompatibility with the existing surface that requires expert assessment.
Furthermore, if you notice other issues in conjunction with the melting paint, it’s time to investigate further. For instance, issues like warped fixtures near your work area can sometimes point to underlying problems. If you’ve ever asked yourself, why are my outlet covers bending, it could be related to heat or moisture issues that might also affect your paint.
Advanced Tips for a Flawless Finish
Ready to take your painting skills to the next level? Here are some pro tips to help you avoid common pitfalls and achieve a truly professional-looking finish every time.
Invest in Quality Tools
The quality of your brushes, rollers, and tape makes a significant difference. A cheap brush is more likely to leave bristles in your paint and apply it unevenly, increasing the risk of drips. A high-quality angled brush for cutting in and a good roller with the correct nap for your wall texture will yield much better results.
Proper tools can also help manage energy usage in your home. For example, optimizing your hot water schedule with a tankless water heater timer can help control ambient humidity from showers, creating a better environment for paint to cure.
Embrace the Power of Primer
Primer is a painter’s best friend. It solves a multitude of problems before they can start. A good primer seals the surface, ensures even paint absorption, and provides a uniform base for your topcoat to adhere to. This dramatically reduces the chances of sagging, especially when painting over new drywall, glossy surfaces, or making a drastic color change.
There are different primers for different jobs. A stain-blocking primer is essential for covering water spots or smoke damage, while a bonding primer is necessary for tricky surfaces like glass or old oil-based paint. Don’t skip this crucial step; it’s the key to a long-lasting paint job.
Patience is a Virtue
Finally, the most important tool in any DIYer’s kit is patience. Rushing a paint job is the surest way to end up with drips, sags, and other imperfections. Take your time with surface preparation. Allow adequate drying time between coats—check the paint can for specific recommendations, as this can vary widely.
By understanding the science behind why paint melts and by following these proven techniques, you can tackle any painting project with confidence. Say goodbye to frustrating drips and hello to beautiful, durable walls that you can be proud of for years to come.