Paint Cracking Around Door Frame? Your Permanent Fix Is Here
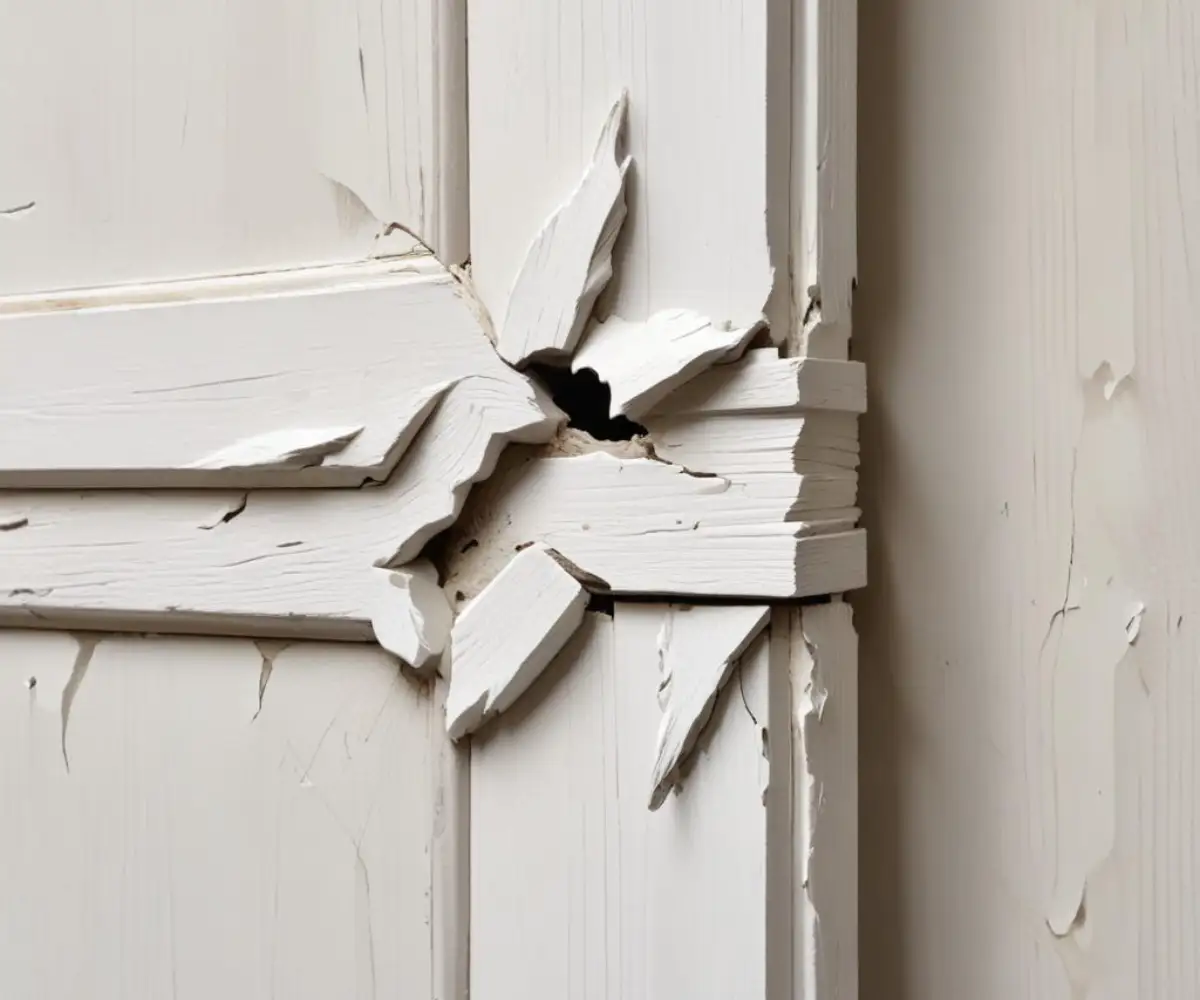
It’s a frustrating sight for any homeowner. You’ve spent time and effort getting your room just right, only for ugly, jagged cracks to appear in the paint around your door frame. It makes the entire space look unfinished and neglected.
This isn’t just a simple paint failure; it’s a sign of deeper issues at play. Those cracks are telling you a story about the subtle forces at work in your home. From structural shifts to environmental changes, understanding the cause is the first step toward a lasting solution.
Fortunately, you can fix this problem permanently. This guide will walk you through not only how to repair the damage for a flawless finish but also how to address the root causes so those frustrating cracks don’t come back.
You'll Learn About
Why Is the Paint Cracking Around My Door Frame? Uncovering the Root Causes
Before you can implement a solution, it’s crucial to understand why this is happening. Paint cracks around door frames are rarely an issue with the paint itself. They are symptoms of movement and stress in the underlying structure.
Structural Movement and House Settling
Every house moves. This is a completely normal process, especially in the first few years after construction, as the structure settles onto its foundation. Door frames are rigid, but the walls around them are subject to this subtle, constant shifting.
This movement creates immense stress at the joint where the wooden door frame meets the drywall. Because wood and drywall are two dissimilar materials, they expand, contract, and move at different rates, causing the inflexible paint and caulk layered over the joint to inevitably crack under the strain.
Temperature and Humidity Fluctuations
Your home’s internal climate plays a significant role. Wood is a porous material that absorbs moisture from the air. During humid summer months, the wood swells. In the dry winter months, it releases moisture and shrinks.
This seasonal cycle of expansion and contraction is a powerful force. The caulk and paint holding the seam between the trim and the wall are stretched and compressed repeatedly. Over time, they lose their elasticity, become brittle, and crack.
Caulk Failure: The Invisible Culprit
The number one reason for visible cracks is the failure of the caulk used to bridge the gap between the door frame and the wall. If the wrong type of caulk was used, failure is guaranteed. Many builders and painters use a basic, inexpensive painter’s caulk that hardens over time.
As the house moves, this rigid caulk has no ability to stretch and simply pulls apart, taking the paint with it. The solution isn’t just to apply more of the same caulk; it’s to replace it with a material designed for flexibility.
Improper Painting and Preparation
Poor workmanship during the painting process can also contribute to the problem. If the joint wasn’t properly caulked and sealed before painting, a crack was inevitable. Similarly, applying paint too thickly can create a brittle, inflexible layer that cracks easily.
Another common mistake is painting over old, failing layers of caulk and paint without proper preparation. The new coat might look good for a while, but it’s only as strong as the unstable foundation beneath it.
Moisture Intrusion
In some cases, a more serious issue like water damage could be the cause. A hidden leak from a nearby bathroom, a faulty roof, or window flashing can introduce moisture into the wall cavity. This will cause the wood studs and the door frame itself to swell and warp, leading to significant cracks.
If you see discoloration, staining, or the drywall feels soft and spongy, you must address the source of the water before attempting any cosmetic repairs. For stubborn exterior paint issues on surfaces like stucco, you might consider different removal methods, but remember that pressure washing paint off stucco requires careful technique to avoid damage.
Your Step-by-Step Guide to a Flawless, Crack-Free Door Frame
Now that you understand the “why,” it’s time for the “how.” Fixing these cracks isn’t just about covering them up. It’s about rebuilding the joint between the frame and the wall correctly so it can withstand movement. Follow these steps for a professional-grade repair.
Step 1: Gather Your Tools and Materials
Preparation is key to a lasting repair. Having everything you need on hand will make the process smooth and efficient. You’ll need:
- Utility Knife with a Sharp Blade: For cutting out old caulk.
- Flexible Putty Knife or 5-in-1 Tool: For scraping and removing debris.
- Sandpaper (120-180 grit): For smoothing the surface.
- Shop Vacuum or Tack Cloth: For dust removal.
- High-Quality, Flexible Caulk: This is the most critical component.
- Caulk Gun: For applying the caulk.
- Painter’s Tape: For creating clean lines.
- High-Quality Primer: To seal the repair and ensure paint adhesion.
- Interior Trim Paint: Matching your existing trim color and sheen.
- Small Paintbrush: For precise application.
- Damp Rag or Paper Towels: For cleanup.
Step 2: Preparation is Everything – Remove the Old Damage
You cannot achieve a lasting repair by simply applying new material over the old, failed material. You must completely remove the old caulk and any loose paint. This is the most important step for long-term success.
Start by taking your utility knife and carefully cutting along both sides of the old caulk line—where it meets the wall and where it meets the trim. This will break the bond. Then, use your putty knife or 5-in-1 tool to dig in and scrape out all of the old caulk. Be thorough and get back to the clean, raw gap between the drywall and the wood frame.
Step 3: Sanding for a Smooth Foundation
Once the old caulk is removed, you’ll likely have uneven paint edges. Use your sandpaper to lightly sand the area, feathering the edges of the existing paint to create a smooth, seamless transition. The goal is a surface that is completely smooth to the touch.
After sanding, it is absolutely critical to remove all dust. Use a shop vacuum with a brush attachment or wipe the entire area thoroughly with a tack cloth or a damp rag. Any remaining dust will prevent the new caulk and primer from adhering properly.
Step 4: The Secret Weapon – Choosing and Applying the Right Caulk
This is where most DIY repairs fail. Do not use a basic, cheap acrylic latex “painter’s caulk.” You need a premium product specifically designed for flexibility and movement. Look for caulks labeled as “elastomeric,” “flexible,” or “crack-proof” that are also paintable.
A high-quality siliconized acrylic latex or an advanced polymer sealant is an excellent choice. These products maintain their flexibility over decades, expanding and contracting with your home’s natural movement without breaking their seal.
| Caulk Type | Flexibility | Best Use Case | Drawbacks |
|---|---|---|---|
| Standard Acrylic Latex (Painter’s Caulk) | Low | Filling small nail holes, stationary joints. | Prone to cracking in areas of movement. Becomes brittle over time. |
| Siliconized Acrylic Latex | Medium-High | Door/window trim, baseboards. A great all-purpose choice. | Can be slightly harder to smooth than basic caulk. |
| Elastomeric/Urethane Sealant | Very High | Ideal for recurring problem cracks and larger gaps. | Can be more expensive and may have a longer cure time. |
| 100% Silicone | Very High | Kitchens and bathrooms (high moisture). | Not paintable. Do not use for this repair. |
To apply, cut the tip of the caulk tube at a 45-degree angle, making sure the opening is small (about 1/8 inch). Apply a steady, continuous bead of caulk directly into the cleaned-out gap. Immediately after, use a wet fingertip or a caulk finishing tool to smooth the bead, pressing it firmly into the joint. Wipe away any excess with a damp rag for a clean, professional-looking line.
Step 5: Priming to Seal the Deal
Do not skip priming. Once the caulk has fully cured (check the manufacturer’s instructions, this can range from 30 minutes to 24 hours), apply a coat of high-quality primer over the new caulk and any sanded areas.
Primer serves two crucial purposes here. It seals the porous caulk so the paint doesn’t flash (dry at a different sheen), and it provides a superior bond for the topcoat, preventing peeling down the line.
Step 6: The Final Coat – Painting for Durability
After the primer is dry, you’re ready for the final step. Apply a thin, even coat of your trim paint using a small, high-quality brush. It’s better to apply two thin coats than one thick coat. A thick coat of paint is more prone to cracking and will obscure the fine details of your trim.
Allow the first coat to dry completely according to the paint can’s instructions before applying the second. Once the final coat is dry, you can stand back and admire your perfectly repaired, crack-free door frame.
Pro Tips for Long-Term Prevention
Fixing the crack is great, but ensuring it never comes back is even better. Adopting a few preventative strategies can help maintain the integrity of your home’s trim work for years to come.
Control Your Indoor Climate
The more stable you can keep your home’s indoor environment, the less your wood trim will expand and contract. Using a humidifier in the dry winter months and a dehumidifier during the humid summer can minimize this movement and reduce stress on the joints.
Regular Inspection and Maintenance
Once a year, take a close look at the caulked seams around all your doors and windows. If you notice any caulk that is starting to shrink or pull away, you can address it immediately with a small touch-up before it becomes a major crack. Early intervention is always easier.
Invest in High-Quality Materials
This cannot be overstated. The single biggest factor in preventing recurring cracks is using a high-flexibility caulk. Spending a few extra dollars on a tube of premium elastomeric sealant will save you hours of work and frustration in the future. The same goes for paint and primer—quality materials provide a more durable, lasting finish.
When Should You Call a Professional?
While fixing cracked paint is a very manageable DIY project, some signs can indicate a more serious underlying problem that requires professional attention. You should consider calling a contractor or foundation specialist if you observe:
- Large, diagonal cracks extending from the corners of the door frame out into the wall.
- Doors that stick, are difficult to open or close, or rub against the frame, which can be a sign of significant settling. Sometimes a minor issue can be solved with a specialized door spring fix, but it’s best to be sure.
- Visible cracks in the foundation of your home.
- Floors that are noticeably unlevel or sloping.
These can be symptoms of structural or foundation issues. Covering them up will not solve the problem. In these cases, it’s also helpful to have accurate measurements. If you’re wondering how to measure a door without removing trim, there are simple techniques to get the information a professional might need.
A Lasting Fix is Within Reach
Cracked paint around a door frame is a common annoyance, but it’s one you are now fully equipped to handle. By understanding the root causes of structural movement and humidity changes, you can go beyond a simple cosmetic patch.
By diligently removing the old, failed material and replacing it with a high-quality, flexible caulk, you are creating a repair that is built to last. A little bit of preparation and the right materials are all it takes to achieve a permanent, professional-quality finish that will keep your home looking sharp for years to come.