Paint Your Brick Retaining Wall? One Mistake Can Spell Disaster
That old brick retaining wall, stained and dated, can detract from your home’s curb appeal. Painting it seems like a simple, transformative weekend project. But this is one task where a little knowledge can prevent a catastrophic failure.
A brick retaining wall is not like the other brick walls on your home. It’s in a constant battle with moisture, and the wrong paint job will trap that moisture, leading to peeling, bubbling, and ultimately, crumbling bricks. The key to a beautiful, long-lasting finish lies in understanding the unique challenges and preparing the surface meticulously.
You'll Learn About
Your Retaining Wall’s Hidden Enemy: Moisture
A retaining wall’s primary job is to hold back soil. This soil is almost always damp, and that water is constantly trying to move through the porous brick and mortar. This process is driven by something called hydrostatic pressure.
When you apply a standard, non-breathable paint to the wall’s face, you create an impermeable barrier. The water that would normally evaporate from the surface gets trapped. This trapped moisture is the root cause of almost all painted brick failures and can lead to serious structural damage over time.
The Telltale White Powder: Efflorescence
Have you ever seen a chalky, white powder on the surface of your brick wall? That’s efflorescence. It’s a clear sign that water is moving through your brick and leaving salt deposits behind as it evaporates.
Painting over efflorescence without solving the moisture problem is a guaranteed failure. The salt crystals will form behind the paint film, pushing it off the wall and creating bubbles and blisters. Before a single drop of paint is applied, this issue must be addressed at its source.
The Great Debate: To Paint or Not to Paint?
Before committing to this project, it’s crucial to weigh the pros and cons. Painting brick is a nearly irreversible decision, so it’s important to understand the commitment.
The primary benefit is aesthetic. A fresh coat of paint can modernize an old wall, unify landscaping elements, and cover up old stains or mismatched repairs. A painted surface is also generally easier to clean than rough, porous brick.
However, the risks are significant. As mentioned, trapping moisture can cause the brick to spall (flake or crumble), especially in climates with freeze-thaw cycles. It also creates a long-term maintenance task; even the best paint job will need to be redone every 7-10 years. Failure to address underlying moisture issues will result in a peeling mess in a fraction of that time.
Pre-Painting Prep: The 90% of Work That Guarantees Success
A successful paint job on a brick retaining wall is all about preparation. Rushing this stage will undermine all subsequent efforts. Think of painting as the final 10% of the project; the first 90% is getting the wall ready.
Step 1: The Critical Inspection
Begin with a thorough examination of the entire wall. Look for any cracks in the bricks or mortar, crumbling joints, or areas that are persistently damp. Remember, paint is a cosmetic fix, not a structural repair. If you find significant bulging, leaning, or large cracks, consult a professional before proceeding.
Step 2: Making Essential Repairs
Any damage found during the inspection must be repaired. Chisel out loose or crumbling mortar and repoint the joints with fresh mortar. Use a masonry crack filler for any non-structural cracks in the bricks themselves.
It is absolutely vital that all new mortar and fillers are allowed to cure completely. This can take up to 30 days. Painting over fresh mortar will trap the moisture within it, leading to immediate paint failure.
Step 3: The Ultimate Cleaning
The wall must be perfectly clean for the primer and paint to adhere properly. Start by removing any visible efflorescence with a stiff, non-metallic brush and a specialized efflorescence remover or a mild vinegar solution.
Next, clean the entire wall to remove dirt, grime, mold, and mildew. A pressure washer on a low setting can be effective, but be cautious not to damage the mortar joints. For stubborn stains or mildew, use a solution of TSP (trisodium phosphate) or a dedicated brick cleaner, scrubbing with a brush and rinsing thoroughly.
Step 4: The Waiting Game (Drying is Everything)
After cleaning and rinsing, the wall must dry completely. This is not a step to be rushed. Depending on humidity and sun exposure, this could take several days to a week. Using a moisture meter is an expert move to confirm the brick is dry enough to paint.
Choosing Your Weapon: The Only Paint System That Works
Using standard exterior house paint is the single biggest mistake you can make. It lacks the specific properties needed to survive on a retaining wall. Success hinges on choosing a “breathable” paint system that allows moisture vapor to escape.
Breathability, or vapor permeability, is the most crucial factor in paint selection. A paint that allows moisture to pass through it will prevent the buildup of hydrostatic pressure that causes other paints to peel and fail. For different applications, you might compare various waterproofing coatings, and understanding how products like these work can be helpful, similar to how one might analyze RedGard vs Drylok for interior basement walls.
The Primer is Non-Negotiable
Priming is an essential step. Use a high-quality masonry primer designed for brick and concrete. This primer will seal the porous surface, prevent the topcoat from soaking in unevenly, block stains, and provide a strong foundation for the paint to adhere to.
The Topcoat: Your Breathable Armor
There are two main types of paint suitable for a brick retaining wall: elastomeric and mineral-based paints. Both are designed to be highly durable and, most importantly, breathable.
Elastomeric paints are thick, flexible coatings that are excellent at bridging hairline cracks. They create a durable, waterproof yet breathable barrier. Mineral-based paints, like silicate or limewash, soak into the brick and chemically bond with it rather than forming a surface film. They are exceptionally breathable and offer a classic, matte finish.
Here is a comparison of paint types suitable for masonry:
| Paint Type | Breathability (Permeability) | Durability | Flexibility | Cost |
|---|---|---|---|---|
| Standard Acrylic Latex | Low | Moderate | Low | $25 – $50 |
| Elastomeric Masonry Paint | High | Very High | Very High | $75 – $150 |
| Silicate/Mineral Paint | Excellent | Very High | Low | $100 – $200 |
| Limewash | Excellent | Moderate | Low | $30 – $60 |
The Art of Application: A Flawless Finish, Step-by-Step
With the wall prepped and the right materials chosen, it’s time for the final stage. Proper application technique will ensure an even, professional-looking finish that lasts.
Weather is Your Boss
Pay close attention to the weather forecast. Avoid painting in direct, hot sunlight, as it can cause the paint to dry too quickly, leading to lap marks and poor adhesion. Ideal conditions are typically between 50°F and 90°F with low humidity. Do not paint if rain is expected within 24-48 hours.
Protect Your Surroundings
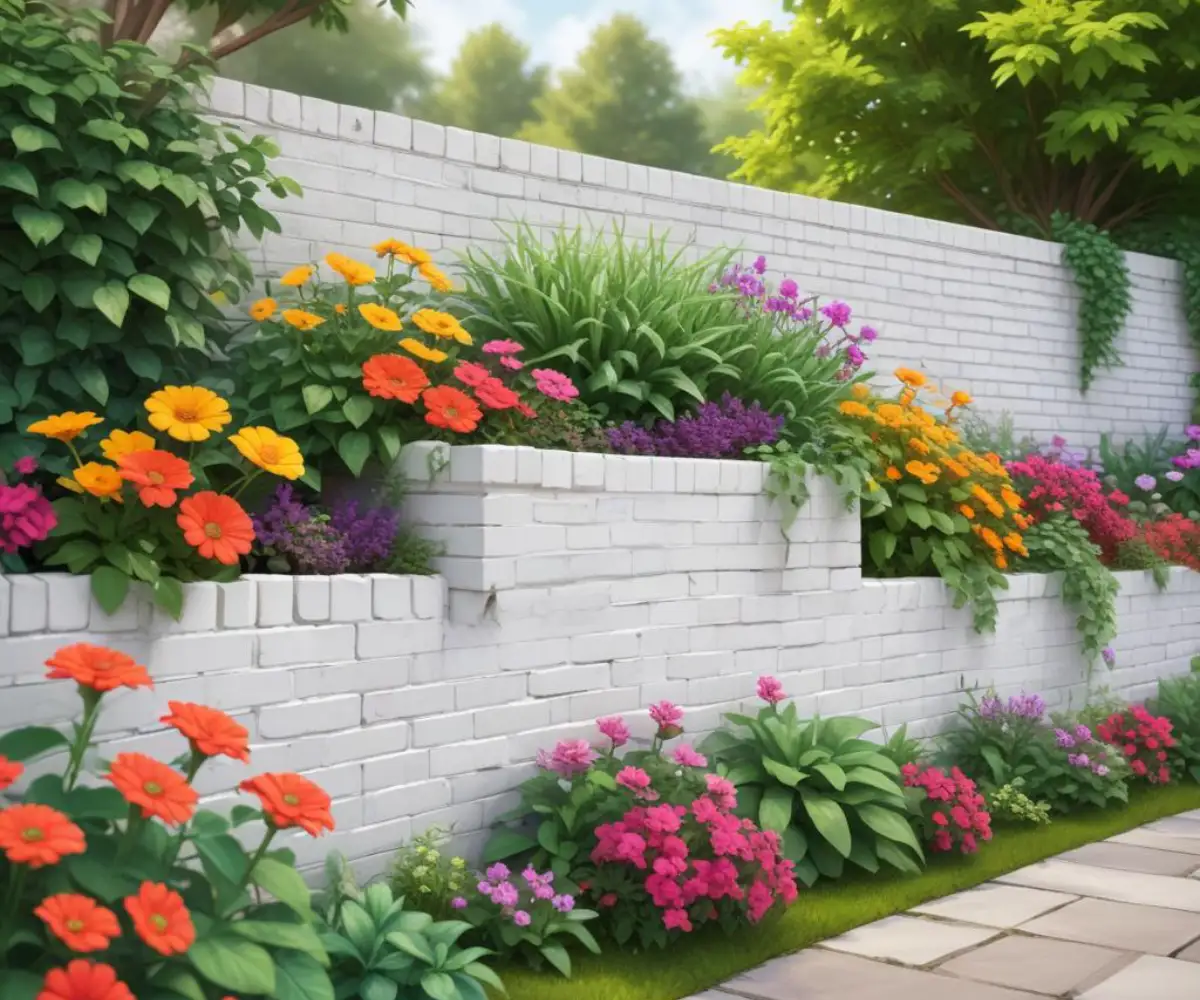
Use painter’s tape to mask off any adjacent surfaces like walkways, fences, or house siding. Lay down drop cloths to protect the ground and any nearby plants. Protecting your established plantings is key to the final look; a beautiful wall next to damaged foliage is a disappointing result. Good landscape protection is essential for any project near a mature garden.
Application Techniques
For textured brick surfaces, a combination of tools works best. Use a high-capacity paint sprayer for the most efficient application, followed by “back-rolling” with a thick-nap roller (at least 1-inch nap) to work the paint into the mortar joints and brick texture for a uniform finish.
Start by applying one full, even coat of your chosen masonry primer. Allow it to dry completely according to the manufacturer’s instructions. Follow with two coats of your breathable topcoat, allowing adequate drying time between each coat for the best color and durability.
Long-Term Maintenance: Keeping Your Painted Wall Perfect
A painted retaining wall will require some upkeep. Plan to gently clean the wall once a year with a soft brush and a mild detergent to remove surface dirt and prevent mildew growth.
Inspect the wall annually for any signs of chipping, peeling, or new cracks. Addressing these minor issues promptly with touch-up paint can prevent them from becoming larger problems. A high-quality, properly applied paint job should last for many years before a full repaint is necessary.
Creative Alternatives to Painting
If the risks and maintenance of painting seem daunting, there are other ways to refresh your retaining wall. Brick stain is a great alternative that colors the brick while maintaining its natural texture and high breathability.
Limewash or whitewash can provide a classic, rustic look that is also fully breathable and ages gracefully. Additionally, strategic landscaping can work wonders. Planting climbing vines or cascading plants along the top of the wall can soften its appearance and integrate it into the garden. Sometimes the goal is to make things disappear, and a specific color like the Go Away Green paint code is designed to help fixtures blend into the landscape, a principle that can also be applied to a retaining wall.
Conclusion: Your Wall, Your Choice
Painting a brick retaining wall is a high-reward project that can dramatically improve your landscape, but it carries significant risks if done incorrectly. Success is not found in the can of paint, but in the meticulous preparation, careful repair, and patient drying time that comes before.
By addressing moisture issues head-on, choosing a truly breathable paint system, and following proper application techniques, you can achieve a beautiful finish that will stand the test of time. A well-executed project will transform your outdoor space, but a poorly executed one can cause lasting damage, a crucial point to remember when dealing with any structure near your home, much like understanding the dangers of having mulch against your brick house.