Ozone Generator to Kill Mold in Ductwork: The Ultimate Guide
That musty, damp smell circulating through your home every time the HVAC system kicks on is more than just unpleasant. It’s a tell-tale sign of a hidden problem: mold in your ductwork. This issue can trigger allergies, worsen respiratory problems, and silently degrade your indoor air quality.
Many homeowners, searching for a powerful solution, turn to ozone generators. But does this method truly work, and more importantly, is it safe? This comprehensive guide will explore the use of an ozone generator to kill mold in ductwork, providing you with the facts you need to make an informed decision.
You'll Learn About
The Unseen Problem: How Mold Thrives in Your Ductwork
Your HVAC system is the perfect breeding ground for mold. The dark, damp, and often dusty environment of air ducts provides all the necessary ingredients for mold spores to flourish. Understanding the root causes is the first step toward a lasting solution.
What Causes Mold in Air Ducts?
Several factors contribute to mold growth within your ventilation system. High humidity is a primary culprit; when warm, moist air meets the cooler surfaces inside your ducts, condensation forms, creating the ideal environment for mold. Leaks in the HVAC system or ductwork can also introduce moisture, fueling mold growth.
Poor ventilation and clogged air filters can exacerbate the problem by trapping moisture and restricting airflow. This stagnant, damp air creates pockets where mold can easily take hold and spread throughout your entire home every time the system runs.
Signs You Have Mold in Your Vents
Detecting mold in your ductwork isn’t always straightforward, as it’s often hidden from plain sight. However, there are several key indicators to watch for. A persistent musty or earthy odor, especially when the AC or heater is running, is a strong sign of mold.
You might also notice visible mold growth or dark spots around your air vents and grilles. Furthermore, if you or your family members are experiencing unexplained allergy-like symptoms such as coughing, sneezing, or itchy eyes, it could be a reaction to mold spores being circulated through the air.
Ozone Generators for Mold: The Science and the Controversy
An ozone generator is a device that produces ozone gas (O3), a powerful oxidant. This gas is highly reactive and can neutralize airborne mold spores and surface mold by breaking down their cellular structure. The idea is to flood the ductwork with high concentrations of ozone to kill the mold colonies within.
However, the effectiveness and safety of this method are subjects of considerable debate. While ozone can kill mold spores it comes into contact with, it doesn’t penetrate porous materials where mold may be deeply rooted. This means that while it might address the immediate issue, it’s not a comprehensive solution on its own.

The Big Question: Is It Safe?
The primary concern with using ozone generators is safety. High concentrations of ozone are necessary to kill mold, but these same concentrations are harmful to humans, pets, and even plants. Inhaling ozone can cause a range of respiratory issues, from coughing and chest pain to worsening asthma symptoms and permanent lung damage.
Because of these health risks, it is absolutely crucial that the home is completely unoccupied during an ozone treatment and for a significant period afterward to allow the gas to dissipate. The U.S. Environmental Protection Agency (EPA) explicitly states that at concentrations that are safe for human exposure, ozone is not effective at killing mold and other biological pollutants.
A Step-by-Step Guide to Using an Ozone Generator for Ductwork
If you decide to proceed with an ozone treatment, following a strict protocol is essential for safety and effectiveness. This is a task that requires careful planning and execution.
Step 1: Preparation is Key
Before you begin, you must ensure the house is empty. This includes all people, pets, and plants. Ozone can be damaging, so it’s a step that cannot be skipped. Turn off your HVAC system completely to prevent the premature circulation of ozone before the treatment is fully underway.
Next, cover all the air vents in your home with plastic sheeting and tape. This helps to contain the ozone within the ductwork, maximizing its concentration where the mold is present. You should also open all interior doors to allow for some air circulation once the main treatment is complete.
Step 2: Setting Up and Running the Generator
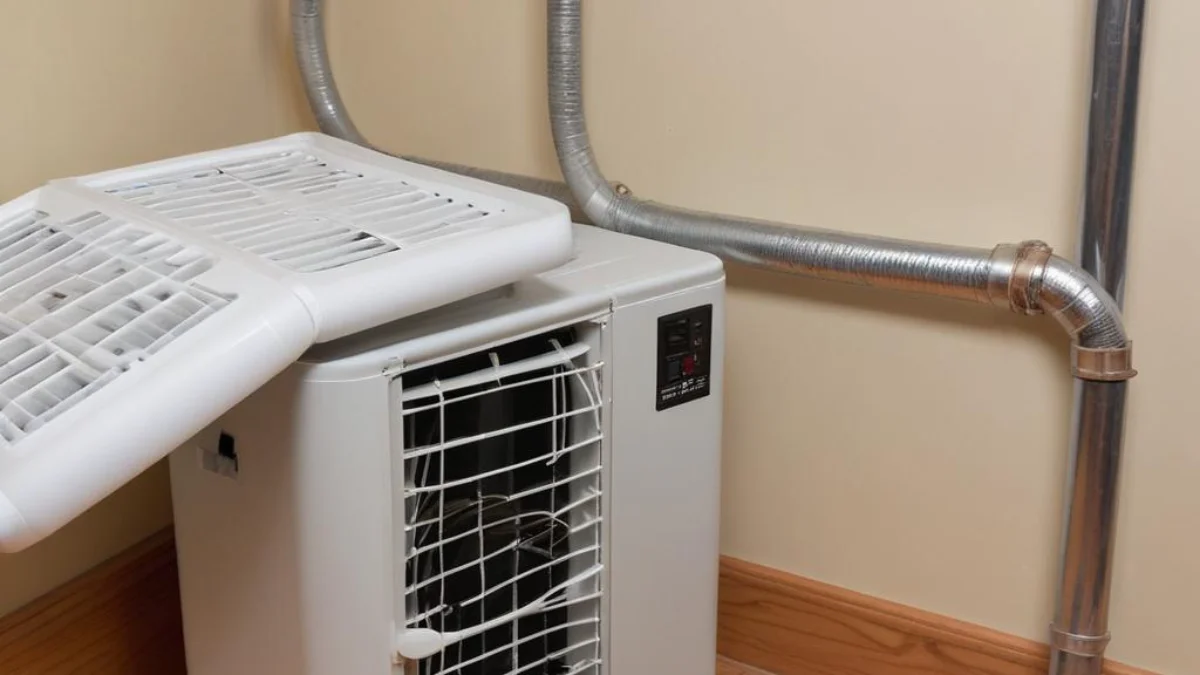
Place the ozone generator near the main air intake of your HVAC system. Connect the generator’s output hose to the intake duct. Once everything is securely in place, you can turn the generator on to its highest setting.
The duration of the treatment will vary depending on the size of your home and the severity of the mold problem, but it typically runs for several hours. It’s important to consult the manufacturer’s instructions for your specific device for recommended run times.
Step 3: Post-Treatment Ventilation
After the treatment is complete, turn off the ozone generator and disconnect it from the ductwork. Do not re-enter your home immediately. It is critical to allow the ozone to dissipate, which can take several hours.
Once it is safe to return (consult the generator’s manual for specific waiting times), open all windows and doors to thoroughly ventilate the house. You can also turn on the HVAC fan (without heat or AC) to help flush any remaining ozone out of the system.
Beyond Ozone: A Holistic Approach to Mold Remediation
While an ozone generator can be a part of a mold remediation strategy, it should not be the only step. A truly effective solution addresses the root cause of the mold and ensures its complete removal.
The Importance of Physical Removal
Ozone may kill mold, but it doesn’t remove the dead mold spores or the mycotoxins they can leave behind. These can still cause allergic reactions and other health issues. Therefore, a thorough cleaning of the ductwork after an ozone treatment is highly recommended.
Professionals often use high-powered vacuums and brushes to physically scrub the inside of the ducts. For homeowners looking for a DIY approach, cleaning accessible areas with a solution of vinegar or a commercial mold remover can be effective for smaller spots. Sometimes the issue might seem like a complex HVAC problem, like a Mr. Heater Big Maxx short cycling, but it could be related to airflow blockages from mold.
| Method | Pros | Cons | Best For |
|---|---|---|---|
| Ozone Shock Treatment | Kills airborne and surface mold spores; relatively easy to administer throughout the entire system. | Extremely hazardous to health; requires evacuation; does not remove dead mold; can damage rubber and plastics. | Initial killing of widespread mold in an unoccupied space, as part of a larger remediation plan. |
| Professional Duct Cleaning | Thorough physical removal of mold, dust, and debris; addresses the source; safe for occupants. | Can be expensive; requires hiring a certified professional. | Significant mold growth, recurring issues, or when a guaranteed solution is needed. |
| DIY Cleaning (Vinegar/Bleach) | Inexpensive and accessible; effective for small, visible areas of mold. | Only treats surface mold; difficult to apply deep within ducts; bleach can be harsh. | Minor mold spots on or near vents and registers. |
| UV Light Installation | Provides continuous prevention of new mold growth on coils and drain pans. | Does not remove existing mold; only effective in the direct line of sight of the light. | Preventative measure after a thorough cleaning and remediation. |
Preventing Future Mold Growth
Once your ducts are clean, the focus should shift to prevention. The most critical step is controlling moisture. Ensure your home’s humidity levels are kept in check, ideally between 30% and 50%.
Regularly change your HVAC air filters, at least every 1-3 months, to ensure proper airflow and prevent moisture buildup. It’s also wise to have your HVAC system professionally inspected and maintained annually to catch any leaks or other issues before they lead to mold. If you’re undertaking other home improvement projects, such as figuring out how to drywall over a protruding pipe, ensure you are not creating new areas where moisture can become trapped.
Professional Help vs. DIY: Making the Right Choice
For small, localized mold spots, a DIY approach may be sufficient. However, for widespread or recurring mold problems, hiring a professional mold remediation service is the safest and most effective option.
Professionals have the right equipment and expertise to safely and thoroughly remove mold from your entire HVAC system. They can also help identify and fix the underlying moisture problem to prevent the mold from returning. This is especially important in multi-family dwellings; for instance, understanding if you can use an ozone generator in an apartment involves different considerations due to shared ventilation.
The Final Word on Ozone Generators and Duct Mold
Using an ozone generator to kill mold in ductwork can be an effective step in a larger remediation process, but it is not a magic bullet. The significant health risks associated with high ozone concentrations mean that extreme caution and proper procedures are non-negotiable.
Ultimately, a comprehensive approach that includes identifying and fixing the moisture source, physically removing the mold, and taking preventative measures is the only way to ensure a healthy, mold-free home. Don’t let a musty smell compromise your family’s health—take decisive action to clear the air for good.

