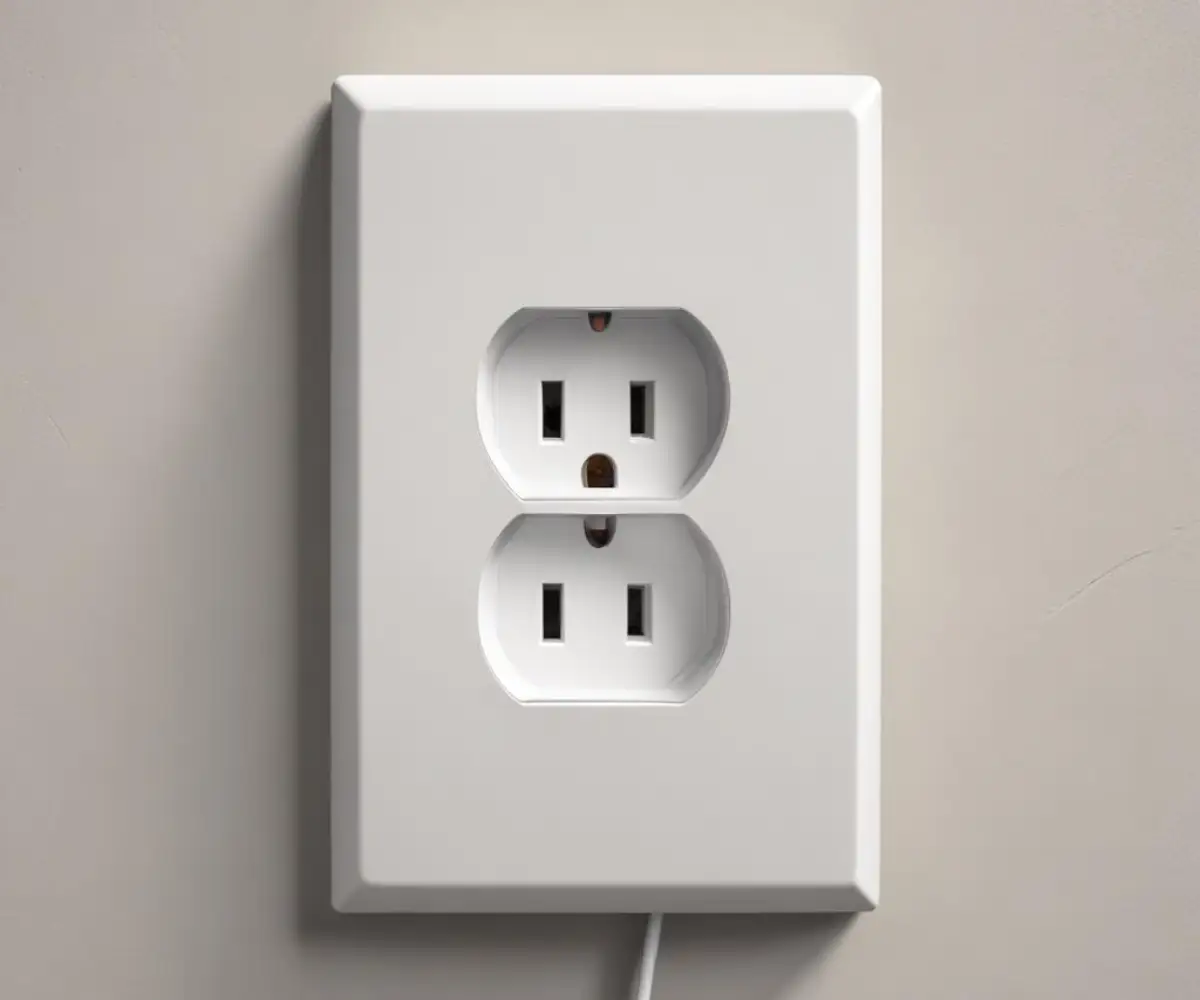
Outlet Not Flush With Plate? Here’s the Pro-Level Fix
There are few things more frustrating in a home project than getting to the final touches, only to find a glaring imperfection. You’ve just finished painting or tiling, you go to put the outlet cover on, and it happens: there’s an ugly gap. The outlet itself is sunk into the wall, and the plate can’t sit flat.
This common issue, where an outlet is not flush with the plate, isn’t just a cosmetic problem. It can be a sign of a hidden safety hazard lurking in your walls. Fortunately, fixing it is a simple, straightforward project that any DIYer can handle safely.
This guide will walk you through exactly why your outlet is recessed and provide a step-by-step solution for a perfectly flush, professional-looking, and safe installation.
You'll Learn About
Why Your Outlet Sits Crooked or Recessed
Understanding the root cause is the first step to a successful fix. When an electrical outlet isn’t aligned with its cover plate, the issue almost always traces back to the position of the electrical box within the wall. This is the plastic or metal box that houses the outlet and its wiring.
The Main Culprit: Incorrect Electrical Box Depth
In a perfect installation, the front edge of the electrical box should be flush with the finished wall surface—be it drywall, paneling, or tile. When the box is set too far back into the wall cavity, the outlet gets mounted too deep as well. This is known as a recessed outlet.
Conversely, if the box sticks out beyond the wall surface, the outlet will also protrude, preventing the cover plate from sitting flat against the wall. This is less common but can happen, especially in older homes or during renovations.
How Wall Renovations Create the Problem
This issue often appears after a home improvement project. Installing a new tile backsplash, wainscoting, or even a thick layer of plaster can add thickness to your walls. The electrical box that was once flush with the old wall surface is now buried under the new material.
This is a frequent headache for homeowners. If you’re struggling with this specific problem, it often relates to challenges with getting an outlet cover to sit flat on a new backsplash. The uneven surface of the tile combined with the recessed box makes a flush finish seem impossible.
Understanding the Outlet’s Mounting “Ears”
Every electrical outlet has small metal tabs at the top and bottom, often called “ears” or a “yoke.” These ears are designed to rest against the finished wall surface, providing stability. When the outlet is screwed into a recessed box, these ears don’t make contact with the wall, causing the outlet to float in the opening.
When you then try to screw on the cover plate, it pulls the center of the plate inward, but the edges can’t follow. This tension is often the reason people discover they have bent or warped outlet covers, as the plastic strains to bridge the gap.
The Hidden Dangers of an Improperly Seated Outlet
A gap between your outlet and its cover plate might seem like a small cosmetic flaw, but it can lead to some significant risks. Addressing it is crucial for the safety and integrity of your electrical system.
Serious Fire Hazard from Loose Connections
The most critical danger is the potential for a fire. When an outlet is recessed, plugging and unplugging a cord puts stress on the entire device. This constant wiggling can slowly loosen the wire connections at the terminals on the back of the outlet.
Loose electrical connections are a leading cause of house fires. The intermittent connection can create arcing—tiny sparks—that generate intense heat, eventually igniting the surrounding wall materials.
Damage to Plugs and Outlets
An unsupported outlet is a fragile outlet. Without the stability of being flush against the wall, the simple act of using the outlet can cause the plastic housing to crack or break over time. This can expose live electrical components, creating a serious shock hazard.
Furthermore, the awkward angle can damage the prongs on your appliance plugs, leading to poor connections and potential damage to your electronics.
Step-by-Step Guide to Fixing a Recessed Outlet
Now for the solution. This fix is straightforward and requires only a few simple tools and materials. With a little care and attention to safety, you can achieve a perfectly flush finish.
Safety First: ALWAYS Turn Off the Power
Before you touch any part of the outlet, you must de-energize the circuit. Go to your home’s main electrical panel (breaker box) and shut off the breaker that controls the outlet you’ll be working on. It’s wise to turn off the main breaker if you are unsure which one it is.
After flipping the breaker, use a non-contact voltage tester to confirm there is no power at the outlet. Simply insert the tip of the tester into the slots of the outlet. If it does not light up or beep, you can proceed safely.
Gather Your Tools and Materials
Having everything on hand makes the job go smoothly. You will likely need:
- A non-contact voltage tester
- A flathead and a Phillips head screwdriver
- Outlet spacers (also known as shims)
- Longer 6-32 electrical screws (your old ones may be too short)
- A utility knife (optional)
Outlet spacers are the key to this repair. They are small, interlocking plastic tabs or foldable strips designed to fill the gap between the electrical box and the back of the outlet’s mounting ears.
Step 1: Remove the Cover Plate and Outlet
With the power confirmed off, use your screwdriver to remove the small screw holding the outlet cover plate in place. Set the plate and its screw aside.
Next, unscrew the two mounting screws at the top and bottom of the outlet that hold it to the electrical box. Gently pull the outlet straight out from the box, leaving the wires attached. Let it hang carefully out of the box.
Step 2: Assess the Gap and Choose Your Solution
Now you can clearly see the gap between the outlet’s mounting ears and the front of the electrical box. Your goal is to fill this space so the ears can rest firmly against the finished wall surface. This is where spacers come in.
There are several types of products designed for this exact purpose. Choosing the right one depends on the size of the gap and personal preference.
| Solution Type | Best For | Description |
|---|---|---|
| Outlet Spacers (Shims) | Small to medium gaps (1/8″ to 1/2″) | Small, stackable plastic shims that fit over the screw. You simply add shims until the outlet is brought forward to the correct depth. |
| Foldable Spacers | Variable gaps | A long, foldable strip of plastic marked in 1/8″ increments. You fold it like an accordion to the exact thickness needed. |
| Box Extender | Large gaps (over 1/2″) | A plastic or metal ring that screws onto the existing electrical box, bringing the entire mounting surface forward to be flush with the new wall. |
Step 3: Install the Spacers
For most situations involving new drywall or a tile backsplash, foldable or stackable spacers are the perfect solution. Take your chosen spacers and place them behind the outlet’s mounting tabs, where the screws pass through.
If using stackable shims, simply slide them onto the screw between the electrical box and the outlet tab. If using a foldable spacer, fold it to the required thickness and wrap it around the screw. Add the same thickness of spacers to both the top and bottom screws.
Step 4: Reinstall the Outlet Securely
With the spacers in place, gently push the outlet back into the box. You will likely need your longer 6-32 screws to reach the threaded holes in the electrical box. Tighten the top and bottom screws until the outlet’s mounting ears are snug against the wall surface.
Do not overtighten. You want the outlet to be secure and immobile, but over-tightening can crack the plastic outlet or the spacers. The outlet should feel solid, with no wiggling or movement.
Step 5: Attach the Cover Plate and Restore Power
With the outlet now perfectly flush with the wall, the cover plate should sit flat without any gaps or bending. Screw the cover plate back on.
You can now go back to your electrical panel and turn the breaker back on. Your outlet is now safe, secure, and professionally finished. This simple fix can make a huge difference, especially when you have an outlet cover not flush with the wall, which detracts from an otherwise perfect paint or tile job.
What If Your Outlet Sticks Out Too Far?
While less common, sometimes the electrical box is too shallow, causing the outlet to protrude from the wall. This also prevents the cover plate from sitting flat.
Adjusting a Shallow Box
Some modern electrical boxes are adjustable and can be recessed by turning a screw inside the box. If you have an older, fixed box, the solution is often more complex and may involve carefully cutting the drywall to reseat the box. This is often a job best left for an electrician.
A simpler workaround is to use a deeper outlet cover or a box extender ring that provides a finished surface for the plate to mount on. These products can effectively hide the protrusion without requiring major wall surgery.
When to Call a Professional Electrician
This DIY fix is suitable for most homeowners with basic tool skills. However, there are situations where calling a licensed electrician is the smartest and safest choice:
- You are not confident working with electricity. Your safety is paramount.
- The wiring in the box appears old, frayed, or is made of aluminum. Aluminum wiring requires special handling.
- The electrical box itself is loose, cracked, or damaged. A secure box is essential for a safe installation.
- The problem is more complex than a simple recessed outlet.
A Flush Outlet is a Safe and Stylish Outlet
Fixing an outlet that isn’t flush with its plate is more than just a cosmetic upgrade. It’s a critical safety measure that eliminates fire hazards and protects your devices from damage. By using simple, inexpensive outlet spacers, you can ensure your outlets are securely mounted, perfectly aligned, and professionally finished.
Taking a few minutes to correct this common issue provides peace of mind and adds a touch of polish to your home’s appearance. It’s a small detail that makes a big difference in both safety and style.