Outdoor Lights Filled With Water? Your Complete Fix & Prevention Guide
There’s nothing more frustrating than investing in beautiful outdoor lighting only to see it ruined by the elements. You walk outside after a storm and notice it: your once-brilliant porch light now resembles a fishbowl. Outdoor lights filled with water are a common and dangerous problem, leading to flickering bulbs, tripped breakers, and serious electrical hazards.
Ignoring this issue can result in costly repairs, permanent fixture damage, and an unsafe environment for your family. The good news is that you can solve this problem permanently. This guide will walk you through why your lights are collecting water and provide actionable steps to fix the issue and prevent it from ever happening again.
You'll Learn About
Why Your Outdoor Lights Are Full of Water: The Core Issues
Understanding why water is getting into your outdoor fixtures is the first step toward a lasting solution. It’s rarely a single cause, but often a combination of factors. From tiny cracks to atmospheric pressure changes, the culprits can be surprisingly complex.
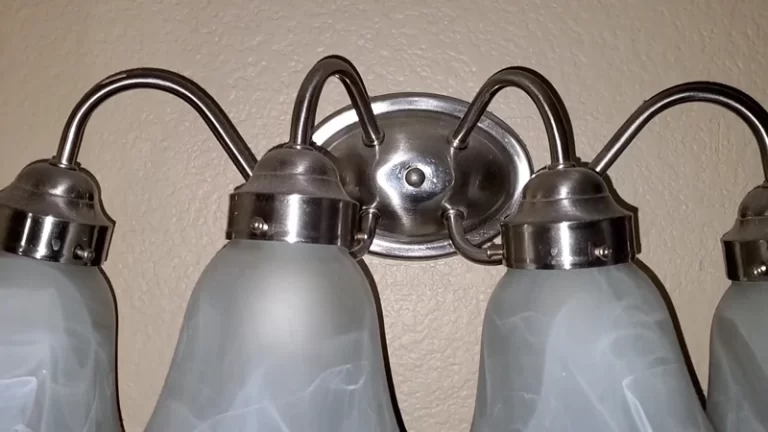
The Obvious Culprit: Failed Seals and Gaskets
The most common reason for water intrusion is a breakdown of the fixture’s protective seals. Every outdoor light fixture relies on rubber or silicone gaskets to create a watertight barrier between its internal components and the outside world. Over time, these seals can degrade due to sun exposure, temperature fluctuations, and age.
When a gasket cracks, shrinks, or becomes brittle, it no longer provides a secure seal. This allows rainwater, sprinklers, or even humidity to seep inside. The problem is often exacerbated after changing a light bulb, as the housing may not have been reassembled correctly, leaving the seal compromised.
The Invisible Enemy: Condensation Buildup
Sometimes, the water inside your fixture didn’t leak in from the outside at all. It formed right there inside the glass. This phenomenon, known as condensation, is a natural physical process that is surprisingly common in even high-quality, well-sealed outdoor lights.
Condensation occurs when there’s a significant temperature difference between the air inside the fixture and the outside environment. The air trapped inside the fixture heats up when the light is on. When the light is turned off and the outside temperature drops, the warm, moist air inside cools and releases its moisture as water droplets on the cooler glass or metal surfaces. Paradoxically, the more airtight and waterproof a fixture is, the more likely it is to trap moisture and form condensation.
Installation Flaws and Poor Design
The way a light is installed can dramatically impact its ability to resist water. A fixture mounted on an uneven surface, for example, may not allow the gasket to sit flush against the wall, creating a pathway for water. Similarly, electrical conduit feeding into the fixture from above can act as a funnel for rainwater if not properly sealed.
Some fixtures also have inherent design flaws. A lack of “weep holes” or drainage channels is a significant oversight. These small, often unnoticed holes are intentionally designed to allow any water that does get inside—whether from a leak or condensation—to safely drain out before it can accumulate and cause damage.
The Dangers of Water in Your Light Fixtures
A waterlogged light fixture is more than just an aesthetic annoyance; it’s a serious safety risk. Water and electricity are a dangerous combination, and ignoring the problem can have severe consequences for your home and family.
Electrical Shorts, Tripped Breakers, and Fire Hazards
Water is an excellent conductor of electricity. When it accumulates inside a light fixture, it can create a bridge between electrical contacts that should never touch. This results in a short circuit, which can cause the light to stop working, flicker erratically, or repeatedly trip your circuit breaker.
In a worst-case scenario, this short circuit can generate enough heat to melt wire insulation and ignite surrounding materials, posing a significant fire hazard. It’s a silent danger that can escalate quickly, especially in fixtures mounted on wooden or vinyl siding.
Corrosion and Permanent Fixture Damage
Even if you avoid a catastrophic electrical failure, the long-term effects of moisture are destructive. Water will cause the metal components inside the fixture—such as the bulb socket, wiring, and mounting screws—to rust and corrode. This corrosion can lead to poor electrical connections, causing lights to dim or fail entirely.
Once corrosion sets in, the fixture is often damaged beyond repair, forcing a complete replacement. This turns a preventable maintenance issue into a more expensive problem. If your address light not working is a recurring issue, internal moisture and corrosion are likely the cause.
Your Step-by-Step Guide to Fixing and Waterproofing Outdoor Lights
Now that you understand the causes and risks, it’s time to take action. This comprehensive plan will help you safely address the existing water damage and fortify your fixtures against future moisture intrusion.
Step 1: Safety First – Cut the Power
Before you begin any work on a light fixture, your absolute first priority is safety. Go to your home’s circuit breaker panel and shut off the power to the specific circuit that controls the outdoor light. Use a voltage tester at the fixture itself to confirm that the power is completely off. Never assume a switch is off; always verify at the breaker.
Step 2: Disassemble and Dry the Fixture
With the power safely disconnected, carefully disassemble the light fixture. Remove the glass casing or lens, the light bulb, and any other removable parts. You will likely see standing water, condensation, or signs of moisture inside.
Pour out any accumulated water and use a clean, dry cloth to thoroughly wipe down every component. For stubborn moisture, a hairdryer on a low heat setting can be used to ensure everything is bone dry. This is also a good time to inspect for damage. If you see significant rust or corrosion on the socket or wiring, it may be safer to replace the entire fixture.
Step 3: Inspect and Replace Seals
Carefully examine the rubber or silicone gaskets. Look for any signs of cracking, brittleness, or compression. If the seal looks worn or damaged in any way, it must be replaced. Do not attempt to patch it with sealant alone, as this will not create a reliable, long-term barrier.
You can often find replacement gaskets at hardware or specialty lighting stores. If a direct replacement isn’t available, you can create a new one using a sheet of rubber gasket material cut to size. Ensure the new gasket is seated properly in its channel before reassembly.
Step 4: The Power of Silicone Sealant
Applying a bead of high-quality, outdoor-rated silicone sealant is one of the most effective ways to waterproof your fixture. Focus on sealing the junction where the fixture base meets the wall. This is a primary entry point for water running down the siding.
Apply a continuous bead of clear or paintable silicone caulk around the top and sides of the fixture’s mounting plate. Crucially, leave the bottom edge open. This intentional gap will act as a weep hole, allowing any moisture that condenses inside the fixture to drain out instead of getting trapped.
Step 5: Check and Clear Drainage Holes
Inspect the bottom of your light fixture for small, pre-drilled drainage or weep holes. These are essential for preventing condensation buildup. Over time, these holes can become clogged with dirt, debris, or insect nests.
Use a small wire, a paperclip, or a can of compressed air to clear any blockages. If your fixture does not have any drainage holes, you can carefully drill one or two small (1/8-inch) holes in the lowest part of the fixture housing to allow for proper drainage.
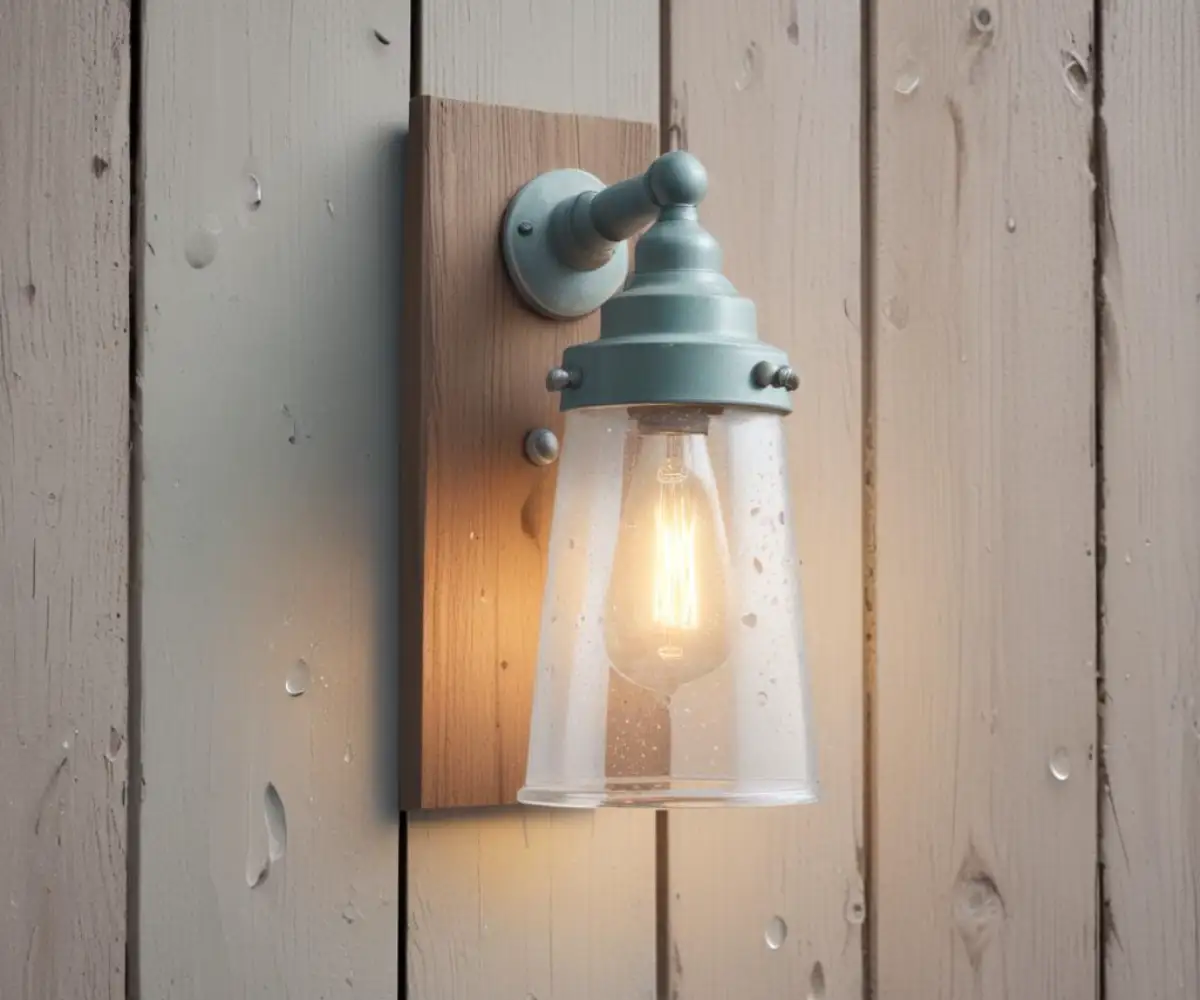
Advanced Prevention: Choosing the Right Fixture for the Job
While fixing your current lights is a great start, the best long-term solution is to ensure you’re using the right equipment. Not all outdoor lights are created equal. Understanding IP ratings is the key to selecting a fixture that can truly withstand the elements.
Understanding IP Ratings: Your Guide to Weatherproofing
IP, or Ingress Protection, ratings are a universal standard that classifies how well an electrical enclosure protects against solids and liquids. The rating consists of two numbers. The first digit (0-6) indicates protection against solid objects like dust, while the second digit (0-8) indicates protection against water.
For outdoor lighting, you should look for a fixture with a minimum rating of IP44, which protects against splashing water. However, for fixtures in highly exposed areas, a higher rating is far better. An IP65 rating is considered weatherproof and is protected against low-pressure water jets, making it suitable for areas that get hit by heavy rain or sprinklers. For lights that might be temporarily submerged, like those near a pond or in a poorly drained area, an IP67 rating is required.
| IP Rating | First Digit (Solids) | Second Digit (Liquids) | Common Use Cases |
|---|---|---|---|
| IP44 | Protected against objects >1mm | Protected against splashing water from any direction | Covered porches, general garden use |
| IP65 | Dust tight; complete protection | Protected against low-pressure water jets from any direction | Exposed walls, driveways, landscape lighting |
| IP67 | Dust tight; complete protection | Protected against temporary immersion in water (up to 1m) | In-ground lights, poolside areas, water features |
Proactive Maintenance: The Key to Longevity
Once your lights are fixed and properly sealed, a little routine maintenance can prevent future problems. A proactive approach saves you time and money and ensures your outdoor spaces remain safe and beautifully illuminated for years to come.
The Annual Check-Up
At least once a year, take the time to inspect all of your outdoor light fixtures. Check the silicone seals for any signs of cracking or peeling and reapply if necessary. Ensure that all casings are securely tightened and that drainage holes are clear of debris.
While you’re at it, clean the glass lenses to maintain maximum brightness. This simple annual routine can catch small issues before they become major, water-filled problems. For seasonal displays, this is also a great time to ensure your setup is safe, especially if you need to know how to hang Christmas lights outside without an outlet properly.
Beyond the Fixture: Protecting the Whole System
True weatherproofing involves more than just the light itself. Ensure that all outdoor electrical outlets are protected by “in-use” weatherproof covers. These covers allow you to keep cords plugged in while protecting the outlet from rain and moisture.
Furthermore, all outdoor circuits should be connected to a Ground Fault Circuit Interrupter (GFCI) outlet. A GFCI is a fast-acting device designed to shut off electric power in the event of a ground fault, preventing serious electrical shock. If you’re using temporary lighting solutions, consider using a dummy light bulb in any empty sockets on a string to prevent water from getting into the live connection.
Thinking Beyond Water: The Role of Internal Air Circulation
A little-discussed aspect of preventing condensation is managing the air inside the fixture. While sealing out external water is critical, allowing for slight air exchange can prevent the temperature and pressure differentials that cause condensation. This is the principle behind breathable vents made of materials like Gore-Tex, often used in high-end electronics and lighting.
For a DIY approach, placing a small desiccant packet (like silica gel) inside a larger fixture before sealing it can absorb trapped ambient moisture. This small step can be remarkably effective in preventing the internal “fogging” that plagues many outdoor lights, especially during spring and autumn when temperature swings are most dramatic.